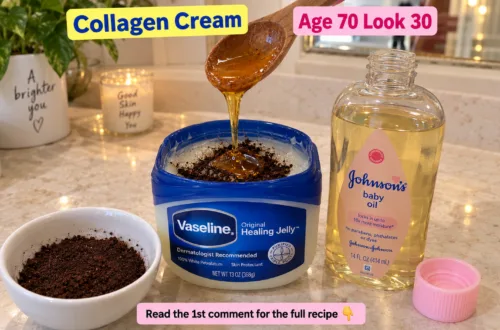
Do you often wake up to dry, dull skin, or are you looking for an easy way to boost your skin’s hydration and glow? Achieving soft, radiant skin doesn’t always require expensive products. This simple DIY night treatment combines two common ingredients to deeply moisturize your skin while you sleep, helping you wake up with a smoother, more youthful complexion. It’s an affordable and practical approach to enhancing your skin’s health.
What You’ll Need
- Approximately 1 tablespoon of petroleum jelly (Vaseline)
- 1-2 Vitamin E capsules (or 2-4 drops of liquid Vitamin E oil)
- Small, clean container or jar for mixing and storage
- Small spoon or clean spatula for mixing
Why This DIY Can Be Useful
This DIY combines the occlusive properties of petroleum jelly with the nourishing benefits of Vitamin E. Petroleum jelly creates a protective barrier on the skin, effectively locking in moisture and preventing water loss overnight. This is especially beneficial for very dry skin. Vitamin E is a powerful antioxidant that can help protect skin cells from damage caused by free radicals. It’s also known for its moisturizing properties and can help reduce the appearance of fine lines and promote a smoother skin texture.
How to Make It
- Take your clean, small container or jar.
- Add about 1 tablespoon of petroleum jelly into the container.
- If using Vitamin E capsules, puncture 1-2 capsules with a clean pin or scissors and squeeze the oil into the petroleum jelly. If using liquid Vitamin E oil, add 2-4 drops.
- Using a small spoon or spatula, thoroughly mix the Vitamin E oil with the petroleum jelly until it’s well combined and has a uniform consistency.
- Your DIY night treatment is now ready to use.
How to Use It
- Before bed, cleanse your face thoroughly and pat it dry.
- Take a small amount of the DIY mixture – remember, a little goes a long way.
- Gently massage the treatment onto your face, neck, and any other dry areas you wish to treat (like elbows or knees). Ensure an even, thin layer is applied.
- Allow the treatment to absorb overnight.
- In the morning, cleanse your face as usual to remove any residue.
What to Expect
After using this treatment overnight, you can expect your skin to feel significantly softer, smoother, and more hydrated. Regular use can contribute to a more radiant complexion and potentially help in softening the appearance of fine lines over time due to improved skin moisture. Results can vary depending on your skin type and consistency of use.
Helpful Tips
- Patch Test: Always perform a patch test on a small, inconspicuous area of skin (like behind your ear or on your inner arm) to check for any sensitivities before applying to your entire face.
- Less is More: Petroleum jelly is quite rich, so start with a very small amount to avoid feeling greasy. You can always add more if needed.
- Cleanliness: Always use clean hands and tools when preparing and applying the treatment to prevent introducing bacteria into your mixture or onto your skin.
- Storage: Store your DIY mixture in a cool, dry place away from direct sunlight. It should last as long as the shelf life of its individual ingredients, typically several months.
Important Notes / Safety
While generally safe for most skin types, be cautious if you have acne-prone skin, as petroleum jelly can be comedogenic for some, potentially trapping bacteria and leading to breakouts. Always ensure your skin is clean before application. If you experience any irritation, redness, or discomfort, discontinue use immediately. Consult with a dermatologist if you have specific skin conditions or concerns.