Are you tired of staring at those unsightly nicks, scratches, and minor imperfections on your beloved wooden furniture? It’s a common frustration for homeowners. Whether it’s a dining table, a favorite cabinet, or a wooden floor, these small blemishes can make your furniture look old and worn long before its time. Traditionally, fixing these issues meant investing in expensive wood fillers, specialized repair kits, or even hiring a professional carpenter. But what if we told you there’s a surprisingly simple, incredibly effective, and budget-friendly hack that a seasoned DIY master shared with us?
Get ready to transform your furniture without breaking the bank!
Your New DIY Secret Weapon: Instant Coffee & School Glue
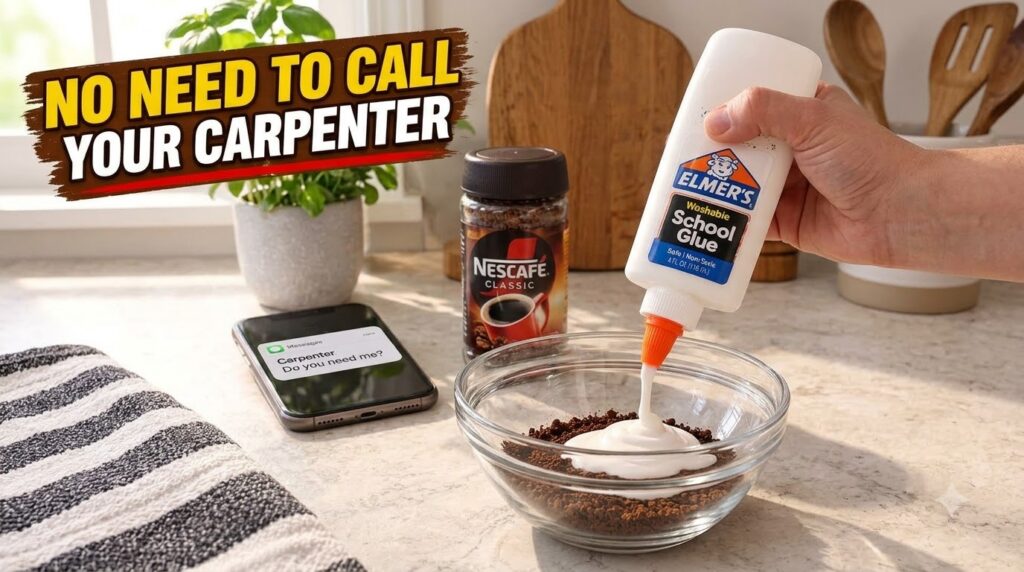
That’s right! The secret to tackling those minor wood imperfections lies in two common household items you likely already have: everyday white school glue and a dash of instant coffee. This clever combination creates a natural-looking filler that blends seamlessly with your wood, making those scratches virtually disappear. It’s a game-changer for quick fixes and minor restorations, saving you both time and money.
Why This Hack Works Wonders
- Budget-Friendly: Say goodbye to costly specialized products. School glue and instant coffee are incredibly affordable.
- Natural Blend: The instant coffee allows you to tint the filler to match various wood tones, creating an almost invisible repair.
- Easy to Use: No fancy tools or skills required. If you can mix and spread, you can do this!
- Quick Fix: Small repairs can be done in minutes, with drying time being the longest part of the process.
Step-by-Step Guide to Your 5-Minute Wood Repair
What You’ll Need:
- White school glue (PVA glue)
- Instant coffee granules (or ground coffee for texture)
- A small bowl or container for mixing
- A small stick or toothpick for stirring
- A flat tool (like a spatula, old credit card, or small putty knife) for application
- Fine-grit sandpaper (optional, for finishing)
- Clean cloth
The Process:
- Prepare Your Mixture: In your small bowl, squeeze a small amount of white school glue. Start with a conservative amount – you can always add more.
- Add Instant Coffee: Gradually add instant coffee granules to the glue. The amount of coffee will depend on the desired color match for your wood. For lighter woods, use less coffee; for darker woods, add more. Stir thoroughly with your stick or toothpick until you achieve a thick, paste-like consistency and the color closely resembles your furniture.
- Clean the Area: Before applying, make sure the damaged wood surface is clean and free of dust or debris.
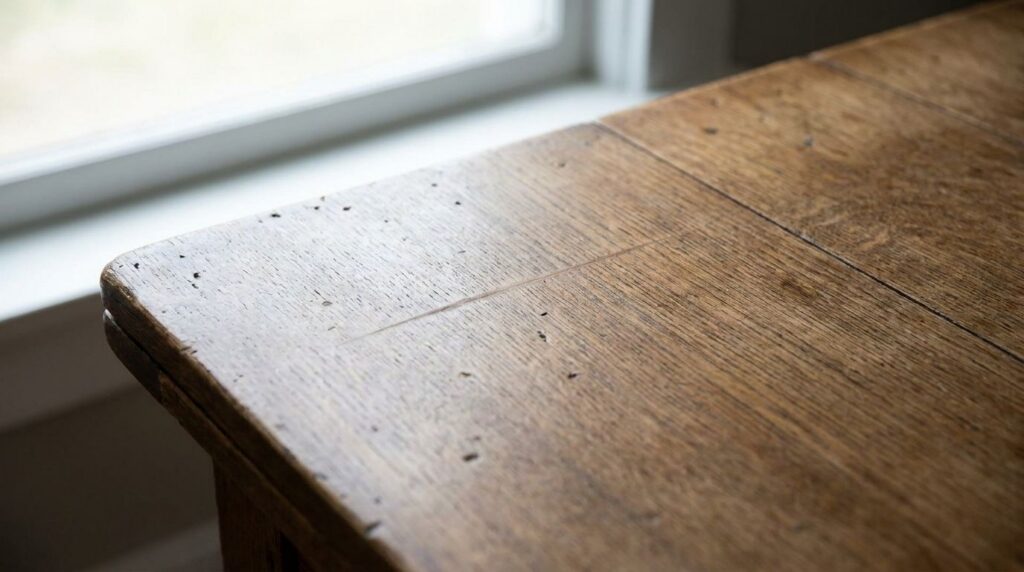
- Apply the Filler: Using your flat tool, carefully scoop a small amount of the coffee-glue mixture and press it firmly into the nick, scratch, or hole. Overfill slightly, ensuring the entire imperfection is covered.
- Smooth and Level: Immediately after application, use your flat tool to scrape away any excess mixture, leaving the surface as smooth and level as possible with the surrounding wood.
- Let it Dry: Allow the filler to dry completely. This can take several hours, or even overnight, depending on the thickness of the application and humidity.
- Optional Finishing Touch: Once completely dry, if there are any slight bumps or rough spots, you can gently sand the area with fine-grit sandpaper until it’s smooth. Wipe away any dust with a clean cloth.
Tips for Best Results:
- Match the Color: Experiment with the amount of instant coffee to get the perfect shade. It’s always better to start lighter and add more coffee if needed.
- Test in an Inconspicuous Area: If you’re unsure, try a small test patch in a hidden area of your furniture first.
- For Deeper Damage: For very deep holes, you might need to apply the mixture in layers, allowing each layer to dry before adding the next.
- Consider a Top Coat: For extra durability and a consistent finish, you can apply a clear top coat or furniture wax over the repaired area once it’s fully dry.
This ingenious hack is a testament to the power of simple, everyday ingredients for tackling common home maintenance issues. No need for expensive specialists or complicated products – just a little creativity and two items from your pantry!
Have you tried this clever trick, or something similar? Share your experiences and other budget-friendly home repair tips with our community!