The Art of the Perfect Mix
Are you looking for a simple, natural way to refresh your skin and reveal a smoother, brighter complexion? Sometimes, the best solutions are found right in your pantry. This easy DIY exfoliating paste uses common household ingredients to gently slough away dead skin cells, leaving your skin feeling soft and rejuvenated. It’s an affordable and effective method to incorporate into your skincare routine.
What You’ll Need
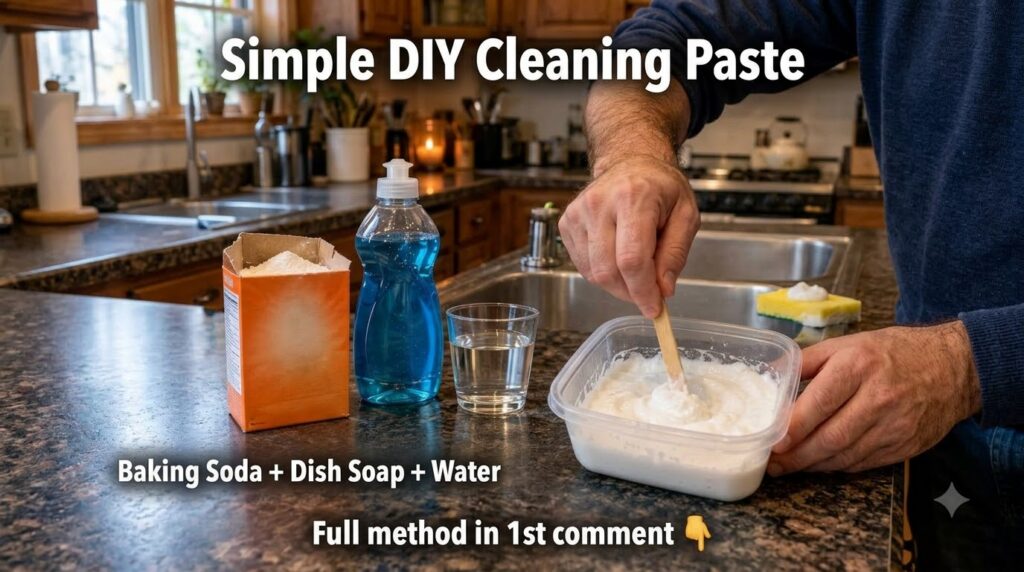
Ingredients
- 2-3 tablespoons baking soda
- 1-1.5 tablespoons water
Tools
- Small mixing bowl or container
- Stirring stick or spoon
Why This DIY Can Be Useful
Baking soda, or sodium bicarbonate, is a mild abrasive that can help gently exfoliate the skin. When mixed with water, it forms a paste that helps to lift away dead skin cells and impurities, making way for fresher skin underneath. It can also help to balance the skin’s pH, which can contribute to a clearer complexion.
How to Make It
- Measure 2-3 tablespoons of baking soda into your mixing bowl or container.
- Gradually add 1 tablespoon of water to the baking soda.
- Using your stirring stick or spoon, mix thoroughly. Continue stirring until a smooth, thick paste forms.
- If the mixture is too dry, add a few more drops of water until you reach a creamy consistency that is easy to spread but not runny. If it’s too thin, add a small pinch more baking soda.
How to Use It
- Preparation: Start with clean, damp skin. You can use this paste on your face or other areas of your body, like elbows or knees.
- Application: Take a small amount of the paste onto your fingertips. Gently massage it onto your skin in light, circular motions. Avoid harsh scrubbing, as gentleness is key.
- Target Areas: Focus on areas that tend to be rough or dull. For facial use, avoid the delicate eye area.
- Rinsing: After massaging for about 30-60 seconds, rinse your skin thoroughly with lukewarm water. Ensure all traces of the paste are removed.
- Finishing: Pat your skin dry with a clean towel and follow up with your favorite moisturizer to lock in hydration.
What to Expect
After using this DIY exfoliating paste, you can expect your skin to feel noticeably softer and smoother to the touch. It may also appear slightly brighter, as the removal of dead skin cells allows fresh skin to come through. Results are generally subtle and improve with consistent, gentle use.
Helpful Tips
- Adjusting Consistency: If you prefer a milder scrub, add a little more water to create a thinner paste. For a more intense exfoliation, use less water for a thicker consistency.
- Warm Water: Using lukewarm water to rinse can help open pores slightly for a better cleanse and makes rinsing the paste off easier.
- Storage: This paste is best made fresh for each use. Do not store any leftover mixture as its effectiveness and hygiene can diminish over time.
Important Notes / Safety
- Patch Test: Always perform a patch test on a small, inconspicuous area of your skin before applying to larger areas, especially if you have sensitive skin. Wait 24 hours to check for any adverse reactions.
- Avoid Sensitive Skin: Baking soda can be too abrasive for very sensitive or irritated skin. If you experience any redness, burning, or discomfort, rinse immediately and discontinue use.
- Gentle Application: Never scrub aggressively. The goal is gentle exfoliation, not irritation.
- Frequency: Due to its exfoliating nature, it’s best to use this paste no more than 1-2 times per week to avoid over-exfoliating your skin.
- pH Balance: While baking soda can temporarily affect skin pH, following up with a good moisturizer helps restore balance.