Are you tired of scrubbing stubborn stains that just won’t budge? From grimy countertops to soap scum on shower doors, everyday messes can build up and make your home feel less than sparkling. Before you reach for harsh chemicals, consider a powerful, yet gentle, DIY solution you can make right in your kitchen.
This simple cleaning paste uses common household ingredients to create an effective abrasive cleaner. It’s a practical, affordable, and surprisingly effective way to tackle many kinds of grime, making your cleaning routine easier and more eco-friendly.
What You’ll Need
Materials:
- 1/2 cup Baking Soda (Sodium Bicarbonate)
- 2-3 tablespoons Liquid Dish Soap (e.g., concentrated dishwashing liquid)
- 1-2 tablespoons Water (optional, for adjusting consistency)
Tools:
- Small mixing bowl
- Spoon or spatula for mixing
- Scrub brush or sponge
Why This DIY Can Be Useful
This DIY cleaning paste relies on the combined power of two common household staples: baking soda and liquid dish soap.
- Baking Soda: Known for its mild abrasive qualities, baking soda helps to gently scrub away grime, dirt, and stains without scratching most surfaces. It also works as a natural deodorizer, neutralizing odors as it cleans.
- Liquid Dish Soap: An excellent degreaser, dish soap cuts through oily residues and helps lift dirt, allowing the baking soda to work more effectively. It also creates a lather that helps spread the cleaning agents evenly across surfaces.
Together, they form a powerful paste that can tackle a variety of messes, from kitchen grease to bathroom soap scum.
How to Make It
Making this cleaning paste is quick and easy:
- Pour the 1/2 cup of baking soda into your small mixing bowl.
- Add 2 tablespoons of liquid dish soap to the baking soda.
- Using a spoon or spatula, mix the ingredients thoroughly. You should aim for a thick, spreadable paste consistency.
- If the mixture seems too dry or crumbly, add the optional water, one tablespoon at a time, until you reach your desired paste consistency. The goal is a thick paste that will cling to surfaces.
How to Use It
Once your paste is ready, you can apply it to various areas around your home:
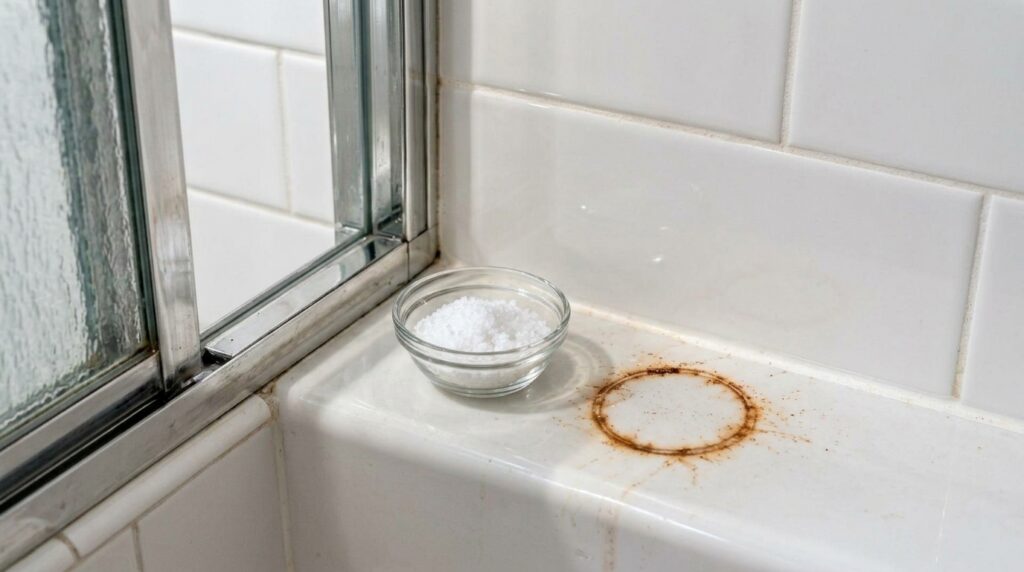
- Identify the Target: This paste works well on sinks, stovetops, oven doors (after cooling), countertops (test first!), bathtubs, shower walls, tile grout, and even light rust spots.
- Apply the Paste: Scoop a small amount of the paste onto a scrub brush or sponge.
- Scrub the Surface: Apply the paste directly to the stained or dirty area and gently scrub in circular motions. For tougher stains, you might need to apply a bit more pressure.
- Let It Sit (Optional): For very stubborn stains, allow the paste to sit on the surface for 5-10 minutes to let it break down the grime.
- Rinse and Wipe: After scrubbing (or letting it sit), thoroughly rinse the area with warm water and wipe it clean with a damp cloth or sponge.
- Buff Dry: For a streak-free shine, buff the surface dry with a clean, dry cloth.
What to Expect
You can expect this DIY cleaning paste to significantly reduce or eliminate most common household stains, grime, and soap scum. Surfaces will appear cleaner, brighter, and often feel smoother to the touch. While it’s powerful, it may not remove extremely old or deeply ingrained stains on the first try. Consistent use can help maintain cleanliness and prevent buildup.
Helpful Tips
- Adjust Consistency: If you need a thinner paste for spreading over a larger area, add a little more dish soap or water. For a tougher scrubbing action, use less liquid to keep it thicker.
- Spot Test: Always test the paste on an inconspicuous area of the surface first, especially on delicate or unfamiliar materials, to ensure there are no adverse reactions or discoloration.
- Batch Size: Make small batches as needed, as this paste does not contain preservatives and is best used fresh.
Important Notes / Safety
- Ventilation: Ensure good ventilation when cleaning, especially in enclosed spaces like bathrooms.
- Surface Compatibility: While generally safe, avoid using abrasive cleaners like baking soda on very delicate, high-gloss, or certain natural stone surfaces (like unsealed granite or marble) without proper testing, as it could potentially dull the finish over time.
- Avoid Mixing: Never mix this paste with other chemical cleaners, especially those containing bleach, as this can create dangerous fumes.
- Storage: Store any leftover paste in an airtight container at room temperature for a day or two, but it’s most effective when freshly made. Discard if it starts to dry out or harden.