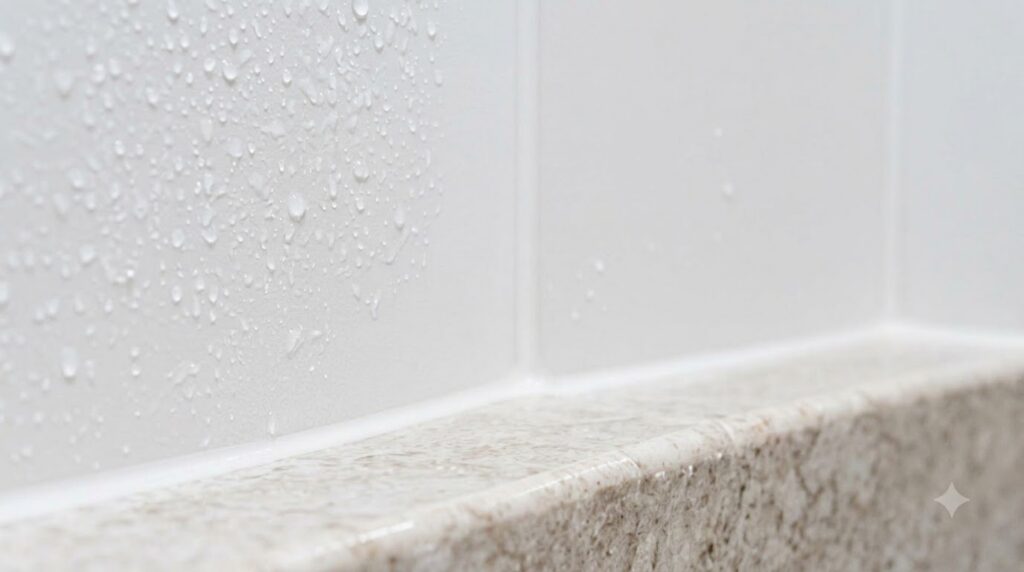
Tired of scrubbing away at stubborn soap scum and unsightly mold in your shower? You’re not alone! Keeping the bathroom clean can feel like a never-ending battle, especially when it comes to those grimy shower walls and tile grout. But what if you could tackle that mess with simple, everyday ingredients you likely already have on hand?
This homemade shower cleaner offers a practical and effective solution to help restore sparkle to your bathroom. It’s designed to cut through soap scum and grime, leaving your shower looking fresh without resorting to harsh, strong-smelling chemical cleaners.
What You’ll Need
Ingredients
- 1/2 cup baking soda
- 1/2 cup dish soap (any liquid dish soap will work)
- 1/4 cup hydrogen peroxide (3%)
- 1 cup warm water
Tools
- Mixing bowl or container
- Spoon or whisk
- Spray bottle
- Scrub brush or sponge
Why This DIY Can Be Useful
This powerful cleaning combination harnesses the strengths of common household items:
- Baking Soda: A mild abrasive that helps scrub away grime without scratching surfaces. It also acts as a deodorizer and can help break down stubborn stains.
- Dish Soap: Excellent at cutting through grease and soap scum, helping to lift and emulsify dirt from surfaces.
- Hydrogen Peroxide: Known for its mild bleaching and sanitizing properties, it can help brighten surfaces and tackle mold and mildew stains.
Together, these ingredients create a robust cleaner that can effectively lift and remove the common culprits of a dirty shower.
How to Make It
Making your own shower cleaner is quick and easy:
- In your mixing bowl, combine the 1/2 cup baking soda and 1/2 cup dish soap. Stir well until it forms a paste.
- Gradually add the 1/4 cup hydrogen peroxide to the paste, mixing gently. The mixture might fizz slightly.
- Pour in the 1 cup of warm water, stirring until all ingredients are thoroughly combined and the mixture is smooth enough to be sprayed.
- Carefully pour the cleaner into a clean spray bottle.
How to Use It
Get ready to make your shower sparkle:
- Prepare the Shower: Briefly wet down the shower walls and floor with warm water to help loosen surface dirt.
- Apply the Cleaner: Spray the homemade cleaner generously over all affected areas, including tiles, grout, shower doors, and fixtures.
- Let It Work: Allow the cleaner to sit on the surfaces for 15-30 minutes. For very stubborn grime or mold, you might let it sit for up to an hour.
- Scrub: Using a scrub brush or sponge, thoroughly scrub all the sprayed surfaces. Focus on areas with heavy soap scum or mold growth.
- Rinse: Rinse the entire shower area thoroughly with warm water, ensuring all the cleaner and loosened grime are washed away.
- Wipe Dry: For a streak-free finish on glass and tiles, wipe down surfaces with a clean microfiber cloth or squeegee.
What to Expect
You can expect a noticeably cleaner and fresher shower. This DIY cleaner is effective at breaking down soap scum, lifting grime, and reducing the appearance of mold and mildew stains. While it might not erase years of neglected buildup instantly, consistent use can significantly improve and maintain your shower’s cleanliness and shine. You should find your shower feels much cleaner to the touch and looks brighter.
Helpful Tips
- Ventilation is Key: Always ensure good ventilation by opening a window or turning on the exhaust fan when cleaning with any products, including homemade ones.
- Make Small Batches: For best results, it’s recommended to make a fresh batch of this cleaner each time you use it. Over time, the hydrogen peroxide can lose its potency when mixed.
- Pre-Scrub Heavy Buildup: For extremely thick soap scum or mold, a preliminary quick scrub with just baking soda paste and water might help break it up before applying the full cleaner.
- Regular Maintenance: Using this cleaner weekly or bi-weekly can prevent grime from building up, making future cleanings much easier.
Important Notes / Safety
- Always perform a patch test on an inconspicuous area of your shower first, especially on delicate stone or colored grout, to ensure no discoloration or damage occurs.
- Hydrogen peroxide should not be mixed with bleach, as this can create harmful fumes. This recipe does not contain bleach, but it’s a good safety reminder.
- Avoid direct contact with eyes. If contact occurs, flush immediately with water.
- Store any unused hydrogen peroxide in its original, dark container away from direct sunlight, as light can degrade its effectiveness.