Banish Bites: The Ultimate DIY Mosquito Trap for a Bite-Free Summer
Ah, summer! Warm evenings, outdoor gatherings, and… mosquitoes. These unwelcome guests can quickly turn a pleasant evening into a scratching frenzy. While commercial repellents and sprays are options, many homeowners are looking for natural, budget-friendly, and chemical-free solutions. Good news: a highly effective mosquito trap can be made right in your own backyard using simple household ingredients!
This DIY mosquito trap harnesses the power of natural attraction and a clever trapping mechanism to significantly reduce the mosquito population around your home. Forget harsh chemicals; let’s dive into how you can create your own ‘magic’ mosquito repellent and reclaim your outdoor oasis.
Why This DIY Mosquito Trap Works Wonders
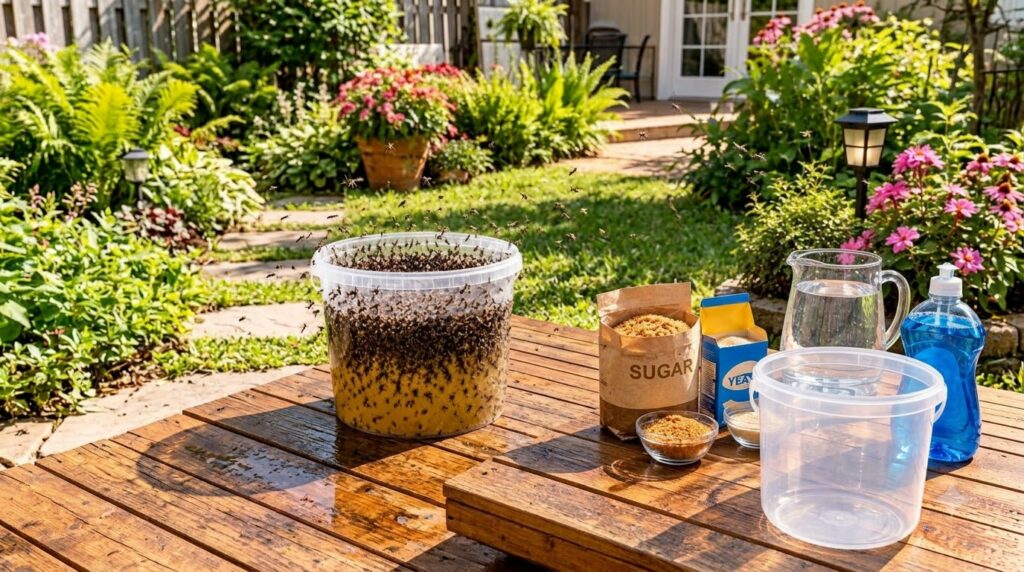
The science behind this homemade trap is surprisingly simple yet incredibly effective. Mosquitoes, particularly female mosquitoes seeking blood meals, are highly attracted to carbon dioxide (CO2), which we exhale. This trap mimics that attraction using a natural fermentation process.
- Brown Sugar & Yeast (The Attractant): When warm water, brown sugar, and yeast combine, the yeast feeds on the sugar, initiating a fermentation process. This process releases carbon dioxide, mimicking human breath and drawing mosquitoes towards the trap. The sweetness of the sugar also adds an extra lure.
- Water (The Medium): Provides the environment for the yeast to thrive and the sugar to dissolve, facilitating the CO2 production.
- Blue Dish Soap (The Trap): This is the crucial element that ensures mosquitoes don’t just visit but get trapped. Dish soap breaks the surface tension of the water. When a mosquito attempts to land on the liquid, it can’t maintain its footing on the weakened surface and falls into the solution, where it drowns.
Gather Your Supplies
Ingredients You’ll Need
- Warm Water: 1-2 cups (enough to half-fill your trap container). The warmth helps activate the yeast.
- Brown Sugar: ¼ cup. Provides the food source for the yeast.
- Dry Yeast: 1 packet (about 2 ¼ teaspoons) or 1-2 teaspoons of bulk dry yeast. This is the CO2 producer.
- Blue Dish Soap: 3-5 drops. Any brand of liquid dish soap will work, but blue can sometimes blend better visually.
Tools & Containers
- Clear Plastic Bottle/Bucket: An empty 2-liter soda bottle (cut in half) or a small-to-medium clear plastic bucket (like a 1-gallon ice cream bucket or similar size) works perfectly. Clear containers allow you to monitor the trap’s effectiveness.
- Measuring Cups & Spoons: For accurate ingredient amounts.
- Spoon/Stirring Utensil: For mixing.
- Pitcher (Optional): Useful for pouring warm water.
Step-by-Step: Building Your Mosquito Trap
Creating this trap is incredibly easy and takes just a few minutes. Follow these simple steps:
- Prepare Your Container: If using a 2-liter soda bottle, carefully cut it in half around the middle. Set the top portion (with the spout) aside. If using a bucket, ensure it’s clean and dry.
- Mix the Attractant: In the bottom half of your cut bottle or directly in your chosen bucket, pour 1-2 cups of warm water. Add the ¼ cup of brown sugar and stir thoroughly until the sugar is completely dissolved.
- Activate the Yeast: Sprinkle the 1 packet (or 1-2 teaspoons) of dry yeast over the sugary water. Do NOT stir the yeast in too much right away; letting it sit on the surface can help it activate properly.
- Add the Soap: Gently add 3-5 drops of blue dish soap to the mixture. This will be the drowning agent.
- Assemble the Trap (if using a bottle): Invert the top portion of the cut soda bottle (the part with the spout) and place it upside down into the bottom half, creating a funnel. The spout should be just above the liquid level without touching it. This design makes it easy for mosquitoes to fly in but hard to fly out. If using a bucket, simply leave it open.
- Position Your Trap: Place your homemade mosquito trap in an area prone to mosquitoes, such as near dense foliage, stagnant water (if unavoidable), or in shaded, damp corners of your yard.
Placement & Maintenance Tips
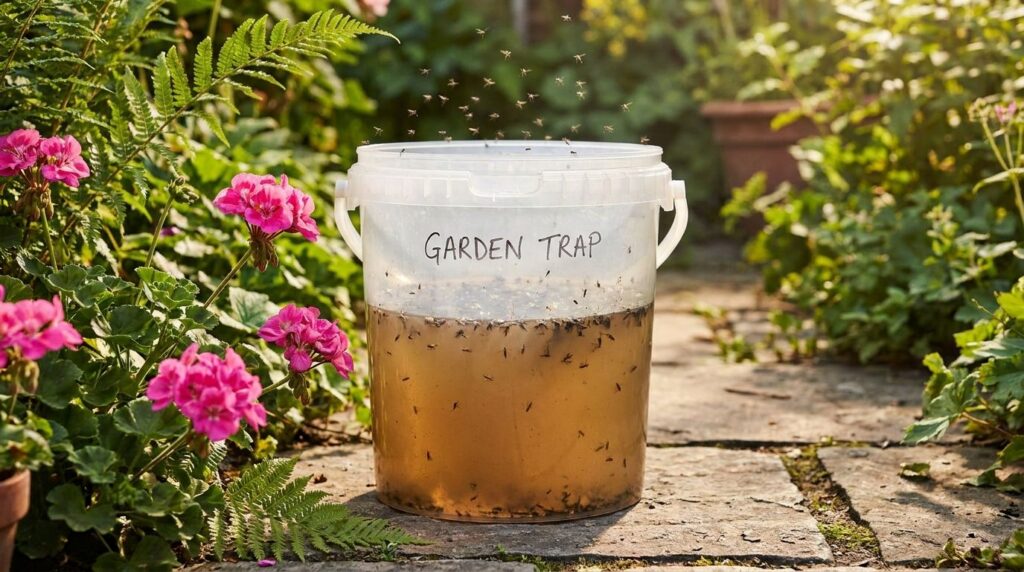
- Strategic Placement: Place traps away from high-traffic areas where people will be, but close enough to where mosquitoes are active. Shaded, wind-protected spots are ideal. Consider placing them near bushes, standing water sources, or shaded patios.
- Regular Checks: Check your trap every few days. You’ll likely be amazed by the number of mosquitoes and other small insects caught!
- Refresh the Solution: The yeast will eventually lose its effectiveness. For optimal results, replace the solution every 1-2 weeks, or sooner if you notice a decrease in trapped insects or if the solution looks particularly murky.
- Safe Disposal: When emptying the trap, simply pour the old solution down a drain or onto an inconspicuous patch of ground away from gardens, as it will contain dead insects. Clean the container before refilling.
Safety and Best Practices
- Keep Out of Reach: While the ingredients are generally non-toxic, it’s always a good idea to keep the trap out of reach of small children and pets to prevent accidental ingestion.
- Avoid Direct Sunlight: Placing the trap in direct, intense sunlight can cause the water to evaporate too quickly and may reduce the yeast’s effectiveness. Shaded areas are best.
- Multiple Traps: For larger yards or areas with severe mosquito problems, consider setting up several traps around your property for maximum effectiveness.
Say goodbye to itchy bites and hello to enjoyable outdoor living! This simple, cost-effective, and natural mosquito trap is a game-changer for anyone looking to reclaim their yard from these persistent pests. Give it a try this summer and enjoy the magic of a bite-free experience!
What are your favorite natural pest control tips? Share them in the comments below!