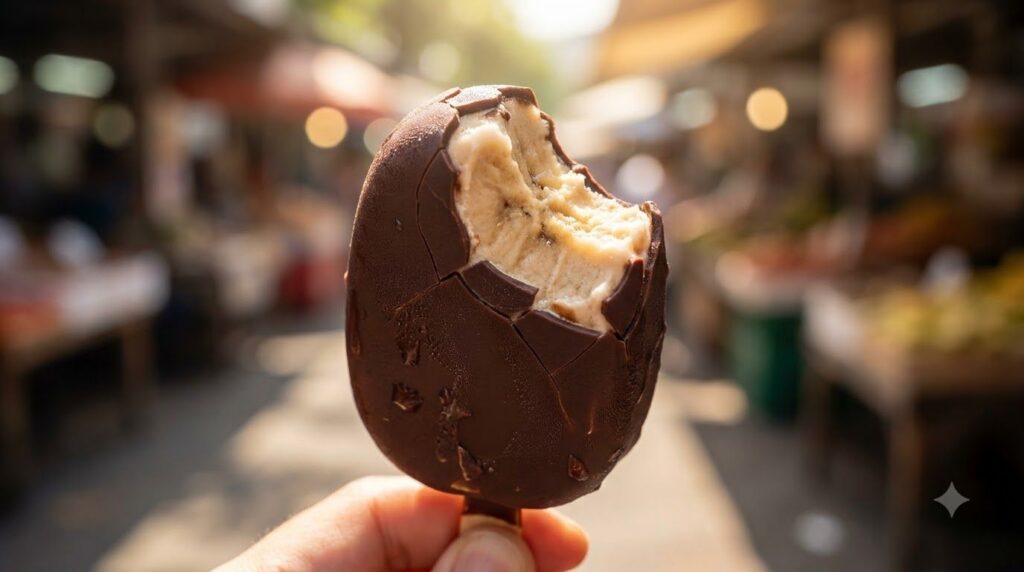
Craving a healthy, delicious treat that’s also incredibly easy to make? Look no further than these homemade Creamy Chocolate Banana Ice Cream Bars! They are the perfect solution for a hot day, a sweet craving, or just a fun, family-friendly dessert.
Imagine biting into a cool, smooth bar, rich with the natural sweetness of ripe bananas and deep, satisfying chocolate. The texture is wonderfully creamy, almost like soft-serve ice cream, but firm enough to hold its shape. And the best part? It’s all made with wholesome ingredients you likely already have on hand.
This recipe is incredibly simple, requiring minimal fuss and no special ice cream maker. It’s a fantastic way to use up those extra ripe bananas on your counter. Serve them after dinner, as an afternoon snack, or anytime you need a refreshing pick-me-up. Your family will absolutely adore these healthy, delightful frozen treats!
Why You’ll Love This Recipe
- Ready in a flash: Minimal prep time means more time to enjoy.
- Naturally Sweet & Healthy: Made with wholesome ingredients and no added refined sugar.
- No-Bake & Easy: Perfect for any skill level, no oven required!
- Kid-Friendly: A treat everyone, especially the little ones, will love.
- Dairy-Free Delight: Naturally vegan and dairy-free, suitable for many diets.
- Budget-Friendly: Uses common, inexpensive ingredients.
Ingredients
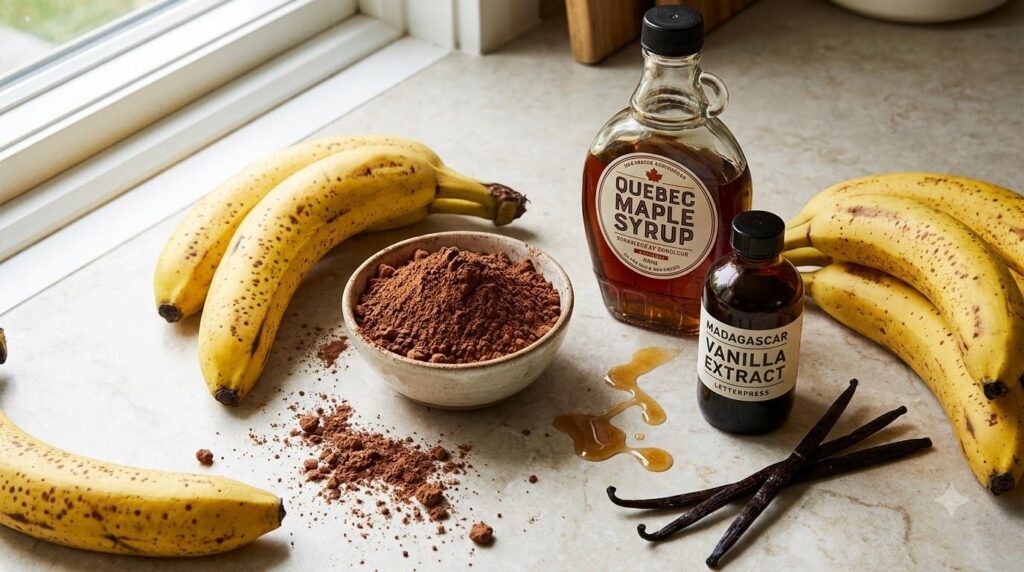
- 4 very ripe bananas, peeled and sliced: The riper, the sweeter! Look for bananas with plenty of brown spots. Using frozen banana slices can create an even creamier texture.
- ¼ cup unsweetened cocoa powder: For that rich chocolate flavor. Cacao powder works beautifully too.
- 2-3 tablespoons maple syrup or honey: Adjust to your sweetness preference. You can also use agave nectar.
- 1 teaspoon vanilla extract: Enhances all the flavors.
- Pinch of salt: A little salt always makes chocolate taste better!
Optional Chocolate Coating
- ½ cup chocolate chips (dairy-free if preferred): Dark chocolate works best for a less sweet coating.
- 1 tablespoon coconut oil: Helps the chocolate melt smoothly and harden nicely.
Kitchen Equipment
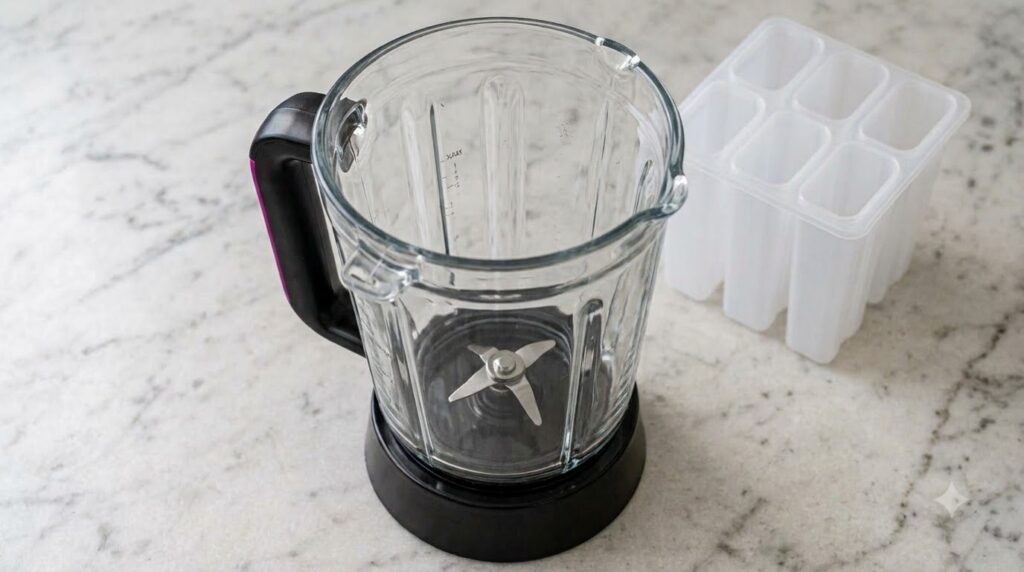
- Food processor or high-speed blender
- Loaf pan (8.5 x 4.5 inch) or an 8×8 inch square pan
- Parchment paper
- Measuring cups and spoons
- Spatula
- Knife
Step-by-Step Instructions
- Prepare the Pan: Line your loaf pan or square pan with parchment paper, leaving an overhang on the sides. This will make it much easier to lift the frozen mixture out later.
- Blend the Base: Add the sliced ripe bananas, cocoa powder, maple syrup (or honey), vanilla extract, and a pinch of salt to your food processor or high-speed blender.
- Process Until Smooth: Blend until the mixture is completely smooth and creamy, scraping down the sides as needed. This might take a few minutes, but keep going until there are no lumps and it resembles soft-serve ice cream.
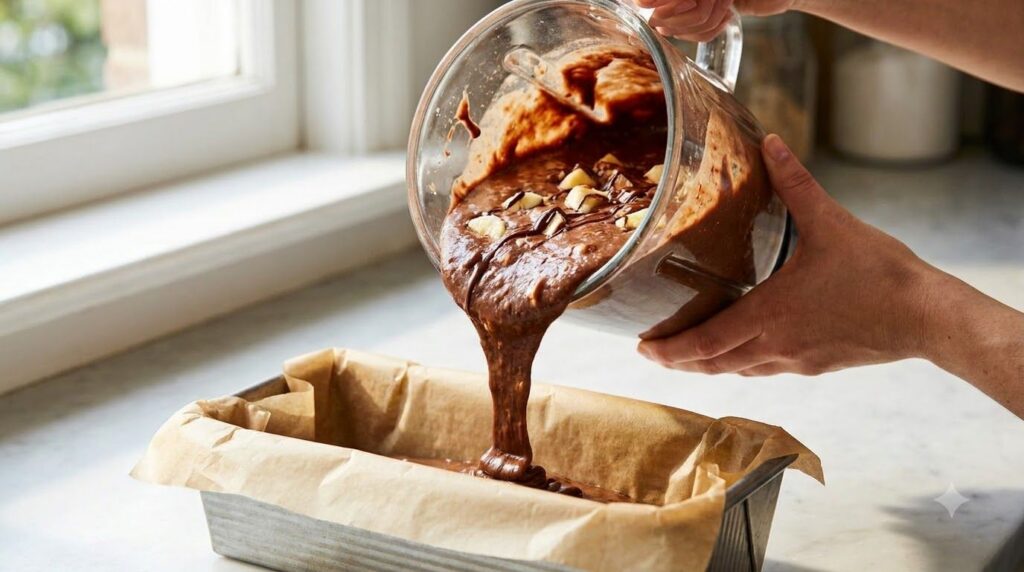
- Pour and Freeze: Pour the creamy banana mixture into your prepared pan. Use a spatula to spread it evenly.
- Freeze Firm: Place the pan in the freezer for at least 2-4 hours, or until completely firm.
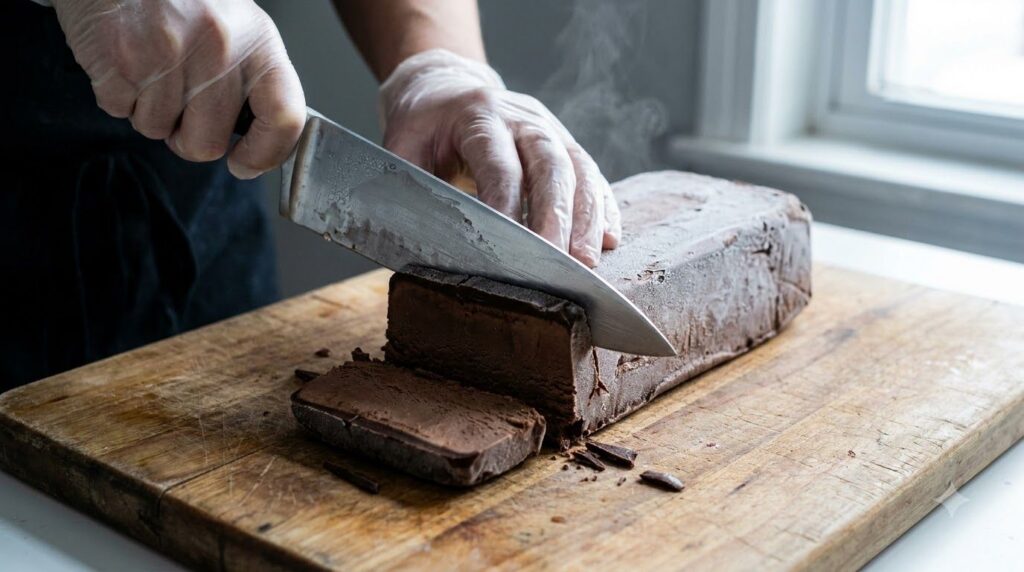
- Cut into Bars: Once frozen solid, use the parchment paper overhang to lift the frozen block out of the pan. Place it on a cutting board and cut it into desired bar shapes and sizes using a sharp knife.
- Optional Chocolate Coating (if using): In a microwave-safe bowl, combine the chocolate chips and coconut oil. Microwave in 30-second intervals, stirring in between, until completely melted and smooth.
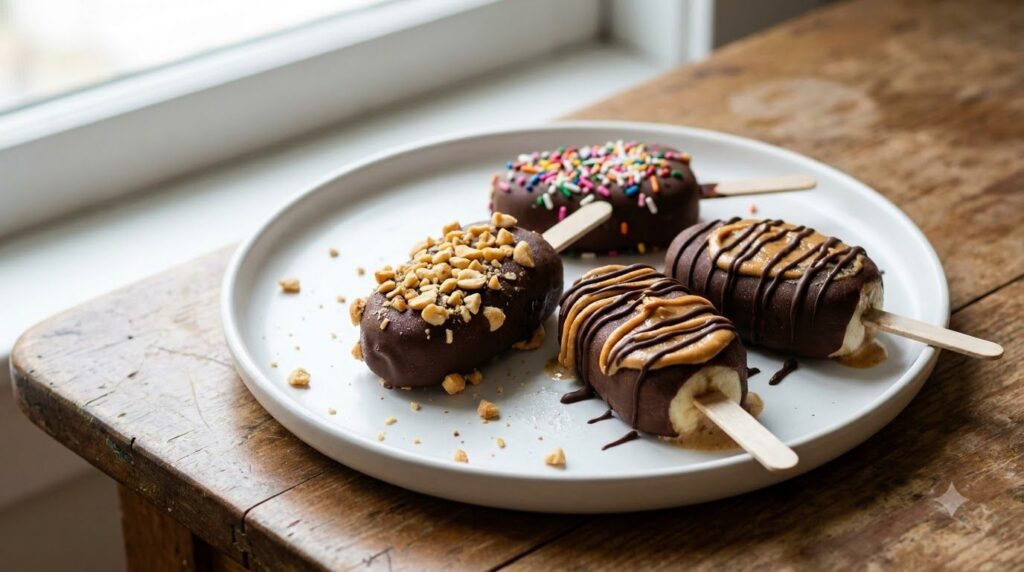
- Dip the Bars: Dip each frozen banana bar into the melted chocolate, letting any excess drip off. You can fully coat them or just drizzle the top.
- Freeze Again: Place the coated bars on a parchment-lined plate or baking sheet and return them to the freezer for another 15-30 minutes, or until the chocolate coating is firm.
- Enjoy!: Serve directly from the freezer and savor this delightful treat!
Expert Tips
- Use Very Ripe Bananas: This is key for natural sweetness and a creamy texture. Green bananas won’t be sweet enough and will produce a less smooth result.
- Chill Your Pan: For a faster freeze and to prevent sticking, you can place your empty pan in the freezer for 15 minutes before pouring in the mixture.
- For Easier Cutting: If the slab is too hard to cut, let it sit at room temperature for 5-10 minutes before slicing. Run your knife under hot water for cleaner cuts.
- Don’t Skimp on Blending: Ensure your banana mixture is super smooth before freezing. Any small chunks will affect the creamy texture of your bars.
- A Pinch of Salt: Adding a tiny bit of salt to the chocolate mixture (if making a coating) helps to bring out the chocolate flavor even more.
Variations
- Peanut Butter Swirl: After pouring the banana mixture into the pan, dollop a few spoonfuls of natural peanut butter or almond butter on top and swirl gently with a knife before freezing.
- Mint Chocolate Chip: Add ¼ teaspoon of peppermint extract to the banana mixture and stir in a handful of mini chocolate chips before freezing.
- Berry Blast: Blend in ½ cup of fresh or frozen mixed berries (strawberries, raspberries, blueberries) along with the bananas for a fruity twist.
- Spiced: A pinch of cinnamon or nutmeg can add a cozy warmth to the chocolate banana flavor.
- Protein Packed: Stir in a scoop of your favorite chocolate or vanilla protein powder to the banana mixture before blending for an extra boost.
What to Serve With
These creamy chocolate banana ice cream bars are wonderful on their own, but they also pair nicely with a few extras:
- A refreshing glass of cold almond milk or oat milk.
- Alongside a light fruit salad with berries and melon.
- As a dessert after a simple summer meal like grilled chicken or a big salad.
- With a cup of freshly brewed iced coffee for an afternoon treat.
Storage
- Refrigerator: These bars are best enjoyed frozen and will not hold their ice cream consistency in the refrigerator.
- Freezer: Store the frozen bars in an airtight container in the freezer. Place parchment paper between layers to prevent them from sticking together. They will stay fresh and delicious for up to 2-3 weeks.
- Reheating: No reheating needed! Just grab and enjoy straight from the freezer.
Frequently Asked Questions
Can I use frozen bananas for this recipe?
Absolutely! Using pre-frozen banana slices will give you an even creamier, thicker mixture, perfect for ice cream bars. Just be sure your food processor or blender is powerful enough to handle them.
Are these chocolate banana ice cream bars dairy-free?
Yes, this recipe is naturally dairy-free! Just be sure to use dairy-free chocolate chips if you opt for the chocolate coating.
How long do these bars take to freeze completely?
Typically, they need at least 2-4 hours in the freezer to become firm enough to cut and handle. If your freezer is very cold or your pan is shallow, it might be faster. For best results, freeze overnight.
What if I don’t have a food processor?
A high-speed blender can also work, but you might need to stop and scrape down the sides more frequently, and add a tiny splash of milk (dairy or non-dairy) to help it blend if it’s too thick.
Can I skip the chocolate coating?
Yes, you can! The bars are delicious and healthy even without the chocolate coating. They will still be a wonderful, refreshing treat.
How ripe should the bananas be for the best flavor?
You want very ripe bananas, the kind with lots of brown spots. These bananas are at their peak sweetness and will give your ice cream bars the best flavor and texture.
Nutrition
(Approximate values per bar, based on 8 servings, without optional chocolate coating)
- Calories: 110
- Protein: 2g
- Fat: 1g
- Carbs: 27g
- Fiber: 3g
- Sugar: 18g
- Sodium: 5mg
Nutritional information is an estimate and may vary.
Conclusion
These Creamy Chocolate Banana Ice Cream Bars are truly a game-changer for anyone looking for a healthy, easy, and absolutely delicious frozen treat. They bring joy to a hot afternoon and are a perfect guilt-free dessert for the whole family.
I hope you try making a batch of these soon! Don’t forget to let me know in the comments how they turn out, and feel free to rate the recipe. If you loved these, be sure to browse through our other recipes for more inspiring and easy home cooking ideas!