Amazing Car Cleaning Hacks You Need to Try!
Is your car’s interior looking a little less than pristine? Tired of those stubborn fingerprints, layers of dust, and hazy windows that just won’t clear up? You don’t need expensive, specialized cleaners to get your vehicle sparkling again. This simple DIY mixture, made with ingredients you likely already have in your pantry, is a fantastic solution for tackling interior grime and leaving your car looking fresh.
It’s an easy, cost-effective way to refresh your car’s surfaces and windows without harsh chemicals, making your regular clean-up routine much more enjoyable.
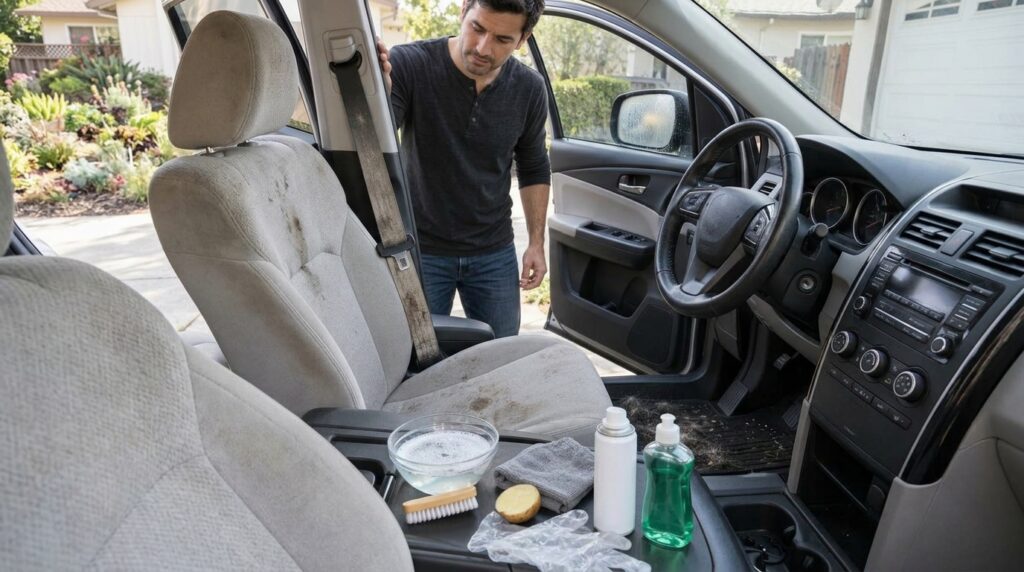
What You’ll Need
Ingredients / Materials:
- 1 cup white vinegar
- 1 cup distilled or filtered water
- 2-3 drops mild dish soap (optional, for tougher grime)
Tools:
- An empty, clean spray bottle
- 2-3 clean microfiber cloths (one for cleaning, one for buffing dry)
Why This DIY Can Be Useful
This simple cleaning solution leverages the power of common household items:
- White Vinegar: Known for its acidic properties, white vinegar is excellent at cutting through grease, grime, and mineral deposits, making it effective for tackling fingerprints and general buildup on many surfaces, including glass.
- Water: Using distilled or filtered water helps prevent streaks, especially on windows and shiny surfaces, as it lacks the minerals found in tap water.
- Mild Dish Soap: If you choose to add it, a few drops of dish soap act as a degreaser, breaking down tougher oily residues and stubborn dirt, making the cleaning solution even more potent for heavily soiled areas.
How to Make It
- Gather your white vinegar, water, and an empty spray bottle. If using, have your mild dish soap ready.
- Carefully pour 1 cup of white vinegar into the spray bottle.
- Add 1 cup of distilled or filtered water to the bottle.
- If you’re dealing with stubborn grime, add 2-3 drops of mild dish soap to the mixture.
- Secure the spray nozzle tightly and gently shake the bottle to combine the ingredients.
How to Use It
This cleaner is versatile for various interior car surfaces. Always test in an inconspicuous area first.
- For General Cleaning: Lightly mist the solution onto a clean microfiber cloth, rather than directly onto surfaces.
- Wipe Down Surfaces: Use the dampened cloth to wipe down hard interior surfaces such as the dashboard, door panels, center console, and steering wheel. For vents and crevices, you can use a detailing brush or cotton swab with a little solution.
- For Windows and Mirrors: Lightly mist the solution directly onto the glass. Immediately wipe clean with one microfiber cloth, then quickly buff dry with a separate, clean, dry microfiber cloth to prevent streaks.
- Address Stubborn Grime: For particularly sticky spots or heavy buildup, spray the solution directly onto the area, let it sit for a minute or two (do not let it dry), and then scrub gently with a microfiber cloth before wiping clean.
What to Expect
You can expect a noticeably cleaner car interior with this DIY solution. Surfaces should feel smoother and appear free of dust and fingerprints. Windows and mirrors should be clear and streak-free, significantly improving visibility. While it’s effective for general grime and buildup, extremely deep stains or heavily embedded dirt might require a more specialized approach.
Helpful Tips
- Work in Sections: To avoid the solution drying on surfaces, especially on hot days, clean your car interior in small sections.
- Avoid Over-Saturating: Always spray onto your cloth first for sensitive electronics or fabrics to avoid oversaturation.
- Use Good Microfiber Cloths: High-quality microfiber cloths are key for streak-free results and effective dirt lifting. Have several on hand so you can switch to a clean one as needed.
- Don’t Forget the Details: Use cotton swabs or small brushes dipped in the solution to clean hard-to-reach areas like air vents, button crevices, and seams.
Important Notes / Safety
- Ventilation: Always ensure good ventilation when cleaning your car’s interior, even with natural solutions.
- Patch Test: Before applying the solution widely, test it on a small, inconspicuous area of each material type (e.g., dashboard plastic, door panel fabric) to ensure no discoloration or damage occurs.
- Avoid Electronics: Do not spray directly onto electronic components, screens, or open electrical ports. Always spray onto a cloth first.
- Leather and Delicate Surfaces: While generally safe, be cautious on untreated leather or very delicate finishes. Test thoroughly or use a dedicated leather cleaner.
- Storage: Store your DIY cleaner in a cool, dark place. Label the bottle clearly.