Are your beloved wooden furniture pieces looking a little lackluster? Over time, wood can lose its vibrant shine, appearing dull and dry due to everyday wear, sun exposure, and dust. Before you consider expensive polishes or even replacing your furniture, there’s a simple, natural DIY solution that can help revive its natural beauty.
This easy-to-make wood restorer uses just three common household ingredients to nourish your wood, bringing back that rich, healthy luster without harsh chemicals. It’s an affordable and effective way to give your wooden cabinets, tables, or even decorative items a much-needed refresh.
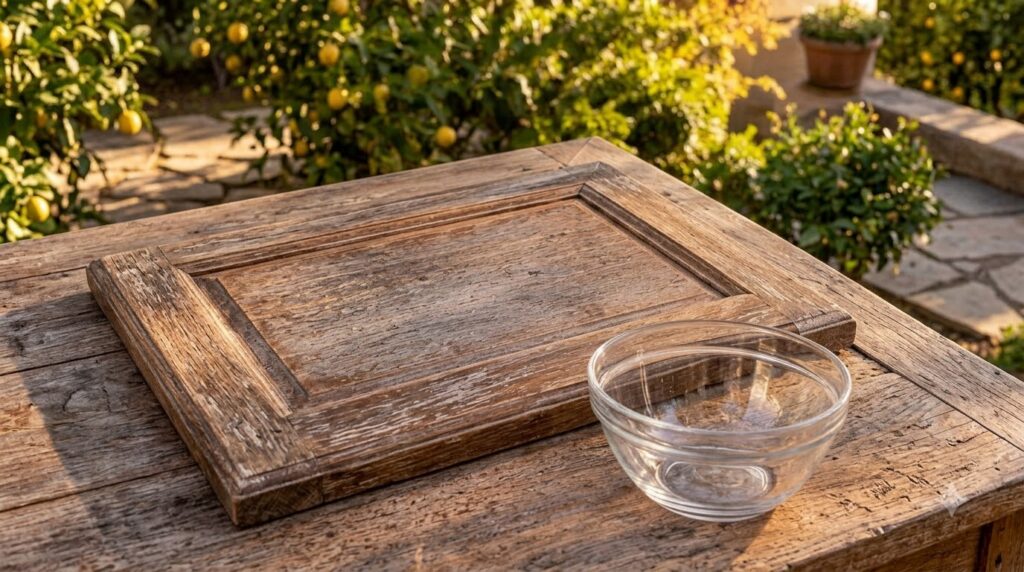
What You’ll Need
- 1 tablespoon petroleum jelly
- 1 teaspoon baby oil (mineral oil based)
- 1 teaspoon lemon juice
- Small mixing bowl
- Spoon or small spatula for mixing
- Soft, clean cloths (at least two: one for applying, one for buffing)
Why This DIY Can Be Useful
Each ingredient in this DIY wood restorer plays a specific role in bringing your wood back to life:
- Petroleum Jelly: This acts as a conditioning agent, helping to moisturize dry wood and create a protective barrier. It can fill in minor surface imperfections and contribute to a subtle shine.
- Baby Oil: Typically mineral oil, baby oil is excellent for nourishing wood without leaving a greasy residue that attracts dust. It penetrates the wood fibers to enhance their natural color and luster, providing a long-lasting, healthy glow.
- Lemon Juice: A mild, natural acid, lemon juice helps to cut through accumulated grime, light watermarks, and dullness, cleaning the wood surface gently. It also leaves behind a pleasant, fresh scent.
Together, these ingredients work synergistically to clean, nourish, and protect your wooden surfaces.
How to Make It
Making this wood restorer is incredibly simple:
- In your small mixing bowl, add 1 tablespoon of petroleum jelly.
- Next, add 1 teaspoon of baby oil to the petroleum jelly.
- Finally, add 1 teaspoon of lemon juice to the mixture.
- Using a spoon or small spatula, thoroughly mix all three ingredients together until you have a consistent, creamy paste. It may take a minute or two to fully combine the ingredients.
How to Use It
Once your wood restorer is mixed, you’re ready to revitalize your furniture:
- Clean the Surface: Before applying the restorer, ensure your wooden surface is free of dust and loose debris. Wipe it down with a dry or slightly damp cloth if necessary, and let it dry completely.
- Apply the Restorer: Take one of your soft, clean cloths and dip it into the homemade wood restorer. Apply a thin, even layer of the mixture to the wooden surface, working in small sections and moving with the grain of the wood.
- Let It Sit: Allow the restorer to penetrate the wood for at least 15-30 minutes. For very dry or dull wood, you can leave it on for up to a few hours.
- Buff to Shine: After the waiting time, use your second clean, dry cloth to buff the surface gently. Rub in circular motions and then with the grain until any excess product is removed and a beautiful shine appears.
What to Expect
You can expect to see a noticeable improvement in the appearance of your wooden furniture. The wood should look richer, more vibrant, and feel smoother to the touch. It will have a healthy, natural luster rather than an artificial gloss. This DIY restorer helps to condition and protect the wood, making it less prone to drying out and looking dull in the future. Keep in mind that for very deep scratches or heavily damaged wood, this solution will improve the appearance but may not completely restore it to a brand-new state.
Helpful Tips
- Patch Test: Always test the restorer on an inconspicuous area of your furniture first to ensure it reacts well with your specific wood finish. This is especially important for antique pieces or unusual wood types.
- Clean First: For best results, ensure your wood is clean before application. A simple wipe-down with a microfiber cloth to remove dust is usually sufficient.
- Reapply as Needed: Depending on the wood’s condition and environmental factors, you may need to reapply this treatment every few months to maintain the shine and nourishment.
- Small Batches: It’s best to make this restorer in small batches as needed, though it can be stored in an airtight container at room temperature for a few weeks.
Important Notes / Safety
- This DIY wood restorer is generally safe for most finished wooden surfaces. However, it is not recommended for unfinished wood, raw wood, or very delicate antique finishes without prior professional advice and extensive patch testing.
- Ensure good ventilation when working, especially if you are sensitive to scents.
- Always use clean cloths to avoid scratching the wood surface.
- While generally safe, avoid prolonged skin contact, and wash your hands after use.

