Making a perfect pie starts with a fantastic crust. Whether you’re a seasoned baker or just beginning your culinary journey, mastering a few versatile pie crust recipes can elevate your desserts from good to unforgettable. This comprehensive guide will walk you through six delicious pie crust recipes, ranging from the timeless classic to exciting, flavorful alternatives. Get ready to bake pies that are sure to impress!
Quick Overview
- Main topic: Diverse pie crust recipes
- Best for: Home bakers of all skill levels
- Number of recipes: 6
- Prep style: Mixing, chilling, and pressing
- Reader benefit: Easy-to-follow instructions for various pie crusts
Recipe 1: Classic Buttery Flaky Pie Crust
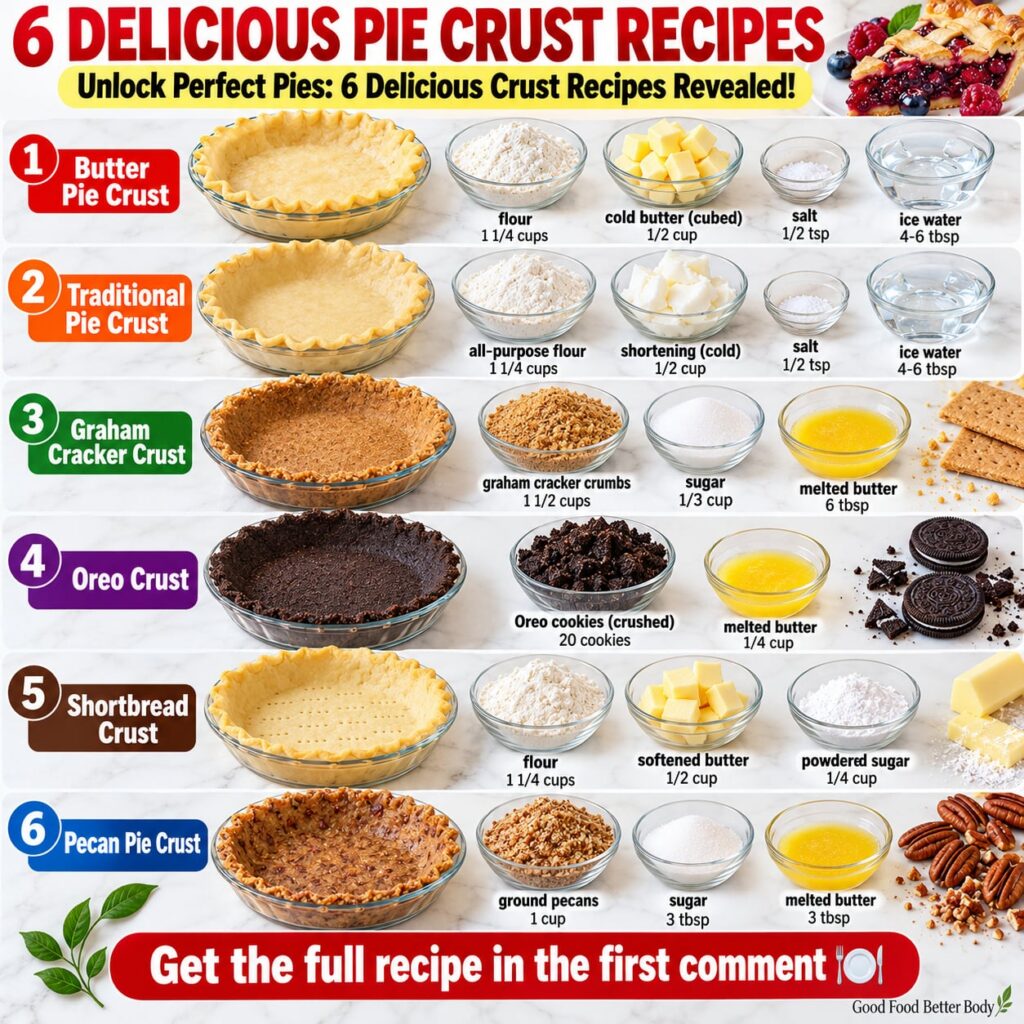
This is the essential, traditional pie crust recipe that yields a tender, buttery, and incredibly flaky result. Perfect for sweet and savory pies alike.
Servings: 1 double-crust pie or 2 single-crust pies (9-inch)
Prep time: 20 minutes
Chill time: 30-60 minutes
Ingredients:
- 2 ½ cups all-purpose flour
- 1 teaspoon salt
- 1 cup (2 sticks) unsalted butter, very cold and cubed
- ½ cup ice water (plus 1-2 tablespoons more if needed)
Instructions:
- In a large bowl, whisk together the flour and salt.
- Add the cold, cubed butter to the flour mixture. Using a pastry blender, your fingertips, or a food processor, cut the butter into the flour until the mixture resembles coarse crumbs with some pea-sized pieces of butter remaining.
- Gradually add the ice water, 1 tablespoon at a time, mixing until the dough just comes together. Be careful not to overmix.
- Divide the dough into two equal discs, flatten slightly, wrap tightly in plastic wrap, and refrigerate for at least 30 minutes (or up to 2 days).
- When ready to bake, roll out the dough on a lightly floured surface to your desired thickness and size.
Storage / Serving / Usage Note: Dough can be stored in the refrigerator for up to 2 days or frozen for up to 3 months. Thaw in the refrigerator before rolling.
Recipe 2: Easy Oreo Cookie Pie Crust
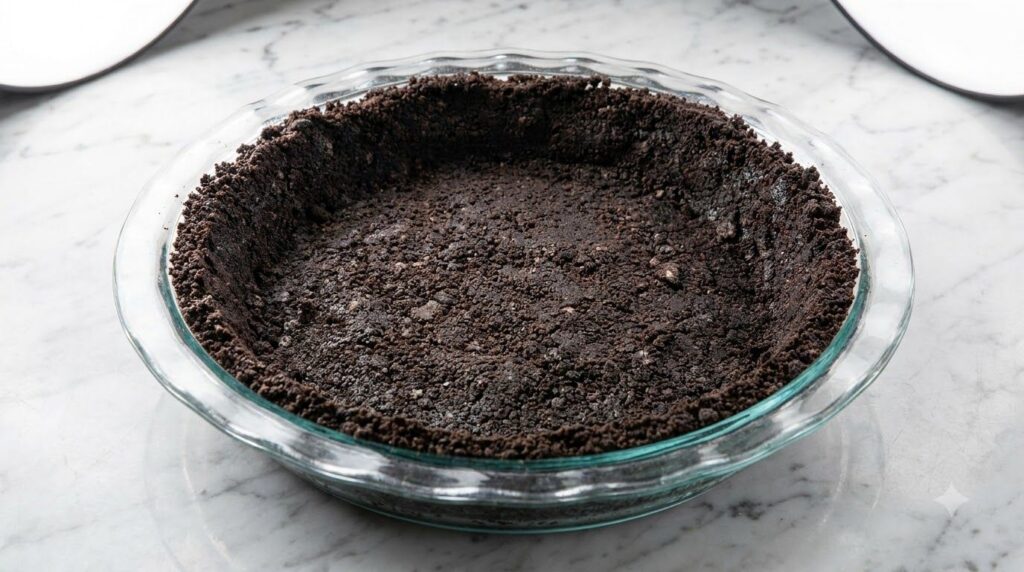
This no-bake Oreo crust is incredibly simple to make and adds a rich, chocolatey flavor to any pie. It’s especially great for cheesecakes, ice cream pies, or no-bake cream pies.
Servings: 1 single-crust pie (9-inch)
Prep time: 10 minutes
Chill time: 30 minutes
Ingredients:
- 25-30 Oreo cookies (about 1 ½ sleeves), finely crushed
- ¼ cup (½ stick) unsalted butter, melted
Instructions:
- Finely crush the Oreo cookies (including the cream filling) in a food processor or by placing them in a Ziploc bag and crushing with a rolling pin.
- Transfer the crushed Oreos to a medium bowl and pour in the melted butter. Mix well until the crumbs are evenly moistened.
- Press the mixture firmly into the bottom and up the sides of a 9-inch pie plate. You can use the bottom of a glass or your fingers to get an even, compact crust.
- Refrigerate for at least 30 minutes to set before filling.
Storage / Serving / Usage Note: Keep refrigerated until ready to fill and serve. This crust is best for no-bake or chilled fillings.
Recipe 3: Sweet Graham Cracker Pie Crust
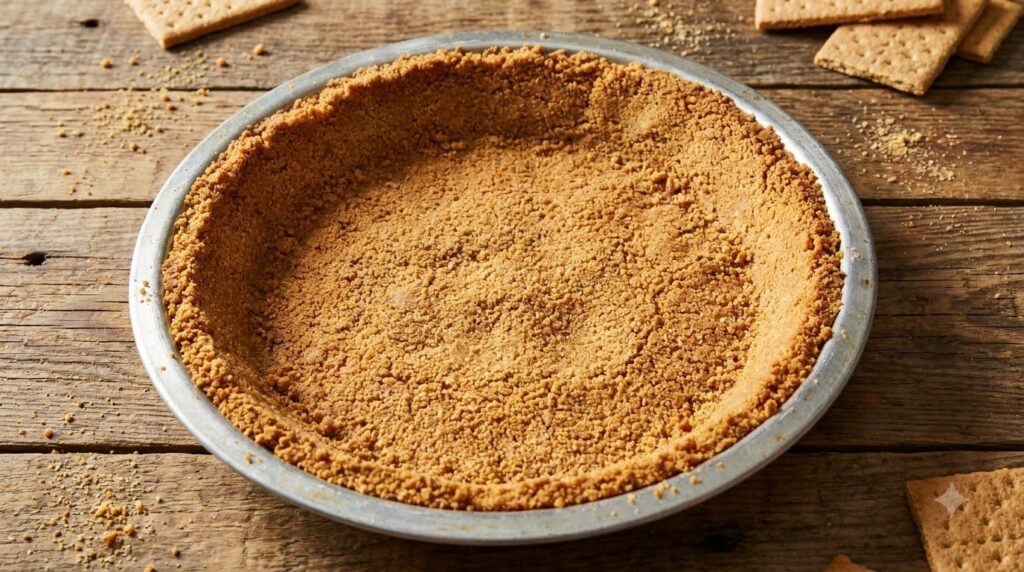
A versatile and easy-to-make crust with a delightful hint of honey and cinnamon, perfect for a variety of sweet fillings.
Servings: 1 single-crust pie (9-inch)
Prep time: 10 minutes
Bake / Chill time: 10 minutes (bake) or 30 minutes (chill)
Ingredients:
- 1 ½ cups graham cracker crumbs (about 10-12 full sheets)
- ¼ cup granulated sugar
- ⅓ cup (about ⅔ stick) unsalted butter, melted
Instructions:
- Preheat oven to 350°F (175°C) if baking, or prepare for chilling.
- In a medium bowl, combine the graham cracker crumbs and sugar.
- Pour in the melted butter and mix until the crumbs are thoroughly moistened and stick together.
- Press the mixture evenly into the bottom and up the sides of a 9-inch pie plate.
- For a firmer crust, bake for 8-10 minutes. For a no-bake option, chill in the refrigerator for at least 30 minutes to set.
Storage / Serving / Usage Note: This crust can be baked or left unbaked depending on your pie filling. Store any leftover pie with this crust in the refrigerator.
Recipe 4: Rich Shortbread Pie Crust
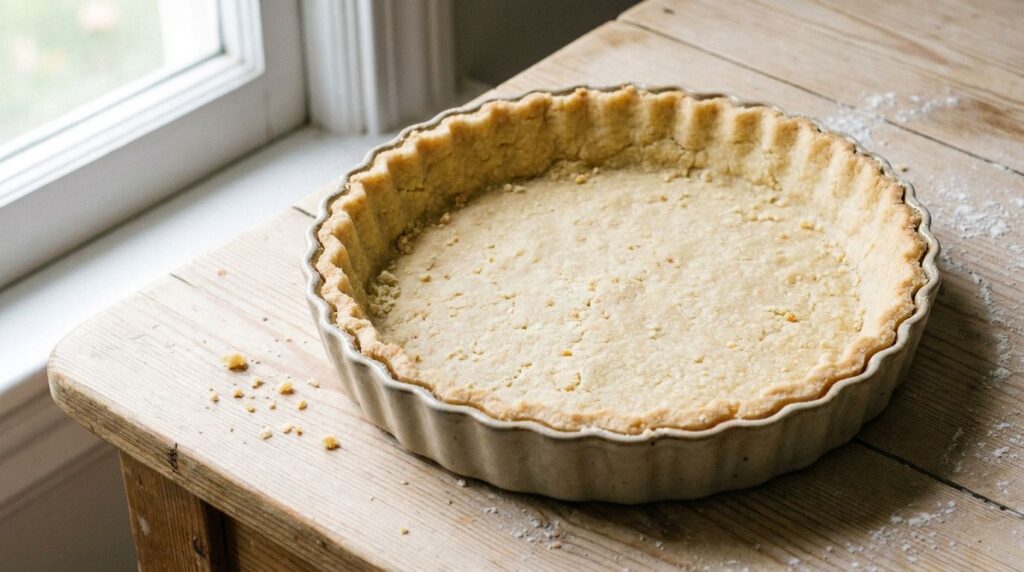
This shortbread crust is wonderfully tender and rich, offering a delicate sweetness that complements fruit tarts, lemon bars, and creamy fillings beautifully.
Servings: 1 single-crust pie or tart (9-inch)
Prep time: 15 minutes
Chill time: 30 minutes
Bake time: 20-25 minutes
Ingredients:
- 1 ½ cups all-purpose flour
- ½ cup powdered sugar
- ½ teaspoon salt
- ¾ cup (1 ½ sticks) unsalted butter, cold and cubed
Instructions:
- In a food processor, combine flour, powdered sugar, and salt. Pulse a few times to combine.
- Add the cold, cubed butter and pulse until the mixture comes together into a ball. Do not overmix.
- Press the dough evenly into a 9-inch pie plate or tart pan. Prick the bottom with a fork.
- Refrigerate for 30 minutes.
- Preheat oven to 350°F (175°C). Bake the chilled crust for 20-25 minutes, or until lightly golden.
Storage / Serving / Usage Note: This crust is quite delicate once baked. Allow to cool completely before filling. Store filled tarts or pies in the refrigerator.
Recipe 5: Gluten-Free Almond Flour Pie Crust
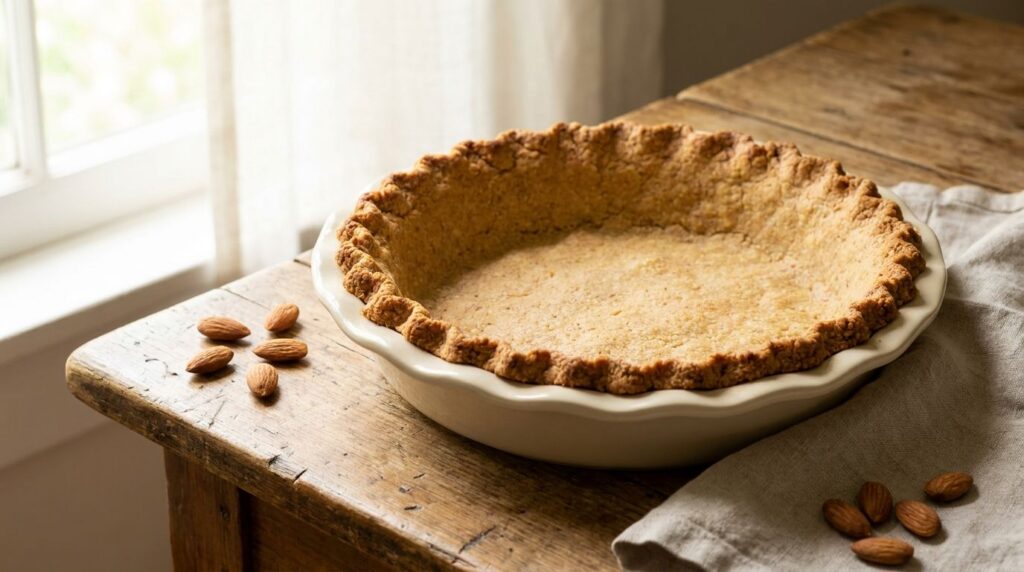
For those avoiding gluten, this almond flour crust offers a tender texture and a delicate nutty flavor. It’s a fantastic option for both sweet and savory gluten-free pies.
Servings: 1 single-crust pie (9-inch)
Prep time: 10 minutes
Bake time: 15-20 minutes
Ingredients:
- 2 cups almond flour
- ¼ cup powdered sugar (or other sweetener to taste)
- ¼ teaspoon salt
- ⅓ cup unsalted butter, melted
Instructions:
- Preheat oven to 350°F (175°C).
- In a medium bowl, combine the almond flour, powdered sugar, and salt.
- Pour in the melted butter and mix until well combined and the mixture resembles coarse crumbs.
- Press the mixture evenly into a 9-inch pie plate.
- Bake for 15-20 minutes, or until the edges are lightly golden brown.
- Let cool completely before filling.
Storage / Serving / Usage Note: Due to its delicate nature, handle this crust gently. It pairs well with fruit fillings, chocolate ganache, or creamy custards. Store filled pies in the refrigerator.
Recipe 6: Healthier Whole Wheat Pie Crust
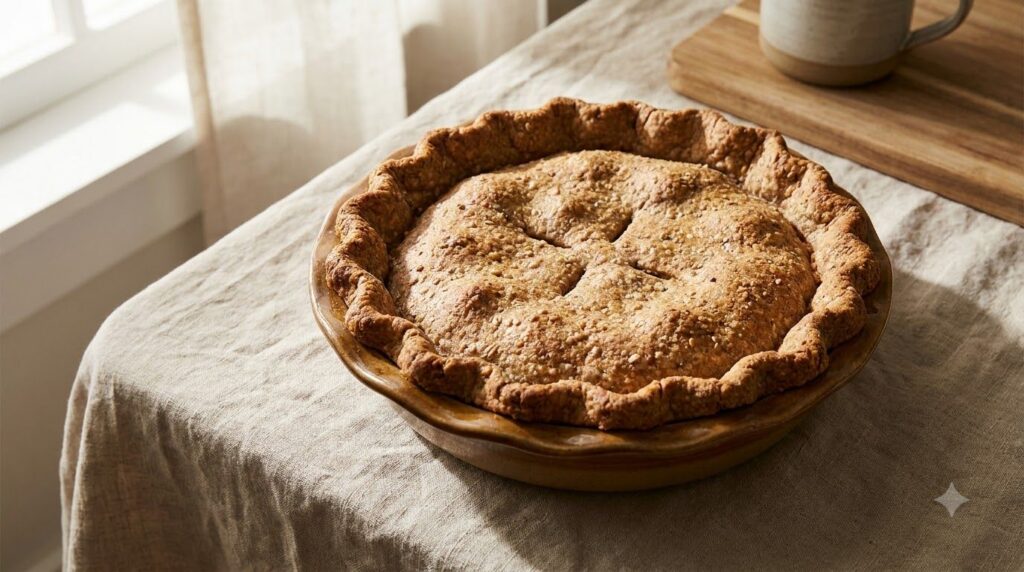
This whole wheat pie crust offers a rustic, nutty flavor and a good source of fiber, making your pies a little bit healthier without sacrificing deliciousness. It’s a great choice for hearty fruit pies or savory quiches.
Servings: 1 single-crust pie (9-inch)
Prep time: 15 minutes
Chill time: 30-60 minutes
Ingredients:
- 1 ¼ cups whole wheat flour
- ¼ cup all-purpose flour
- ½ teaspoon salt
- ½ cup (1 stick) unsalted butter, very cold and cubed
- ¼ cup ice water (plus 1-2 tablespoons more if needed)
Instructions:
- In a large bowl, whisk together the whole wheat flour, all-purpose flour, and salt.
- Add the cold, cubed butter to the flour mixture. Using a pastry blender or your fingertips, cut the butter into the flour until the mixture resembles coarse crumbs.
- Gradually add the ice water, 1 tablespoon at a time, mixing until the dough just comes together.
- Form the dough into a disc, wrap tightly in plastic wrap, and refrigerate for at least 30 minutes.
- Roll out the chilled dough on a lightly floured surface to fit your pie plate.
Storage / Serving / Usage Note: This crust can be slightly more delicate than all-purpose flour crusts. It bakes up beautifully for fruit pies, apple pie, or savory quiches. Store chilled or baked pies in the refrigerator.
Simple Tips for Best Results
- Keep Ingredients Cold: For flaky pie crusts (like the classic and whole wheat), ensure your butter and water are as cold as possible. This prevents the butter from melting too quickly, creating steam pockets for flakiness.
- Don’t Overmix: Overmixing develops gluten, leading to tough crusts. Mix just enough until the dough comes together.
- Chill Your Dough: Chilling allows the gluten to relax and the butter to firm up, making the dough easier to roll and preventing shrinkage during baking.
- Blind Bake When Necessary: For wet fillings or to prevent a soggy bottom, blind bake your crust. Prick the bottom with a fork, line with parchment paper, fill with pie weights, and bake until lightly golden.
- Use the Right Tools: A pastry blender or food processor can help incorporate butter efficiently without overworking the dough.
FAQ
What makes a pie crust flaky?
Flakiness comes from small pieces of cold butter (or fat) layered within the dough. As the crust bakes, the water in the butter turns to steam, creating air pockets and separating the layers of dough.
Can I make pie crust dough ahead of time?
Yes! Most pie crust doughs can be made 1-2 days in advance and stored in the refrigerator, tightly wrapped. Some can even be frozen for several months.
How do I prevent my pie crust from shrinking?
Chilling your dough sufficiently (at least 30 minutes), not overworking it, and avoiding stretching it too much when fitting it into the pie plate can help prevent shrinkage.
Final Thoughts
Creating the perfect pie crust is a rewarding skill that truly enhances any dessert or savory dish. With these six versatile pie crust recipes, you’re well-equipped to tackle any baking challenge. Experiment with different fillings and find your favorites – whether it’s a buttery classic, a sweet crumb, or a healthier whole wheat option, homemade pie crusts are always a delightful choice for delicious results. Happy baking!
MEDICAL DISCLAIMER: The information provided in this article is for general knowledge and informational purposes only, and does not constitute medical advice. Always consult with a qualified healthcare professional before making any decisions about your health or diet.