Hey, beauty besties! Are you dreaming of waking up with that coveted ‘glass skin’ look – radiant, smooth, and deeply hydrated? We all know that achieving flawless skin can sometimes feel like a distant dream, especially with busy schedules and confusing routines. But what if we told you that you could get closer to that glow overnight, with just three simple ingredients you probably already have at home? Sounds too good to be true? Well, get ready to be amazed!
Today, we’re diving into a super easy, incredibly effective DIY recipe that will transform your skin while you sleep. Forget expensive serums and complicated steps; this homemade overnight gel is your new secret weapon for a truly radiant complexion.
What Exactly is ‘Glass Skin’ and Why Do We Want It?
The term ‘glass skin’ originates from K-beauty and describes skin that is so smooth, luminous, and poreless, it resembles a piece of glass. It’s not about being perfectly flawless, but rather achieving an intensely hydrated, dewy, and almost translucent complexion that reflects light beautifully. It speaks to a healthy, well-cared-for skin barrier and deep hydration, making your skin look plump, youthful, and naturally glowing. Who wouldn’t want that?
The Power of DIY: Affordable & Accessible Beauty
One of the biggest hurdles to consistent skincare can be the cost and complexity of products. That’s why we’re huge fans of natural, DIY remedies! They’re not only budget-friendly but also allow you to know exactly what you’re putting on your skin. This particular 3-ingredient gel harnesses the power of common household items to deliver intense moisture and a radiant finish, proving that effective skincare doesn’t have to break the bank.
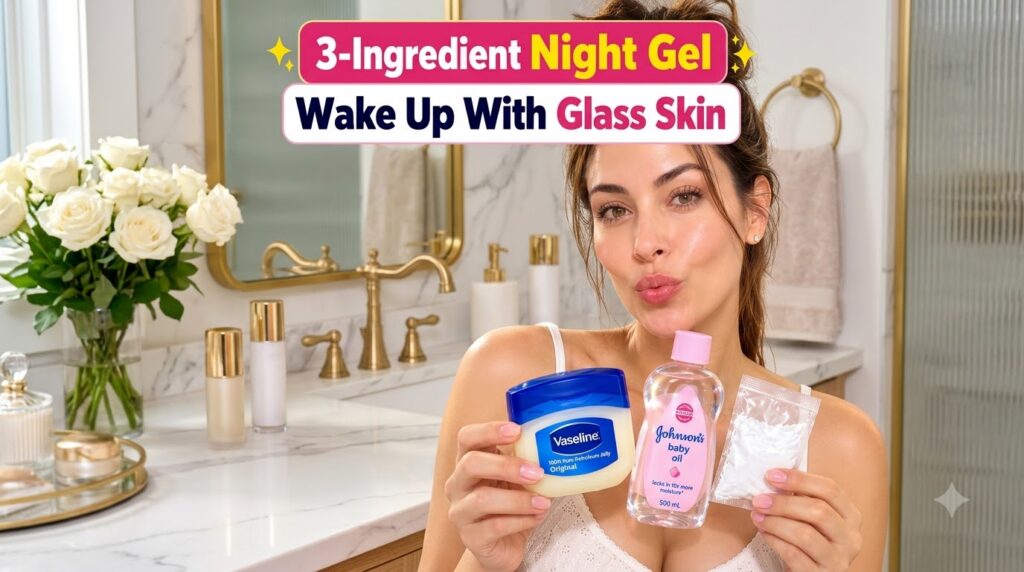
Your 3 Magic Ingredients for Overnight ‘Glass Skin’
Let’s break down the stars of our DIY overnight gel:
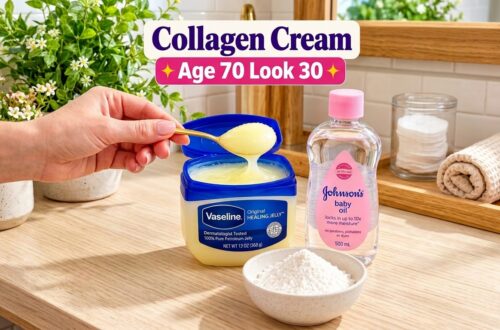
- Vaseline Petroleum Jelly: Often underestimated, Vaseline is a fantastic occlusive agent. This means it creates a protective barrier on your skin, locking in moisture and preventing transepidermal water loss. It’s incredibly effective for hydrating dry patches and ensuring your skin stays plump throughout the night.
- Johnson’s Baby Oil: Gentle and moisturizing, baby oil is essentially mineral oil. It’s non-comedogenic (won’t clog pores for most people) and helps to soften the skin, giving it a smooth and supple feel. It also helps to enhance the skin’s natural glow without feeling overly greasy when used correctly.
- A Gentle Skin-Boosting Powder (e.g., Cornstarch or Rice Flour): This ingredient acts as a mild thickening agent for the gel, giving it a nicer texture, and can also offer subtle brightening benefits. Cornstarch is known for its soothing properties and can help with oil absorption, while rice flour is a traditional Asian beauty secret for softening and illuminating the skin.
The Easy-Peasy 3-Ingredient Overnight Gel Recipe
Ready to whip up your glow-boosting gel? Here’s how:
What You’ll Need:
- 1 tablespoon of Vaseline Petroleum Jelly
- 1 teaspoon of Johnson’s Baby Oil
- 1/2 teaspoon of a gentle skin-boosting powder (like cornstarch or finely milled rice flour)
- A clean, small container or jar with a lid
- A small spoon or spatula for mixing
Step-by-Step Instructions:
- Melt the Vaseline: In a microwave-safe bowl or using a double boiler, gently melt the Vaseline until it turns into a liquid. Be careful not to overheat it; just enough to make it fluid.
- Combine Liquids: Add the Johnson’s Baby Oil to the melted Vaseline and stir well until thoroughly combined.
- Add the Powder: Gradually add the chosen skin-boosting powder to the mixture, stirring continuously. Make sure there are no lumps and the powder is fully incorporated into the oil mixture.
- Transfer & Chill: Pour the mixture into your clean container. Place it in the refrigerator for at least 30 minutes to allow it to set into a gel-like consistency.
How to Use Your Overnight ‘Glass Skin’ Gel
For best results, incorporate this gel into your nightly skincare routine:
- Cleanse Your Face: Start with a thoroughly cleansed face. Remove all makeup and impurities.
- Tone (Optional): Apply your favorite toner if it’s part of your routine.
- Apply the Gel: Take a small amount of the overnight gel (a pea-sized amount is usually enough) and gently warm it between your fingertips.
- Massage In: Lightly massage the gel evenly over your face and neck, focusing on areas that need extra hydration. Avoid getting too close to your eyes.
- Sweet Dreams: Let the gel work its magic overnight!
- Wake Up & Rinse: In the morning, gently cleanse your face to remove any residue and reveal your fresh, dewy, and ‘glass-like’ skin.
Tips for Best Results & Happy Skin
- Patch Test First: Always do a patch test on a small area of your skin (like behind your ear or on your inner arm) before applying any new DIY remedy to your entire face, especially if you have sensitive skin.
- Adjust as Needed: You can slightly adjust the ratio of ingredients based on your skin type. If you have very dry skin, you might add a tiny bit more Vaseline or baby oil.
- Consistency is Key: For noticeable results, use this gel consistently 2-3 times a week, or as needed.
- Store Properly: Keep your homemade gel in a cool, dark place or in the refrigerator to maintain its freshness and consistency. It should last for a couple of weeks.
- Listen to Your Skin: If you experience any irritation, redness, or discomfort, discontinue use immediately.
Ready for Your Glow Up?
There you have it, beauties! Achieving that sought-after ‘glass skin’ glow doesn’t have to be a luxury. With this simple, affordable, and effective 3-ingredient overnight gel, you can wake up to skin that feels intensely hydrated, smooth, and beautifully radiant. Give it a try tonight and let us know how your skin transforms!
Share your ‘glass skin’ journey with us in the comments below. We can’t wait to hear about your results!