Tired of dull, lifeless wooden furniture? Many commercial polishes contain harsh chemicals that can build up over time, or worse, damage your beautiful wood. But what if we told you that the secret to gleaming, nourished wood is likely already sitting in your kitchen pantry?
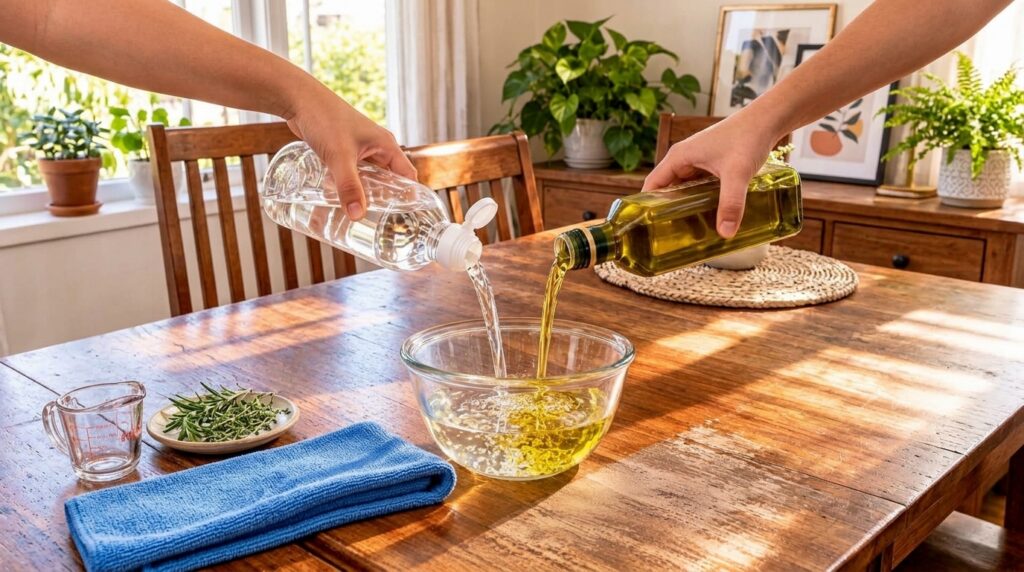
It’s true! You can create an incredibly effective, all-natural wood polish using just two simple ingredients: white vinegar and olive oil. This homemade concoction is gentle, eco-friendly, budget-friendly, and leaves your wooden surfaces with a beautiful, healthy luster without any nasty residue.
Why This Natural Wood Polish Works Wonders
The magic of this DIY wood polish lies in the synergistic action of its two humble components:
- White Vinegar: The Natural Cleanser
Vinegar is a natural mild acid that excels at cutting through grime, dirt, and built-up residue from commercial polishes. It acts as a gentle yet effective cleaning agent, preparing the wood surface to absorb the conditioning benefits of the oil. Don’t worry about the smell; it dissipates quickly as it dries. - Olive Oil: The Nourishing Conditioner
Olive oil is a fantastic natural moisturizer for wood. It penetrates the grain, hydrating and conditioning the wood fibers, which helps to prevent drying and cracking. The oil brings out the natural beauty and warmth of the wood, leaving a soft, lustrous sheen that protects the surface and makes it look brand new.
Gather Your Simple Supplies
Before you begin, make sure you have these items on hand:
- 1/4 cup white vinegar
- 1/2 cup olive oil (extra virgin or light works fine)
- Small mixing bowl (a clear glass one is great for seeing the mixture)
- Spray bottle (optional, but highly recommended for even application)
- Clean, soft microfiber cloths (you’ll need at least two: one for applying, one for buffing)
Step-by-Step Guide to Your DIY Wood Polish
Follow these easy steps to bring your wooden furniture back to life:
-
Prepare Your Surface
Before applying any polish, ensure your wooden furniture is free of dust and loose debris. Use a dry microfiber cloth or a duster to wipe down the surface thoroughly.
-
Mix Your Ingredients
In your small mixing bowl, combine the 1/4 cup of white vinegar with 1/2 cup of olive oil. Whisk them together thoroughly until they are well combined. The mixture might appear a bit cloudy at first but will emulsify. If using a spray bottle, pour the mixture into it (a funnel can be helpful here).
-
Test in an Inconspicuous Area
Always test any new cleaning solution on a small, hidden spot of your furniture first. This ensures there are no adverse reactions to your particular wood finish. Wait a few minutes to see the result.
-
Apply the Polish
If using a spray bottle, lightly mist the polish onto a clean microfiber cloth (not directly onto the wood, especially if the wood is unsealed or very old). If not using a spray bottle, dampen a corner of your cloth with the mixture.
-
Wipe Down and Buff
Wipe the polished cloth over the wooden surface in the direction of the wood grain. Use gentle, even strokes. Once the entire surface has been covered, take a second, clean, dry microfiber cloth and buff the wood to a brilliant shine. This buffing step is crucial for removing any excess oil and preventing a greasy feel.
Tips for Best Results & Maintenance
- Regular Use: For best results, use this polish every few weeks or whenever your wood starts to look dull.
- Storage: Store any leftover polish in a sealed container or the spray bottle in a cool, dark place. The oil and vinegar may separate over time, so give it a good shake before each use. It’s best to make small batches as needed, as natural ingredients don’t have preservatives.
- Don’t Over-Saturate: A little goes a long way. Too much polish can leave a sticky residue.
- Beyond Furniture: This polish can also work wonders on wooden cabinets, doors, and even some finished wood floors (test first!).
Important Precautions
- Always Test First: As mentioned, always test on an inconspicuous area, especially on antique furniture, unfinished wood, or very porous surfaces.
- Not for All Surfaces: While excellent for most finished wood, avoid using this on waxed wood or very delicate finishes without proper research and testing, as vinegar can potentially strip wax.
- Wipe Off Excess: Ensure you buff off all excess oil to prevent stickiness or attracting dust.
Embrace the power of natural ingredients and transform your home with this simple, effective DIY wood polish. Your wooden furniture will thank you for the chemical-free shine and nourishment!
What’s your favorite natural cleaning hack? Share it in the comments below!