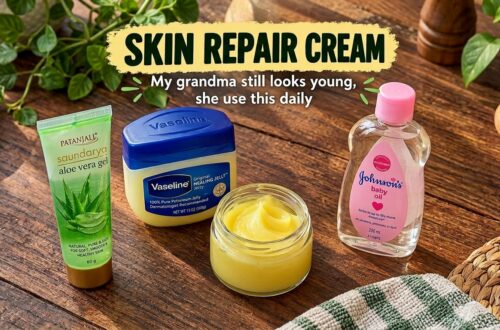
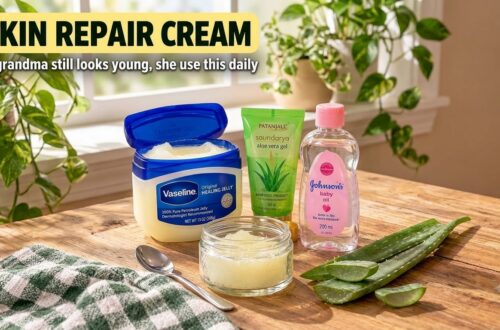
Hey, beauty besties! Are you looking for simple, affordable ways to achieve that coveted glowing skin without breaking the bank? What if we told you that a household staple, often found in the baby aisle, holds the key to some amazing skincare transformations? That’s right, we’re talking about baby oil!
Baby oil isn’t just for babies anymore. This gentle, moisturizing oil can be a fantastic base for creating your very own customized serums right at home. It’s excellent for locking in moisture, creating a smooth canvas, and when infused with the right natural ingredients, it can target specific skin concerns like dullness, dark spots, and even fine lines!
The Surprising Power of Baby Oil for Your Skin
At its core, baby oil (often mineral oil) is a powerful occlusive agent. This means it forms a protective barrier on your skin, preventing moisture loss and keeping your complexion hydrated and supple. But its benefits don’t stop there!
- Deep Hydration: It’s incredibly effective at sealing in moisture, making it perfect for dry or dehydrated skin.
- Soft & Smooth Skin: Regular use can leave your skin feeling incredibly soft and velvety to the touch.
- Gentle & Non-Irritating: Designed for sensitive baby skin, it’s generally well-tolerated by most skin types.
- Affordable Base: It’s a budget-friendly option for your DIY skincare experiments.
DIY Baby Oil Boosters for Specific Concerns
Ready to customize your baby oil for a truly personalized glow? Here are some amazing DIY concoctions:
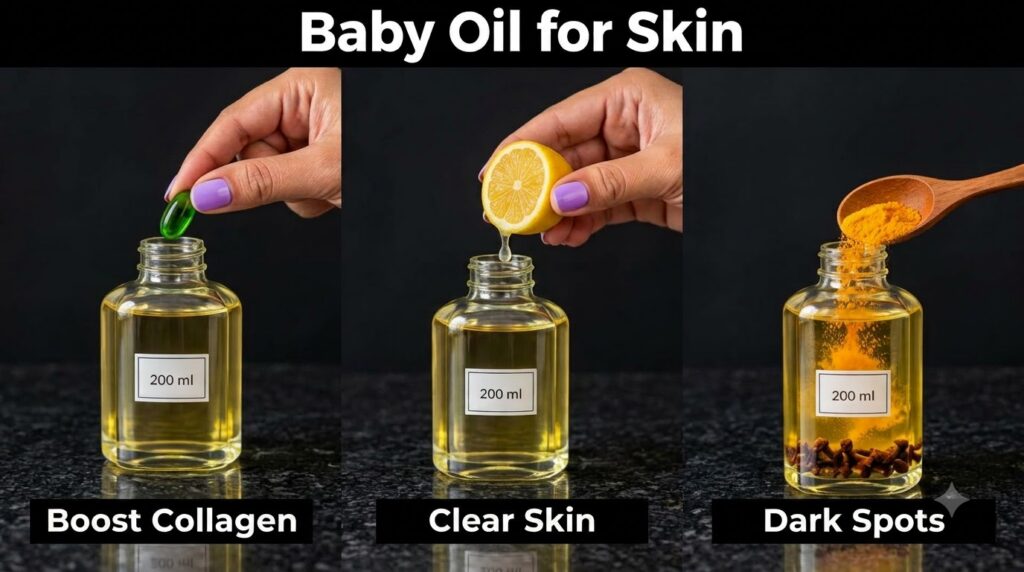
1. Baby Oil + Collagen for Firm Skin
As we age, our skin’s collagen production naturally decreases, leading to a loss of firmness. Adding a collagen booster to your baby oil can help support skin elasticity and give you a more plump, youthful look.
- What you need: A small bottle of baby oil and one Vitamin E capsule (which can help support collagen production).
- How to make it: Pierce one Vitamin E capsule and squeeze the oil directly into about 1-2 tablespoons of baby oil. Mix well.
- How to use: After cleansing and toning, gently massage a few drops onto your face and neck, especially at night.
2. Baby Oil + Lemon for a Brighter Complexion (Use with Caution!)
Lemon is often praised for its brightening properties due to its Vitamin C content. However, it’s highly acidic and can cause sun sensitivity. Always dilute it well and use it sparingly.
- What you need: A small bottle of baby oil and a fresh lemon.
- How to make it: Add just 1-2 drops of fresh lemon juice to about 2 tablespoons of baby oil. Mix thoroughly.
- How to use: Apply *only* a tiny amount to specific dark spots, *never* your whole face, and *only* at night. Always perform a patch test first. Crucially, wear SPF diligently every day when using lemon on your skin, as it significantly increases sun sensitivity.
3. Baby Oil + Turmeric for Even Tone
Turmeric is a superstar ingredient known for its anti-inflammatory and antioxidant properties, which can help reduce hyperpigmentation and give your skin a beautiful, even glow.
- What you need: A small bottle of baby oil and about 1/4 teaspoon of organic turmeric powder.
- How to make it: Mix 1/4 teaspoon of turmeric powder into 2-3 tablespoons of baby oil. Shake well before each use, as turmeric can settle.
- How to use: Apply a small amount to your face or areas with dark spots. Be aware that turmeric can temporarily stain skin or clothes, so use it sparingly and perhaps as an overnight treatment on specific areas.
Deep Dive: The Clove & Rose Water Elixir for Youthful Glow & Dark Spots
While adding simple ingredients to baby oil is a great start, for those looking for a more potent, dedicated serum to tackle wrinkles and dark spots, this clove-infused elixir is a game-changer. Cloves are rich in eugenol, a powerful antioxidant that helps soothe skin and fight signs of aging. Combined with hydrating and nourishing ingredients, it’s a wonderful addition to your natural beauty routine.
Ingredients Required (makes ~60 ml)
- Whole cloves – 6 to 8
- Rose water – 100 ml (acts as the infusion base)
- Green tea – 1 tea bag or 1 tsp loose leaves
- Pure aloe vera gel – 2 tbsp (~30 g)
- Vegetable glycerin – 1 tsp (5 ml)
- Vitamin E (tocopherol) capsule – 1 capsule (~0.5 ml)
Procedure
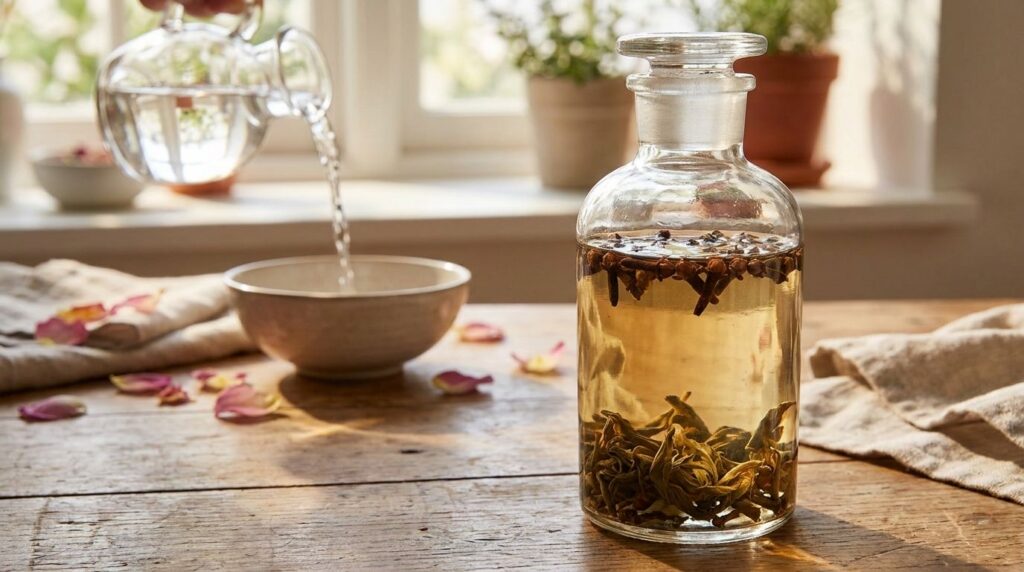
- Make Clove–Rose Infusion: Warm 100 ml rose water until it’s steaming, but not boiling. Add 6–8 whole cloves to the warm rose water, cover the container, and let it steep for 15–20 minutes. Once steeped, strain out the cloves and allow the infusion to cool completely.
- Brew Green Tea Concentrate: Steep 1 green tea bag or 1 tsp of loose green tea leaves in about 2 tablespoons of hot water for 5 minutes. Let it cool. This will create a concentrated green tea liquid.
- Combine Ingredients: In a clean, dark-colored glass bottle or jar, combine the cooled clove–rose infusion, the green tea concentrate, pure aloe vera gel, vegetable glycerin, and the contents of one Vitamin E capsule.
- Mix Well: Seal the bottle and shake well to ensure all ingredients are thoroughly mixed.
- Store: Store this serum in the refrigerator. It should last for about 1-2 weeks.
How to Use Your DIY Serums & Important Tips
- Patch Test: Always, always, always perform a patch test on a small, inconspicuous area of your skin (like behind your ear or on your inner arm) 24 hours before applying any new DIY concoction to your face.
- Cleanliness is Key: Ensure all your containers and tools are thoroughly clean and sterilized to prevent bacterial growth.
- Storage: Store your DIY serums in a cool, dark place. The rose water-based clove serum, in particular, should be refrigerated and used within 1-2 weeks due to its fresh ingredients.
- Application: Apply your chosen serum after cleansing and toning, and before your regular moisturizer (or use the baby oil serum as your moisturizer!). For the clove & rose water elixir, a few drops are usually sufficient.
- Sun Protection: When using ingredients like lemon or turmeric, always follow up with a broad-spectrum SPF during the day, as they can increase your skin’s sensitivity to the sun.
Embrace Your Natural Glow!
Getting radiant, healthy skin doesn’t have to be complicated or expensive. With a little creativity and some simple ingredients, you can harness the power of nature to create personalized skincare solutions that truly work for you. Remember, consistency is key!
Which baby oil hack are you most excited to try first? Share your thoughts and any other amazing DIY beauty tips in the comments below! We love hearing from our Beauty Tips Daily family.