Tired of Stubborn Soap Scum? This Simple DIY Hack is Your Shower’s Best Friend!
Is your shower looking less than sparkling? Battling stubborn soap scum and mineral deposits can feel like an endless chore. Before you reach for harsh chemicals, consider a powerful, natural, and budget-friendly solution hiding in your pantry: white vinegar and dish soap! This dynamic duo can transform your grimy shower into a gleaming oasis.
The Ubiquitous Problem of Soap Scum
Soap scum is that unsightly white or grayish film that builds up on shower tiles, glass doors, and fixtures. It’s primarily a combination of soap residue, body oils, dirt, and hard water minerals. Over time, it can be incredibly difficult to remove, creating a dull and unclean appearance.
Why This Simple Combination Works Wonders
This hack isn’t just easy; it’s incredibly effective, thanks to the complementary properties of its two main ingredients:
- White Vinegar: As a mild acid, white vinegar is fantastic at dissolving mineral deposits like calcium and magnesium, which are common culprits in hard water stains and soap scum. It breaks down the bond between the scum and your shower surfaces, making it easier to wipe away.
- Green Dish Soap: Dish soap is a powerful degreaser and surfactant. It cuts through the greasy and oily components of soap scum, lifting dirt and grime. When combined with vinegar, it helps the acidic solution cling to vertical surfaces longer, giving it more time to work its magic.
Together, they form a formidable cleaning agent that tackles both the mineral and organic components of soap scum, leaving your shower genuinely clean.
What You’ll Need
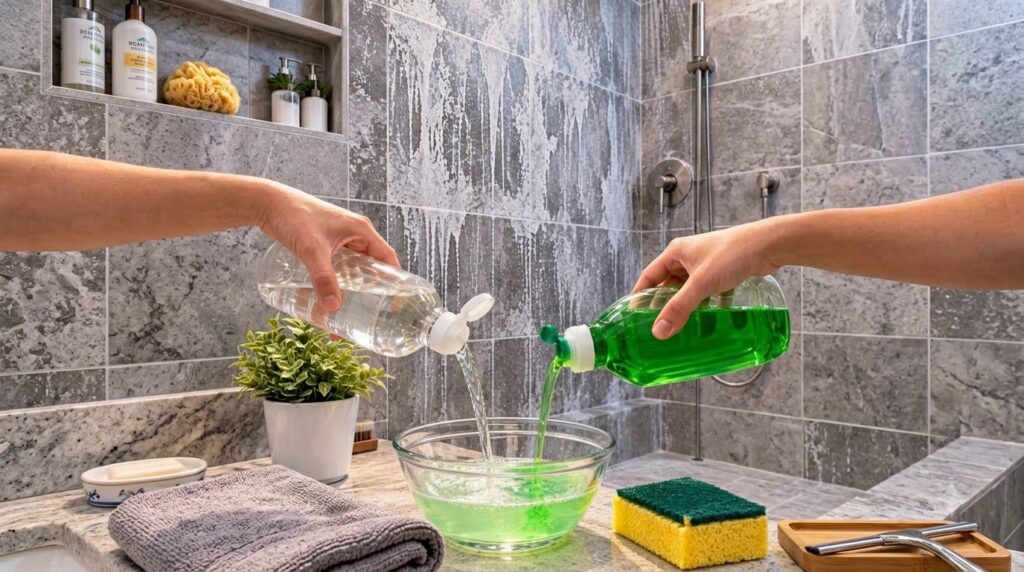
- 1 cup white vinegar
- 1 cup green liquid dish soap (any brand will do)
- Empty spray bottle
- Microfiber cloth or sponge
- Scrub brush (optional, for tougher stains)
- Rubber gloves (recommended)
- Good ventilation
Step-by-Step Guide to a Sparkling Shower
Step 1: Prepare Your Solution
In your empty spray bottle, carefully combine 1 cup of white vinegar and 1 cup of green liquid dish soap. Gently swirl the bottle to mix the ingredients. Do not shake vigorously, as this can create too much foam.
Step 2: Apply to Shower Surfaces
Spray the solution generously onto all affected shower surfaces – tiles, grout, glass doors, and fixtures. For heavily soiled areas, you might need a more concentrated spray.
Step 3: Let it Sit
Allow the solution to sit for at least 30 minutes. For extremely stubborn soap scum or hard water stains, you can leave it on for an hour or even longer. The longer it sits, the more time the vinegar has to break down minerals and the soap to lift grime.
Step 4: Scrub and Rinse
Wearing rubber gloves, use a microfiber cloth, sponge, or scrub brush to scrub the treated surfaces. You’ll notice the soap scum and grime start to loosen and wipe away much more easily. Once everything is clean, thoroughly rinse all surfaces with warm water.
Step 5: Admire Your Sparkling Shower!
Step back and admire your beautifully clean, sparkling shower! Enjoy the fresh, clean feeling without the harsh chemical smells.
Tips for Best Results & Safety
- Ventilation is Key: Always ensure your bathroom is well-ventilated when cleaning with vinegar. Open windows or turn on the exhaust fan.
- Patch Test: While generally safe, always perform a patch test on an inconspicuous area first, especially on natural stone (like marble or granite) or antique fixtures, as vinegar’s acidity can damage certain materials.
- Warm Vinegar: Some people find that slightly warming the vinegar (before mixing with soap) can enhance its cleaning power, but be careful not to overheat it.
- Regular Maintenance: To prevent heavy buildup, use this solution for a quick clean once a week or every other week. You can also keep a squeegee in the shower and wipe down glass doors after each use.
Say goodbye to scrubbing tirelessly and hello to a naturally clean, gleaming shower. This simple, natural solution truly delivers sparkling results without breaking the bank or exposing you to harsh chemicals!