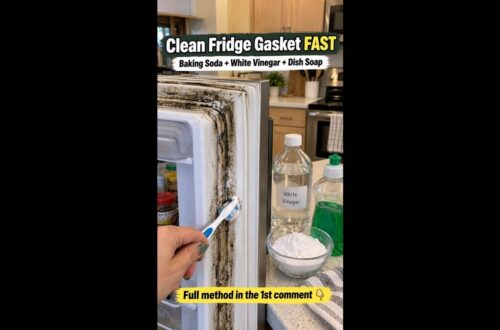
Are you tired of staring up at unsightly green or dark spots on your ceiling? Ceiling mold isn’t just an eyesore; it can also be a sign of excess moisture in your home. Before you reach for harsh chemical cleaners, there’s a simple, homemade solution that can help tackle those stubborn spots, making your ceiling look much cleaner without a lot of scrubbing. This DIY cleaner uses common household ingredients you likely already have on hand, offering a practical and often gentler alternative for addressing minor mold issues.
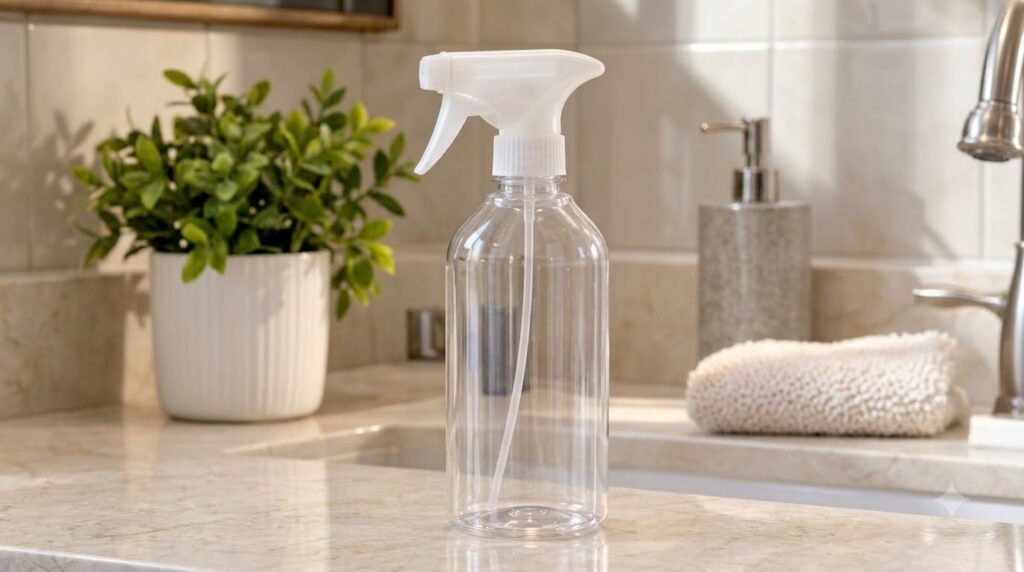
What You’ll Need
Ingredients:
- 2 cups warm water
- 1/4 cup baking soda
- 1 tablespoon liquid dish soap
Tools:
- Clean spray bottle (at least 20 oz capacity)
- Measuring cups and spoons
- Clean cloths or sponges
- Optional: Soft-bristled brush, safety glasses, gloves, step stool or ladder, drop cloths
Why This DIY Can Be Useful
This DIY cleaner leverages the power of common household staples to tackle ceiling mold effectively.
- Baking Soda: Known for its mild abrasive properties and deodorizing capabilities, baking soda helps to gently scrub away mold and absorb musty odors.
- Dish Soap: A powerful degreaser and surfactant, dish soap helps to break down grime, loosen mold spores, and allow them to be easily wiped away.
- Water: Acts as a diluent, helping to spread the cleaning agents and rinse surfaces.
Together, these ingredients create a gentle yet effective solution that can help lift and remove surface mold without the harsh fumes or strong chemicals often found in commercial mold removers.
How to Make It
Creating your anti-mold ceiling cleaner is quick and easy:
- Carefully measure 2 cups of warm water into your clean spray bottle.
- Add 1/4 cup of baking soda to the water in the spray bottle.
- Pour in 1 tablespoon of liquid dish soap.
- Secure the spray bottle cap tightly.
- Shake the bottle well until the baking soda is fully dissolved and all ingredients are thoroughly mixed.
How to Use It
Before you begin, ensure the area is well-ventilated by opening windows and doors. You may also want to lay down drop cloths or old towels to protect flooring and furniture below the area you’ll be cleaning.
- Prepare the Area: Put on safety glasses and gloves to protect your eyes and skin.
- Spray the Mold: Stand on a sturdy step stool or ladder (if needed) to safely reach the affected ceiling area. Liberally spray the DIY cleaner directly onto the moldy spots. Ensure the area is thoroughly dampened.
- Let it Sit: Allow the solution to sit on the mold for about 10-15 minutes. This gives the ingredients time to penetrate and loosen the mold.
- Wipe or Scrub: Using a clean cloth, sponge, or a soft-bristled brush, gently wipe or scrub the treated areas. You should see the mold spots begin to lift and disappear.
- Rinse (Optional): For best results, lightly dampen a separate clean cloth with plain water and wipe the area again to remove any residue.
- Dry: Allow the ceiling to air dry completely. You can use a fan to speed up the drying process.
What to Expect
This DIY cleaner is designed to loosen and lift surface mold and mildew, making your ceiling look significantly cleaner. You should see a noticeable reduction in the green or dark spots. While it’s very effective for minor mold issues, deeply embedded stains or extensive mold growth might require more intense cleaning methods or professional assessment. Consistency can lead to better results, especially if the mold has been present for a while.
Helpful Tips
- Always Ventilate: Good airflow is crucial when dealing with mold to prevent the spread of spores.
- Protect Yourself: Wear safety glasses and gloves to prevent irritation.
- Work in Sections: If you have a large area, tackle it in smaller sections to keep the cleaner from drying too quickly.
- Preventative Measures: After cleaning, address the root cause of the moisture to prevent mold from returning. This could involve fixing leaks, improving ventilation in bathrooms, or using a dehumidifier.
- Patch Test: If you’re concerned about how the solution might affect your ceiling paint or material, test a small, inconspicuous area first.
Important Notes / Safety
- Do Not Mix with Other Cleaners: Never mix this DIY solution with commercial cleaners, especially those containing bleach, as this can create dangerous fumes.
- Avoid Dripping: Be careful to avoid dripping the solution into your eyes or onto surfaces you don’t intend to clean. Cover delicate items or floors with drop cloths.
- Not for Structural Mold: This DIY method is suitable for surface mold and mildew. If you suspect extensive mold growth that has penetrated structural elements, or if the mold returns quickly, it’s best to consult a professional mold remediation specialist.
- Storage: Store any leftover solution in the spray bottle in a cool, dark place, and label it clearly. It’s generally best to use freshly made solutions for optimal effectiveness.