Stubborn grease and burnt-on food residue can make your stove burners look unappealing and affect their performance. Instead of endless scrubbing, there’s a simple and effective method to bring them back to life: a good soak. This DIY approach harnesses the power of everyday dish soap to break down grime, making clean-up much easier and less laborious.
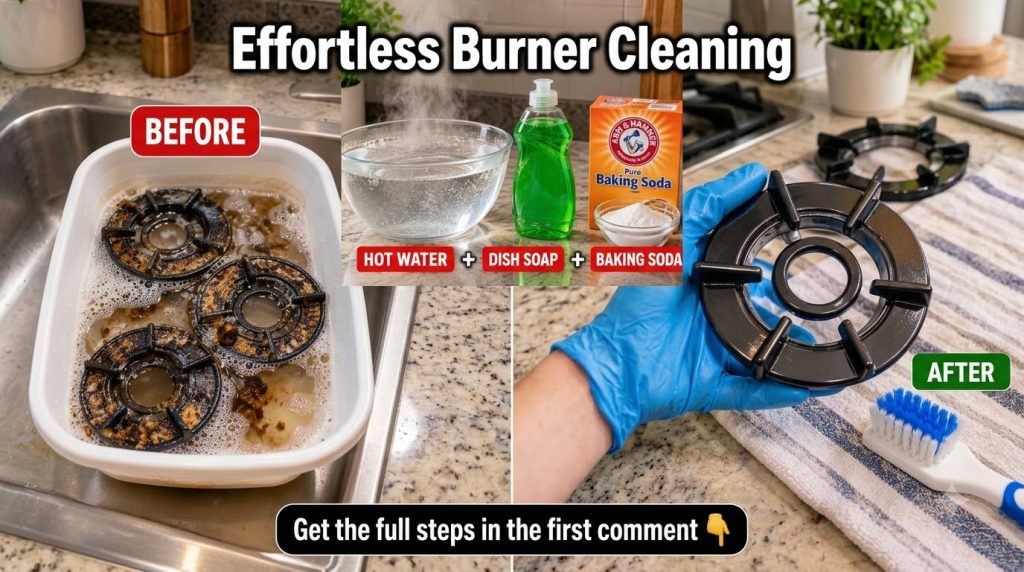
What You’ll Need
- Dirty stove burners (grates and caps, if removable)
- A large basin or sink stopper
- Warm to hot water
- Dish soap (a generous amount)
- Scrub sponge
- Stiff-bristled brush (optional, for tougher spots)
- Clean cloth or paper towels for drying
Why This DIY Can Be Useful
The secret to easily cleaning greasy stove burners lies in the power of soaking. Dish soap is specifically designed to cut through grease and oil, emulsifying it so it can be easily rinsed away. When combined with warm or hot water, the soap’s effectiveness is amplified, and the heat helps to loosen hardened, burnt-on food particles. This process softens the grime, meaning you’ll spend less time and effort scrubbing.
How to Prepare for Cleaning
- Remove Burners: Ensure your stove is completely cool. Carefully remove the stove grates and burner caps from the stovetop.
- Prepare the Soak: Place the dirty grates and caps into a large basin or a plugged sink.
- Add Soap and Water: Add a generous amount of dish soap directly onto the burners. Then, fill the basin with warm to hot water, ensuring the burners are fully submerged.
- Let Them Soak: Allow the burners to soak for at least 30 minutes. For heavily soiled burners, an hour or even overnight can make a significant difference. The longer they soak, the less scrubbing you’ll need to do.
How to Use It
- Drain and Scrub: Once the soaking time is complete, carefully drain the murky water from the basin.
- Scrub Away Grime: Use your scrub sponge to wipe away the loosened grease and food residue. For any stubborn spots or intricate areas, use a stiff-bristled brush to gently scrub them clean.
- Rinse Thoroughly: Rinse each burner component under clean running water, ensuring all soap residue and loosened grime are completely washed away.
- Dry Completely: Lay the clean burners on a clean cloth or paper towels to air dry thoroughly before placing them back on your stove. Ensure they are completely dry to prevent rust and ensure proper function.
What to Expect
After a good soak and scrub, you can expect your stove burners to be significantly cleaner, with much of the caked-on grease and burnt food removed. While most grime should come off easily, very old or extremely stubborn stains might still require a bit more effort or a repeat soak. The goal is to restore a much cleaner, more functional appearance to your stove.
Helpful Tips
- Use Hot Water: The hotter the water, the more effective it will be at breaking down grease and softening burnt-on residue.
- Overnight Soak for Tough Stains: If your burners are exceptionally dirty, don’t hesitate to let them soak overnight. This gives the soap maximum time to work its magic.
- Wear Gloves: Dealing with greasy water and scrubbing can be tough on your hands, so consider wearing rubber gloves.
- Dedicated Brush: Keep a dedicated cleaning brush specifically for kitchen tasks like this to avoid cross-contamination.
Important Notes / Safety
- Always ensure your stove and burners are completely cool before handling them to avoid burns.
- Avoid using overly abrasive scrubbing pads on burner finishes that could be scratched or damaged. If unsure, test a small, inconspicuous area first.
- Make sure to rinse all soap residue off the burners. Any remaining soap could burn or create an odor when the stove is next used.
- Ensure burner components are completely dry before reassembling them on your stove to prevent rust or electrical issues (if applicable to your stove type).