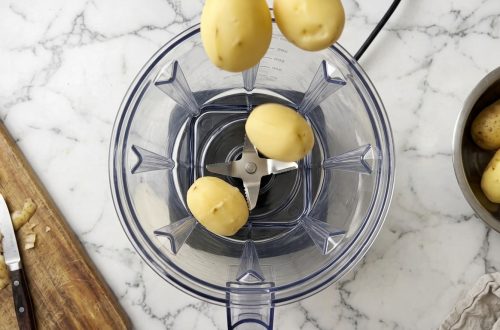
Get ready to bake the moistest, most delicious banana cake you’ve ever made, all blended up in one simple go! If you’re looking for a fuss-free dessert or a sweet treat that comes together in minutes, our Easy Blender Banana Cake is your new go-to. This ingenious method leverages your blender to mix most of your ingredients, cutting down on dishes and effort.
But why stop at just one amazing recipe? Once you discover the magic of blender baking, a world of possibilities opens up. From delightful muffins to quick loaves, using your blender makes baking accessible and fun. Here, we’ll share the original Blender Banana Cake recipe and expand into several more effortless blender-friendly treats that are perfect for any occasion.
Quick Overview
- Main topic: Easy Blender Baking
- Best for: Quick desserts, snacks, breakfast treats, minimal cleanup
- Number of recipes: 6
- Prep style: Blender-based, simple, convenient
- Reader benefit: Delicious baked goods with less effort and time
Recipe 1: Easy Blender Banana Cake
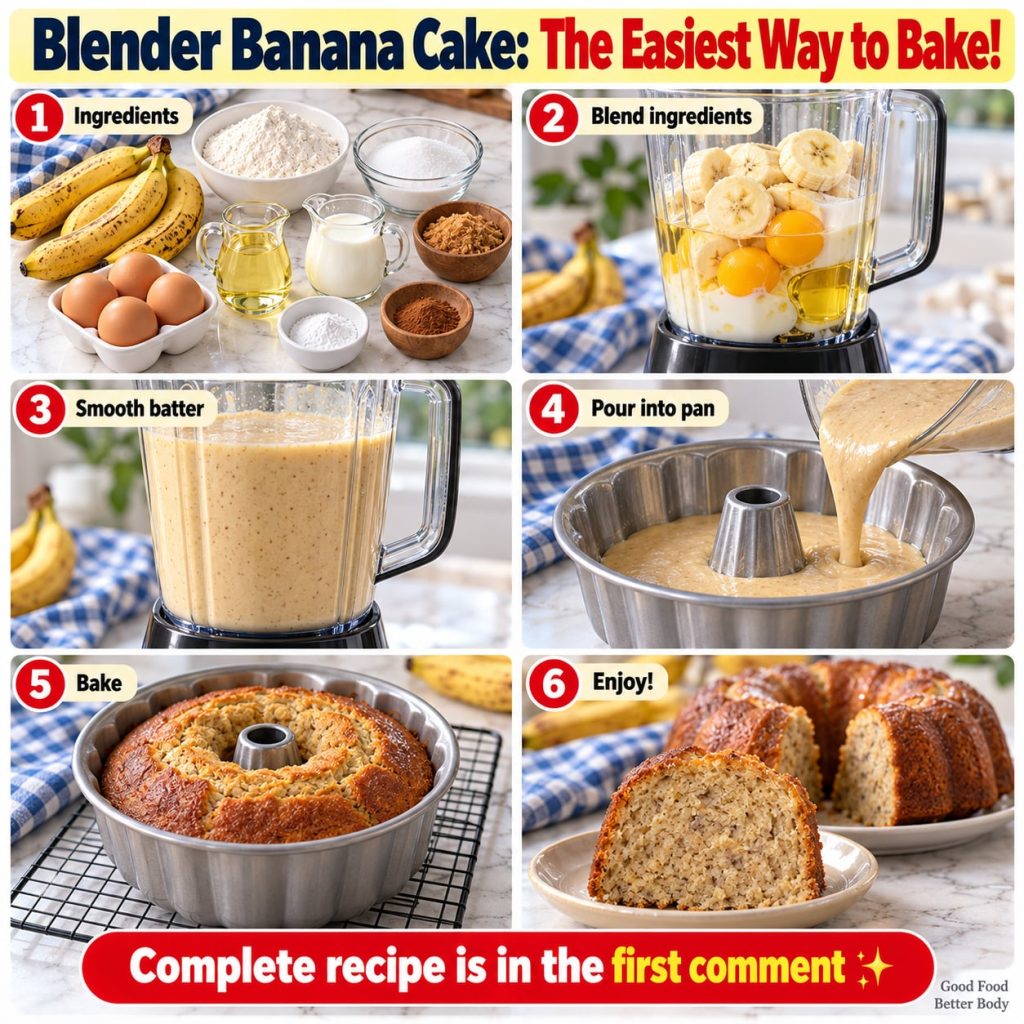
This is the star of the show – a wonderfully moist and flavorful banana cake that comes together with the incredible convenience of your blender. Say goodbye to multiple bowls and tedious mixing; your blender does most of the heavy lifting for you.
Servings: 8-10
Prep time: 10 minutes
Cook / chill / rest time: 30-35 minutes
Ingredients:
- 2 large ripe bananas, peeled and roughly chopped
- 1/2 cup granulated sugar
- 1/4 cup brown sugar, packed
- 1/2 cup unsalted butter, melted
- 2 large eggs
- 1 teaspoon vanilla extract
- 1 1/2 cups all-purpose flour
- 1 teaspoon baking soda
- 1/2 teaspoon salt
- 1/2 cup buttermilk (or milk + 1/2 tbsp lemon juice/vinegar)
Instructions:
- Preheat your oven to 350°F (175°C). Grease and flour an 8×8 inch baking pan or a 9-inch round cake pan.
- In a blender, combine the chopped bananas, granulated sugar, brown sugar, melted butter, eggs, and vanilla extract. Blend until completely smooth and creamy, scraping down the sides as needed.
- In a separate medium bowl, whisk together the flour, baking soda, and salt.
- Pour the wet banana mixture from the blender into the dry ingredients. Add the buttermilk. Gently fold with a spatula until just combined. Be careful not to overmix.
- Pour the batter into the prepared baking pan and spread evenly.
- Bake for 30-35 minutes, or until a toothpick inserted into the center comes out clean.
- Let the cake cool in the pan for 10 minutes before inverting onto a wire rack to cool completely.
Storage / Serving / Usage Note: Serve warm or at room temperature. Store leftover cake in an airtight container at room temperature for up to 3 days, or in the refrigerator for up to 5 days. Delicious plain, with a simple cream cheese frosting, or a dusting of powdered sugar.
Recipe 2: Blender Chocolate Chip Banana Bread
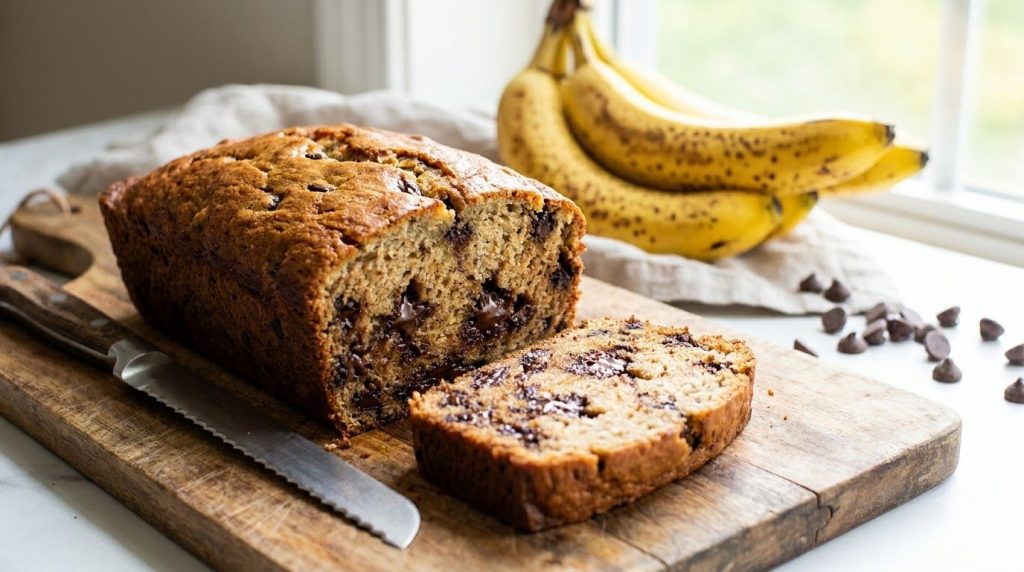
Take your blender banana game up a notch with this irresistible chocolate chip banana bread. Perfect for breakfast, a snack, or even a light dessert, this recipe simplifies a classic favorite.
Servings: 8-10 slices
Prep time: 10 minutes
Cook / chill / rest time: 50-60 minutes
Ingredients:
- 3 very ripe bananas, peeled
- 1/2 cup granulated sugar
- 1/4 cup vegetable oil (or melted coconut oil)
- 1 large egg
- 1 teaspoon vanilla extract
- 1 1/2 cups all-purpose flour
- 1 teaspoon baking soda
- 1/2 teaspoon salt
- 1 cup semi-sweet chocolate chips (plus more for topping, optional)
Instructions:
- Preheat oven to 350°F (175°C). Grease and flour a 9×5 inch loaf pan.
- In a blender, combine the ripe bananas, granulated sugar, vegetable oil, egg, and vanilla extract. Blend until smooth.
- In a large bowl, whisk together the flour, baking soda, and salt.
- Pour the wet mixture from the blender into the dry ingredients. Stir gently until just combined.
- Fold in the chocolate chips.
- Pour the batter into the prepared loaf pan. If desired, sprinkle a few extra chocolate chips on top.
- Bake for 50-60 minutes, or until a wooden skewer inserted into the center comes out clean.
- Let cool in the pan for 10 minutes before transferring to a wire rack to cool completely.
Storage / Serving / Usage Note: Enjoy slices warm or at room temperature. Store in an airtight container for up to 3 days, or freeze for longer storage.
Recipe 3: Blender Carrot Cake Muffins

These Blender Carrot Cake Muffins are an absolute delight, offering all the classic flavors of carrot cake in a convenient, easy-to-make muffin. The blender takes the hard work out of shredding carrots and mixing, giving you more time to enjoy your treats.
Servings: 12 muffins
Prep time: 15 minutes
Cook / chill / rest time: 20-22 minutes
Ingredients:
- 1 cup grated carrots (about 2 medium carrots)
- 1/2 cup granulated sugar
- 1/4 cup brown sugar, packed
- 1/2 cup vegetable oil
- 2 large eggs
- 1/4 cup milk
- 1 teaspoon vanilla extract
- 1 1/2 cups all-purpose flour
- 1 teaspoon baking powder
- 1/2 teaspoon baking soda
- 1 teaspoon ground cinnamon
- 1/2 teaspoon ground nutmeg
- 1/4 teaspoon salt
- 1/2 cup chopped walnuts or pecans (optional)
Instructions:
- Preheat oven to 375°F (190°C). Line a 12-cup muffin tin with paper liners or grease thoroughly.
- In a blender, combine the grated carrots, granulated sugar, brown sugar, vegetable oil, eggs, milk, and vanilla extract. Blend until the carrots are finely chopped and the mixture is smooth.
- In a large bowl, whisk together the flour, baking powder, baking soda, cinnamon, nutmeg, and salt.
- Pour the wet carrot mixture from the blender into the dry ingredients. Stir gently until just combined. Fold in chopped nuts if using.
- Divide the batter evenly among the 12 muffin cups.
- Bake for 20-22 minutes, or until a toothpick inserted into the center of a muffin comes out clean.
- Let cool in the muffin tin for a few minutes before transferring to a wire rack to cool completely.
Storage / Serving / Usage Note: These muffins are great for breakfast or a snack. Store in an airtight container at room temperature for up to 3 days.
Recipe 4: Blender Lemon Poppy Seed Loaf
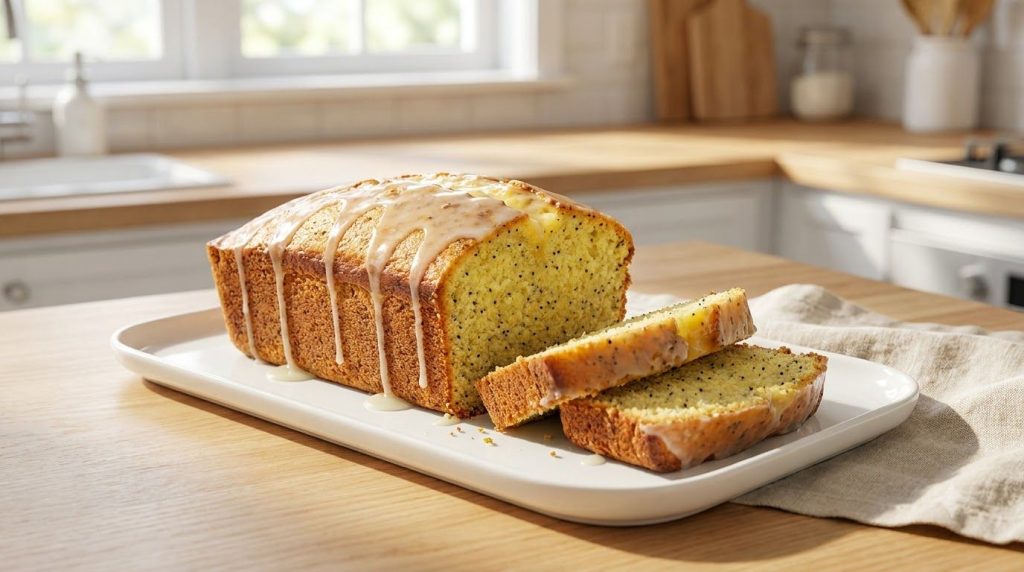
Brighten your day with this zesty Blender Lemon Poppy Seed Loaf. The blender makes light work of combining the wet ingredients and infusing that wonderful lemon flavor throughout the loaf, giving you a quick and refreshing treat.
Servings: 8-10 slices
Prep time: 10 minutes
Cook / chill / rest time: 45-55 minutes
Ingredients:
- 1/2 cup granulated sugar
- 1/4 cup unsalted butter, melted
- 2 large eggs
- 1/2 cup milk
- 1 teaspoon vanilla extract
- Zest of 1 large lemon
- 1/4 cup fresh lemon juice
- 1 1/2 cups all-purpose flour
- 1 1/2 teaspoons baking powder
- 1/2 teaspoon salt
- 2 tablespoons poppy seeds
Instructions:
- Preheat oven to 350°F (175°C). Grease and flour a 9×5 inch loaf pan.
- In a blender, combine the granulated sugar, melted butter, eggs, milk, vanilla extract, lemon zest, and lemon juice. Blend until smooth.
- In a large bowl, whisk together the flour, baking powder, and salt.
- Pour the wet mixture from the blender into the dry ingredients. Stir gently until just combined.
- Fold in the poppy seeds.
- Pour the batter into the prepared loaf pan and spread evenly.
- Bake for 45-55 minutes, or until a wooden skewer inserted into the center comes out clean.
- Let cool in the pan for 10 minutes before transferring to a wire rack to cool completely.
Storage / Serving / Usage Note: This loaf is wonderful with a simple lemon glaze (powdered sugar + lemon juice). Store in an airtight container at room temperature for up to 3 days.
Recipe 5: Blender Berry Oat Muffins
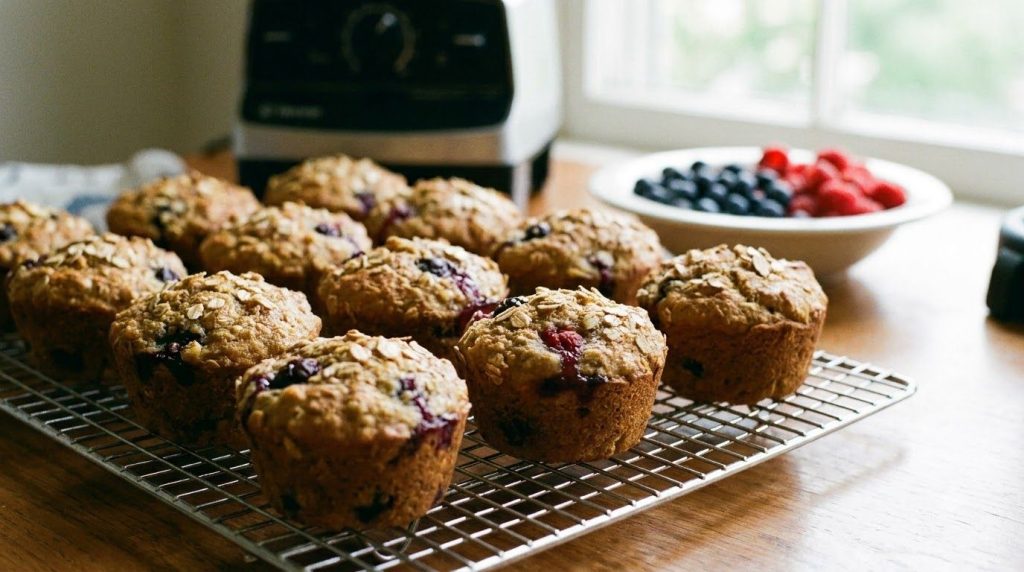
Start your day right with these wholesome and easy Blender Berry Oat Muffins. Packed with goodness and made simple with your blender, they’re perfect for a quick breakfast or a healthy snack.
Servings: 12 muffins
Prep time: 15 minutes
Cook / chill / rest time: 20-25 minutes
Ingredients:
- 1 1/2 cups rolled oats
- 1 cup milk (any kind)
- 1/2 cup granulated sugar (or maple syrup/honey)
- 1/4 cup vegetable oil
- 1 large egg
- 1 teaspoon vanilla extract
- 1 1/2 teaspoons baking powder
- 1/2 teaspoon baking soda
- 1/4 teaspoon salt
- 1 cup fresh or frozen mixed berries (blueberries, raspberries, etc.)
Instructions:
- Preheat oven to 375°F (190°C). Line a 12-cup muffin tin with paper liners or grease thoroughly.
- In a blender, combine the rolled oats, milk, sugar (or sweetener), vegetable oil, egg, vanilla extract, baking powder, baking soda, and salt. Blend until the oats are mostly broken down and the mixture is smooth.
- Gently fold in the mixed berries with a spatula. Be careful not to overmix.
- Divide the batter evenly among the 12 muffin cups.
- Bake for 20-25 minutes, or until a toothpick inserted into the center of a muffin comes out clean.
- Let cool in the muffin tin for a few minutes before transferring to a wire rack to cool completely.
Storage / Serving / Usage Note: These muffins are delicious warm or cold. Store in an airtight container at room temperature for up to 3 days or freeze for up to 3 months.
Recipe 6: Blender Zucchini Bread
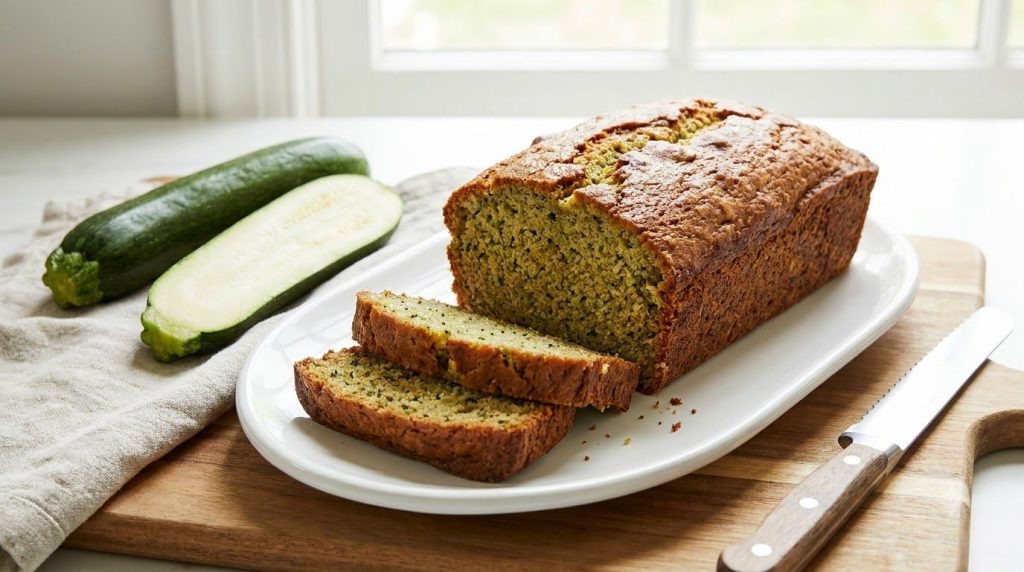
This Blender Zucchini Bread is a fantastic way to use up extra zucchini and get a delicious, moist treat without any fuss. Your blender makes quick work of incorporating the zucchini and other ingredients for a perfect texture every time.
Servings: 8-10 slices
Prep time: 15 minutes
Cook / chill / rest time: 50-60 minutes
Ingredients:
- 1 1/2 cups shredded zucchini (about 1 medium zucchini), excess water squeezed out
- 1/2 cup granulated sugar
- 1/4 cup brown sugar, packed
- 1/2 cup vegetable oil
- 2 large eggs
- 1 teaspoon vanilla extract
- 1 1/2 cups all-purpose flour
- 1 teaspoon baking soda
- 1/2 teaspoon salt
- 1 teaspoon ground cinnamon
- 1/2 teaspoon ground nutmeg
- 1/2 cup chopped walnuts or pecans (optional)
Instructions:
- Preheat oven to 350°F (175°C). Grease and flour a 9×5 inch loaf pan.
- In a blender, combine the squeezed shredded zucchini, granulated sugar, brown sugar, vegetable oil, eggs, and vanilla extract. Blend until the zucchini is finely chopped and the mixture is smooth.
- In a large bowl, whisk together the flour, baking soda, salt, cinnamon, and nutmeg.
- Pour the wet mixture from the blender into the dry ingredients. Stir gently until just combined. Fold in chopped nuts if using.
- Pour the batter into the prepared loaf pan and spread evenly.
- Bake for 50-60 minutes, or until a wooden skewer inserted into the center comes out clean.
- Let cool in the pan for 10 minutes before transferring to a wire rack to cool completely.
Storage / Serving / Usage Note: Serve warm or at room temperature. Store in an airtight container at room temperature for up to 3 days, or freeze for longer storage.
Simple Tips for Best Results
- Don’t Overmix: After combining wet and dry ingredients, mix just until no streaks of flour remain. Overmixing can lead to tough baked goods.
- Use Ripe Fruit: For recipes like banana cake, very ripe bananas (with brown spots) will yield the best flavor and moisture.
- Scrape Down the Blender: Ensure all ingredients are thoroughly incorporated by stopping and scraping down the sides of your blender a few times during the blending process.
- Adjust for Mix-ins: If adding chocolate chips, nuts, or dried fruit, fold them in gently at the very end to prevent them from sinking to the bottom.
- Check for Doneness: Use the toothpick test. Insert a toothpick into the center of your cake or muffin; if it comes out clean or with a few moist crumbs, it’s done.
FAQ
What kind of blender is best for these recipes?
A standard upright blender or even a powerful immersion blender can work for these recipes. The key is to get a smooth, consistent wet mixture before incorporating dry ingredients.
Can I make these gluten-free?
Yes, you can often substitute all-purpose flour with a 1:1 gluten-free baking flour blend in most of these recipes. Ensure your blend contains xanthan gum for best results.
How do I prevent my muffins/cakes from sticking?
Always grease and flour your pans thoroughly, or use parchment paper or paper liners. A light spray with non-stick cooking spray followed by a dusting of flour works wonders.
Final Thoughts
Baking doesn’t have to be complicated or messy. With the power of your blender, you can whip up delicious treats like our Easy Blender Banana Cake and its delightful variations with minimal effort and cleanup. These recipes are perfect for busy schedules, novice bakers, or anyone who loves a good homemade treat. So grab your blender and start baking – you’ll be amazed at how simple and satisfying it can be!