Unlock the Magic of Water Germination: Your Easy Guide to Home Harvest!
Dreaming of fresh, homegrown produce but intimidated by soil and complex gardening techniques? What if we told you that some of your favorite fruits and vegetables can get their start right in a glass of water on your windowsill? Water germination is an incredibly simple, rewarding, and visually captivating way to bring new life into your home. It’s perfect for beginners, plant enthusiasts with limited space, or anyone looking for a fun DIY gardening project!
Why Choose Water Germination?
- Simplicity: No soil, no mess, just water and a seed.
- Visibility: Watch the miracle unfold! You can see the roots develop and the first shoots emerge, making it a fantastic educational tool for all ages.
- Pest Control: Water environments are less prone to common soil-borne pests and diseases in the initial stages.
- Space-Saving: Perfect for small apartments, kitchen counters, or bright windowsills.
- Cost-Effective: Repurpose seeds from fruits you already enjoy, saving money on nursery plants.
Your Step-by-Step Guide to Water Germination
While specific needs vary for each seed, the general process for water germination is straightforward. Here’s how you can get started:
- Source Your Seeds: Use fresh seeds from ripe fruits. Make sure they are clean and free of fruit pulp, as residual sugars can cause mold.
- Prepare Your Container: A clear glass jar, cup, or even a small bowl works best. Transparency allows you to monitor root growth and water levels easily.
- Provide Support (If Needed): For larger seeds like avocado or mango, toothpicks can be inserted around the middle of the seed to suspend it over the water, ensuring only the bottom portion is submerged.
- Add Water: Use filtered or dechlorinated water. Tap water is usually fine if left out for 24 hours to allow chlorine to evaporate. Ensure the water level consistently covers about half to two-thirds of the seed.
- Find a Bright Spot: Place your container in a warm location with indirect sunlight. A sunny windowsill is often ideal.
- Change Water Regularly: This is crucial! Change the water every 1-3 days to prevent mold and ensure the seed has access to fresh oxygen.
- Patience is Key: Germination times vary greatly from a few days to several weeks, or even months for some seeds like avocado. Don’t lose hope!
Popular Seeds You Can Grow in Water
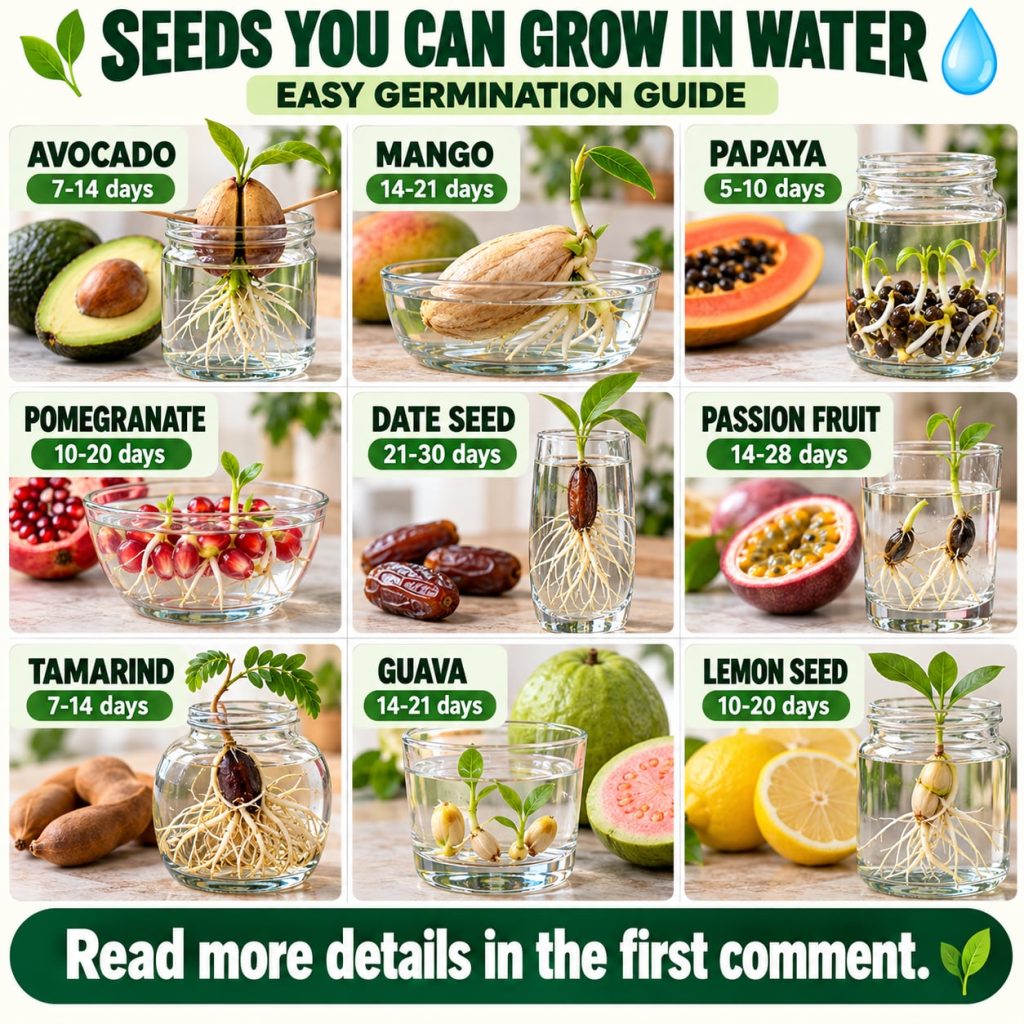
The infographic above highlights several fantastic options. Let’s look at a few common ones:
Avocado
Often considered the poster child for water propagation, growing an avocado tree from its pit is a classic project. Clean the pit thoroughly, then insert three toothpicks around its middle. Suspend it over a glass of water with the wider, flatter end submerged. Place it in a warm spot, changing the water every few days. Roots can take anywhere from 2-8 weeks to appear, followed by a sprout from the top.
Mango
Similar to avocado, mango seeds can be germinated in water. Remove the fibrous outer husk to reveal the flat seed inside. Clean it well and then submerge the bottom half in water. Mango seeds also require patience, often taking several weeks to sprout.
Lemon & Other Citrus
Lemon, orange, and other citrus seeds are relatively quick germinators. Clean them thoroughly and place them directly into a shallow dish or glass of water. Ensure they are fully submerged or just barely poking out. You’ll likely see roots and shoots within a couple of weeks.
Papaya, Kiwi & Dragon Fruit
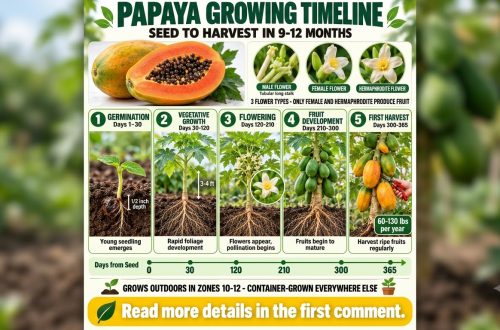
These smaller seeds can be a bit trickier but are equally rewarding. Clean the tiny seeds and scatter a few onto a shallow layer of water in a small dish. You might see sprouts in 1-2 weeks. Keep them moist but avoid over-saturating. For tiny seeds, sometimes floating them on a wet paper towel inside a sealed plastic bag can also work wonders before transferring to water.
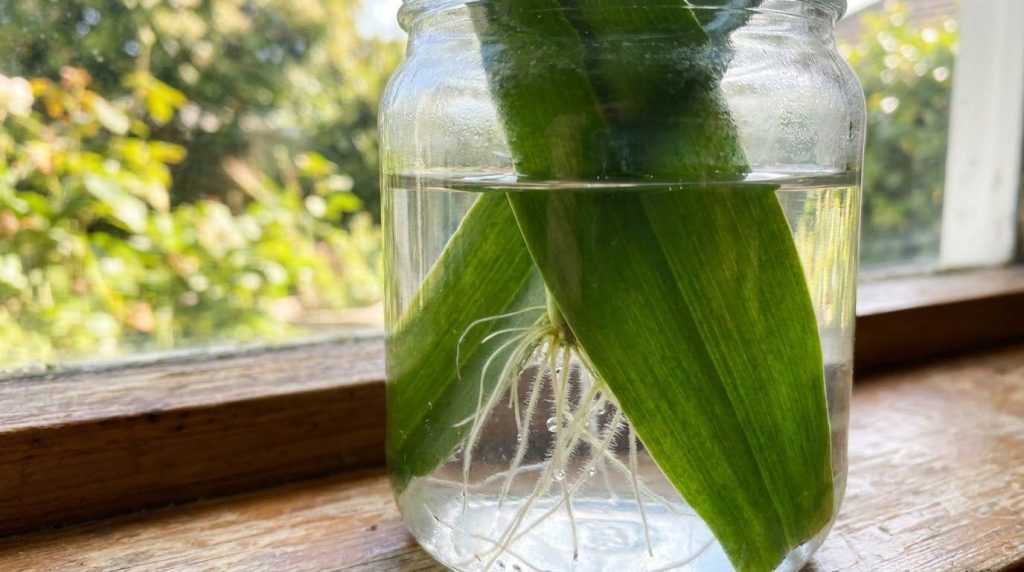
Caring for Your Water Sprouts
- Consistent Water Changes: This cannot be stressed enough! Fresh water provides oxygen and prevents stagnation.
- Temperature: Keep your growing area consistently warm, ideally between 65-80°F (18-27°C).
- Light: Bright, indirect light is best. Too much direct sun can scorch delicate new sprouts.
When to Transplant Your Seedlings
Once your seedling has developed a strong root system (usually a few inches long) and has several true leaves (not just the initial cotyledons), it’s time to consider transplanting it into soil. Choose a well-draining potting mix and a pot appropriate for the plant’s potential size. Be gentle during transplanting to avoid damaging the delicate roots. Water thoroughly after transplanting.
Ready to Grow Your Own?
Starting seeds in water is a delightful and accessible way to engage with nature, learn about plant life cycles, and eventually enjoy your very own home harvest. It’s a rewarding journey from a humble seed to a thriving plant, all with just a little water and a lot of love. So grab some seeds from your next fruit, a clear glass, and begin your exciting water germination adventure today!
Happy gardening!