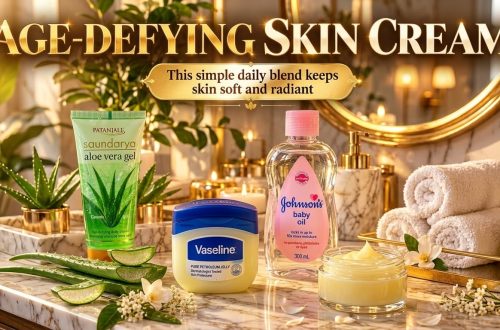
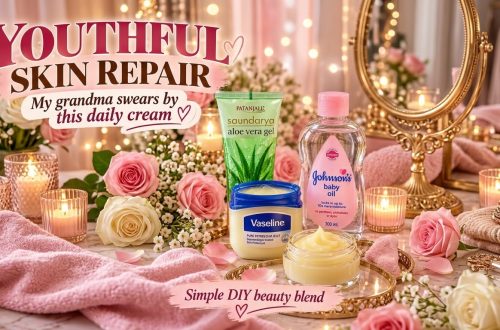
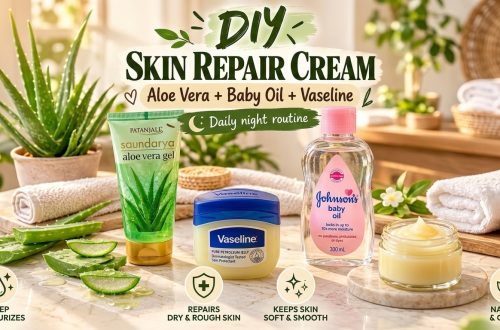
Unlock a Soft Glow with Grandma’s DIY Skin Repair Cream!
In the world of beauty, some routines gain popularity because of their complexity, promising revolutionary results with advanced formulations. Others, however, become viral sensations for their beautiful simplicity, using just a few familiar ingredients to create a rich, comforting texture that feels perfect for dry skin. This ‘Grandma’s DIY Skin Repair Cream’ falls into the latter category, offering a wonderfully easy way to pamper your skin.
This homemade cream combines three household staples: Vaseline, aloe vera gel, and Johnson’s Baby Oil. The result is a soft, silky balm designed to help dry skin feel smoother, more moisturized, and truly comfortable. While it’s not a treatment that can reverse aging or permanently remove wrinkles, it’s a fantastic, occasional moisture-sealing cream that can work wonders for dry or rough-feeling skin, helping to enhance your natural, healthy glow.
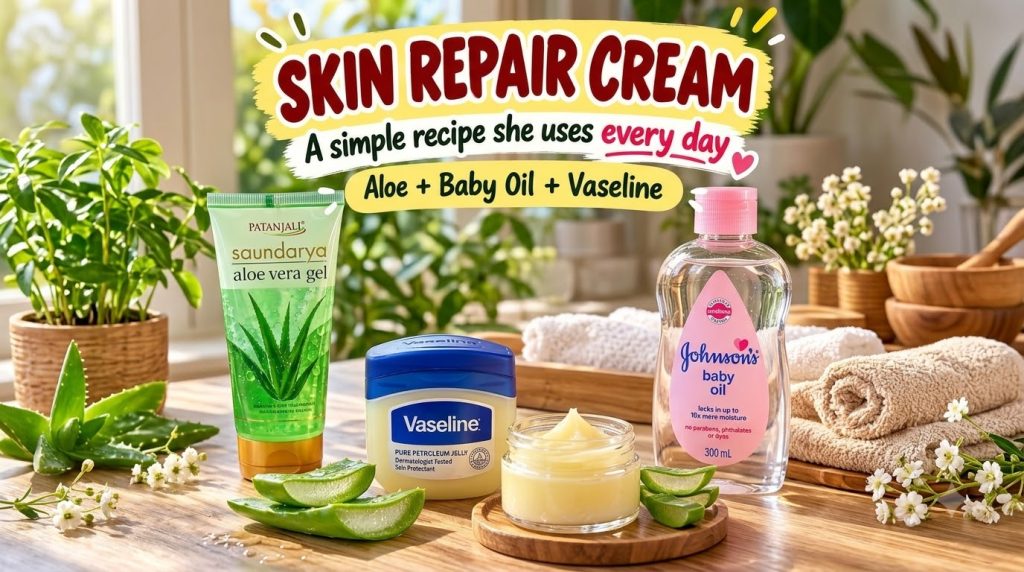
Why These Three Ingredients?
Vaseline (Petroleum Jelly)
Vaseline is well-known for being an occlusive ingredient. This means it forms a protective layer over your skin, creating a barrier that helps reduce transepidermal water loss. This can be especially useful when your skin feels:
- Dry
- Tight
- Flaky
- Rough
- Irritated from cold or dry weather
By sealing in moisture, Vaseline helps to keep your skin hydrated and can contribute to a smoother appearance.
Aloe Vera Gel
Aloe vera gel is celebrated for its soothing properties and for giving this blend a lighter, more refreshing texture. It also makes the mixture much easier to spread than plain petroleum jelly. For those with sensitive skin, it’s a good idea to choose a simple aloe gel with minimal fragrance or added alcohol to avoid potential irritation.
Baby Oil
Baby oil acts as an emollient, meaning it helps to soften and smooth the skin by filling in the tiny gaps between skin cells. It’s often chosen for its gentle nature and its ability to help lock in moisture, leaving the skin feeling supple and silky. In this cream, baby oil blends beautifully with the other ingredients to create a luxurious texture that glides onto the skin.
How to Make Your DIY Skin Repair Cream
Creating this soothing cream is incredibly simple! You’ll need:
- 1 tablespoon Vaseline (petroleum jelly)
- 1 tablespoon aloe vera gel (pure, fragrance-free is best)
- 1 tablespoon Johnson’s Baby Oil (or a similar mineral oil-based baby oil)
- A clean, small container or jar for storage
- A small bowl and spoon for mixing
Here’s how to whip up your own batch:
- Combine Ingredients: In your small bowl, add the Vaseline, aloe vera gel, and baby oil.
- Mix Thoroughly: Using your spoon, vigorously mix all three ingredients together. It might take a few minutes for them to fully combine and emulsify into a smooth, creamy consistency. Keep stirring until you have a uniform, fluffy, white cream.
- Transfer and Store: Once thoroughly mixed, transfer your DIY Skin Repair Cream into your clean container or jar.
How to Use Your DIY Skin Repair Cream
This cream is best used to target areas of dry or rough skin:
- Nighttime Routine: Many people enjoy applying this cream as an overnight treatment, especially on very dry areas like elbows, knees, heels, or hands. Apply a thin layer before bed and let it work its magic while you sleep.
- Targeted Moisture: Use it on any patches of skin that feel particularly dry, tight, or flaky throughout the day.
- After Bathing: Apply it to slightly damp skin after a shower or bath to help seal in maximum moisture.
Important Considerations & Tips
- Patch Test First: As with any new product, especially a DIY one, always perform a patch test on a small area of your skin (like your inner arm) before applying it all over. Wait 24 hours to ensure you don’t have any adverse reactions.
- Cleanliness is Key: Ensure all your mixing tools and storage containers are thoroughly clean and dry to prevent bacterial growth and keep your cream fresh.
- Storage: Store your DIY cream in a cool, dry place. Since it contains no preservatives, it’s best to make small batches and use them within a few weeks. If you notice any changes in smell, color, or texture, it’s time to discard it.
- Not a Cure: Remember, this cream is designed to moisturize and soothe dry skin, contributing to a smoother-looking complexion. It is not a medical treatment for skin conditions, nor will it permanently remove wrinkles or reverse aging.
We hope you enjoy creating and using this wonderfully simple and effective DIY skin repair cream. It’s a testament to how natural ingredients and common household items can come together to provide a little extra love for your skin!