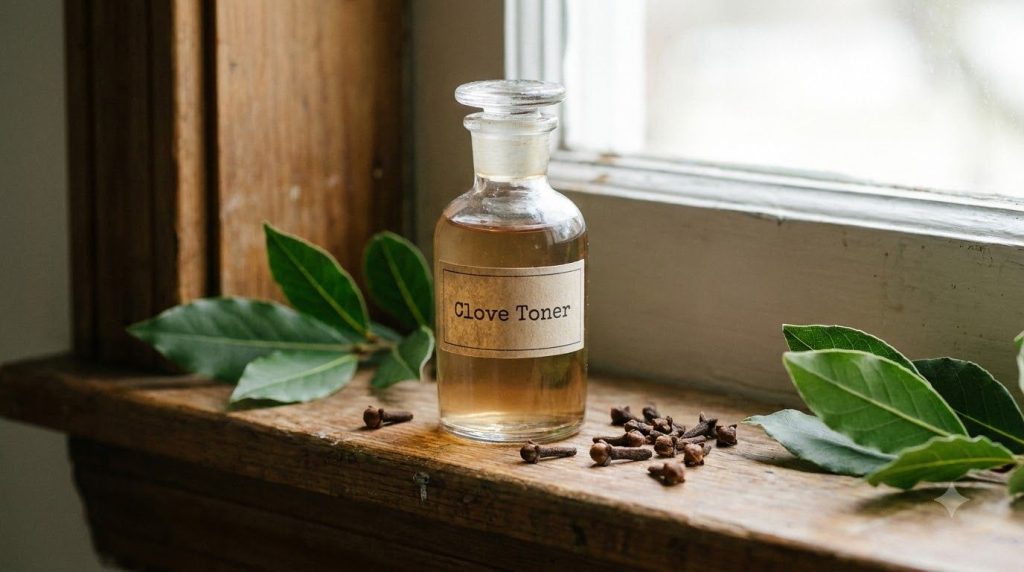
Discover how to create your own refreshing clove toner at home for skin that feels hydrated and looks radiant. This simple recipe harnesses the natural properties of cloves to support a fresher, more revitalized complexion.

Quick Recipe
Prep time: 10 minutes (plus cooling)
Best for: Dullness, dryness, promoting a radiant complexion
Use type: Toner
Main ingredients:
- Whole cloves
- Distilled water
Ingredients
- 1 tablespoon whole cloves
- 1 cup distilled water
- Optional: 1 teaspoon vegetable glycerin (for extra hydration)
How to Make It
- Boil Water: In a small saucepan, bring 1 cup of distilled water to a rolling boil. Using distilled water helps ensure purity and avoids mineral buildup.
- Add Cloves: Once the water is boiling, add 1 tablespoon of whole cloves to the saucepan. Turn off the heat immediately after adding the cloves.
- Steep: Cover the saucepan with a lid and let the cloves steep in the hot water for at least 30 minutes. For a stronger infusion, you can let it steep for up to an hour, or until the water cools completely.
- Strain: Once cooled, use a fine-mesh sieve or a cheesecloth to strain the liquid into a clean, airtight bottle or jar. Discard the cloves.
- Optional Hydration Boost: If desired, stir in 1 teaspoon of vegetable glycerin into the strained clove water. This helps attract and retain moisture in the skin.
- Store: Cap your toner bottle tightly and store it in the refrigerator. This helps preserve its freshness and potency.
How to Use It
- Cleanse: Start with a freshly cleansed face, ensuring all makeup and impurities are removed.
- Apply: Pour a small amount of the chilled clove toner onto a cotton pad. Gently sweep the pad across your face and neck, avoiding the eye area.
- Follow Up: Allow the toner to air dry on your skin for a minute or two. Follow with your favorite serum and moisturizer to lock in hydration.

How Often to Use It
You can use this DIY clove toner once or twice daily, in your morning and/or evening skincare routine. Consistency is key for best results.
Why These Ingredients Are Used
Whole Cloves
Cloves are known for their aromatic properties and have been traditionally used in various home remedies. In skincare, they are valued for their potential antioxidant compounds. These properties can help to protect the skin and support an overall healthy, fresh appearance, contributing to a natural glow.
Distilled Water
Distilled water is purified water, free from minerals and contaminants that can sometimes be found in tap water. Using it in your toner ensures a clean base, minimizing the introduction of potential irritants or elements that could shorten the shelf life of your homemade product.
Vegetable Glycerin (Optional)
Vegetable glycerin is a popular humectant, meaning it draws moisture from the air into your skin. Adding a small amount can significantly boost the hydrating power of your toner, helping your skin feel softer, plumper, and more supple.
What Results to Expect
With regular use, you may notice your skin feeling more hydrated and appearing smoother. This clove toner can help support a radiant and refreshed complexion, contributing to a more youthful-looking glow. Individual results can vary, but many find natural toners help balance and invigorate the skin.
Safety Notes
- Patch Test First: Always perform a patch test on a small, inconspicuous area of your skin (like behind the ear or on the inner arm) at least 24 hours before applying the toner to your entire face.
- Use Gently: Apply the toner gently and avoid rubbing aggressively.
- Avoid Irritated or Broken Skin: Do not use this toner on skin that is irritated, broken, or has open wounds.
- Stop if Discomfort Occurs: If you experience any redness, itching, burning, or irritation, discontinue use immediately.
- Eye Contact: Avoid direct contact with eyes. If contact occurs, rinse thoroughly with cool water.
- Storage: Store the toner in the refrigerator to maintain freshness and prevent bacterial growth. Discard any remaining toner after 7-10 days.
FAQ
How long does this DIY clove toner last?
When stored in an airtight container in the refrigerator, this homemade clove toner should last for about 7 to 10 days. Always check for any changes in smell or appearance before use.
Can I use fresh cloves instead of whole dried cloves?
It’s generally recommended to use whole dried cloves for this recipe, as their beneficial compounds are concentrated. Fresh cloves might have a different potency and could introduce more moisture, potentially affecting shelf life.
What about the “collagen” aspect of this toner?
While cloves do not directly contain collagen, this toner is referred to as “collagen-friendly” because its ingredients support overall skin health and hydration. Healthy, hydrated skin often appears plumper and smoother, which are qualities associated with a healthy collagen presence in the skin. Regular use of supportive ingredients can help maintain a vibrant, youthful look.
Final Thoughts
Creating your own DIY clove toner is a wonderful way to incorporate natural ingredients into your beauty routine. It’s a simple, cost-effective method to help achieve a hydrated and radiant complexion. Give it a try and see how this natural remedy can support your skin’s glow!