Hey, gorgeous! Who doesn’t dream of having ageless, glowing skin that radiates health and vitality? We’re constantly on the lookout for that secret ingredient or magic potion, and sometimes, the best kept secrets are found right in our own kitchens!
Today, we’re diving into a viral beauty hack that’s been making waves across social media: the DIY Collagen Cream using simple, affordable ingredients like Vaseline and egg. If you’ve been curious about achieving that flawless, youthful look without breaking the bank, keep reading! Your beauty bestie is here to spill all the details.
What’s the Hype About DIY Collagen Cream?
Collagen is the buzzword everyone talks about when it comes to youthful skin. It’s that amazing protein that gives our skin its firmness, elasticity, and smooth appearance. As we age, our natural collagen production slows down, leading to fine lines, wrinkles, and a loss of bounce. While you can’t magically *add* collagen through topical creams in the same way your body produces it internally, many DIY remedies aim to support skin health, moisture, and elasticity, which can certainly make your skin look and feel more youthful.
This particular DIY cream has gained popularity for its promise of addressing common skin concerns and giving you that coveted ‘glow-up’. Let’s explore the humble ingredients behind this sensation!
The Power Duo: Vaseline & Egg for Your Skin
It might sound surprising, but these everyday items pack a punch for your complexion:
Vaseline (Petroleum Jelly)
- Moisture Lock: Vaseline is an occlusive, meaning it creates a protective barrier on your skin. This barrier helps to trap moisture, preventing water loss and keeping your skin hydrated and plump. Well-hydrated skin looks smoother and can temporarily reduce the appearance of fine lines.
- Skin Barrier Support: By protecting your skin’s natural barrier, Vaseline can help it heal and recover, making your skin feel softer and more resilient.
- Affordable & Accessible: It’s a staple in almost every household, making it an incredibly convenient base for DIY treatments.
Egg
Eggs are nutritional powerhouses, and they offer unique benefits for your skin, too!
- Egg Whites for Tightening: Rich in albumin protein, egg whites are often used in face masks for their temporary skin-tightening effects. They can help minimize the appearance of pores and give your skin a smoother texture.
- Egg Yolks for Nourishment: The yolk is packed with vitamins (like A, D, and E), healthy fats, and antioxidants. These nutrients are fantastic for moisturizing dry skin, promoting cell regeneration, and giving your skin a healthy, supple glow.
Your Step-by-Step DIY Collagen Cream Recipe
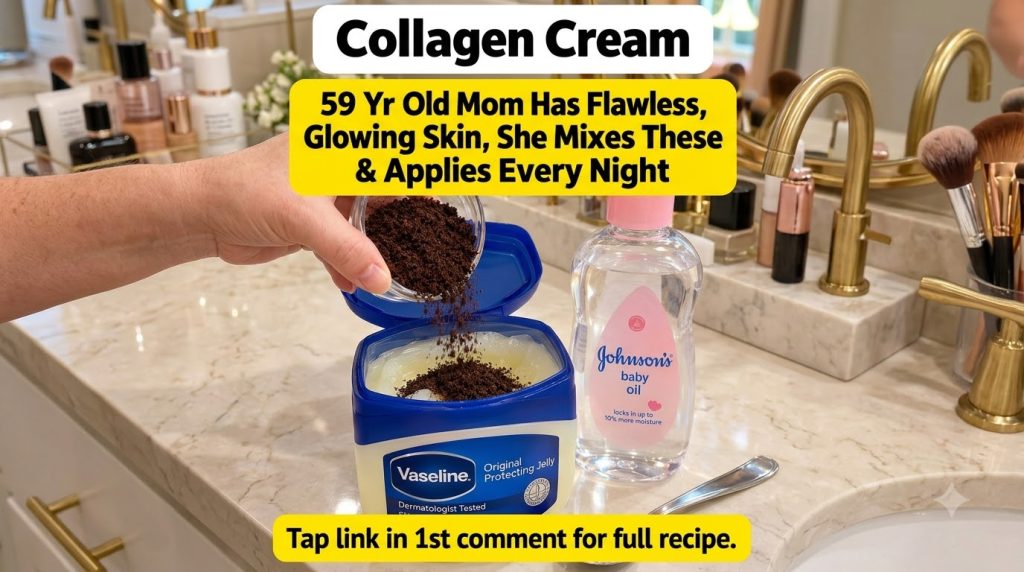
Ready to try this viral hack for yourself? Here’s how you can make your very own Vaseline and Egg Collagen Cream at home:
What You’ll Need:
- 1 tablespoon of Vaseline (petroleum jelly)
- 1 whole egg (or just the egg white/yolk, depending on your primary concern)
- Optional: A few drops of a skin-friendly oil like almond oil or Vitamin E oil for extra nourishment.
Instructions:
- Melt the Vaseline: In a small, heat-safe bowl, gently melt the Vaseline. You can do this by placing the bowl over a larger bowl of hot water (a double-boiler method) or by microwaving it for short bursts (5-10 seconds) until it becomes a soft, liquid consistency. Be careful not to overheat it.
- Prepare the Egg: Crack the egg into a separate small bowl. If you’re focusing on tightening, you can separate the yolk and use only the egg white. If you want more nourishment, use the whole egg, or just the yolk for extra moisture. Whisk it well until it’s slightly frothy.
- Combine Ingredients: Once the Vaseline is melted and slightly cooled (it should still be liquid but not hot), slowly add the whisked egg to the Vaseline, stirring continuously. Add optional oils if using.
- Mix Thoroughly: Keep stirring until the mixture is well combined and has a smooth, creamy texture. It might take a few minutes to fully emulsify.
- Transfer & Store: Pour the mixture into a clean, airtight container. A small glass jar is perfect.
How to Use:
- Patch Test First: Always do a patch test on a small area of your skin (like behind your ear or on your inner arm) to check for any allergic reactions before applying to your entire face.
- Cleanse: Start with a clean, dry face.
- Apply: Gently apply a thin layer of the DIY collagen cream to your face and neck, massaging it in with upward strokes.
- Nightly Ritual: Many people use this as an overnight mask, applying it before bed. Let it work its magic while you sleep!
- Rinse: In the morning, gently wash your face with lukewarm water to remove any residue.
Tips for Best Results & What to Expect
- Consistency is Key: For best results, use this cream consistently. Daily or every other day can show noticeable improvements in skin hydration and texture over time.
- Freshness Matters: Since this cream contains raw egg, it’s essential to store it in the refrigerator and use it within 3-5 days. Discard if you notice any changes in smell or texture.
- Manage Expectations: While this DIY cream can boost hydration and improve skin texture, it’s not a miracle cure for deep wrinkles or a replacement for professional dermatological treatments. Think of it as a wonderful addition to your self-care routine!
- Sun Protection: Always follow up with a broad-spectrum SPF during the day, especially if you’re focusing on anti-aging concerns.
There you have it, beauty besties! A simple, affordable, and viral DIY Collagen Cream recipe that might just be the secret to unlocking your most radiant skin yet. Give it a try and let us know your thoughts in the comments below. Here’s to glowing skin!