Are your once bright grout lines now looking dull, stained, or even a little bit moldy? Over time, dirt, grime, and moisture can turn your tiled surfaces from sparkling to lackluster, making your entire bathroom or kitchen feel less fresh. Instead of resorting to harsh chemicals or expensive professional cleaners, you might be surprised at how effectively a simple, homemade solution can tackle this common problem.
This DIY grout cleaning method is designed to lift away stubborn stains and brighten those neglected lines, bringing back the clean look of your tiles. It’s a practical, affordable, and incredibly satisfying way to refresh your space, using ingredients you likely already have at home.
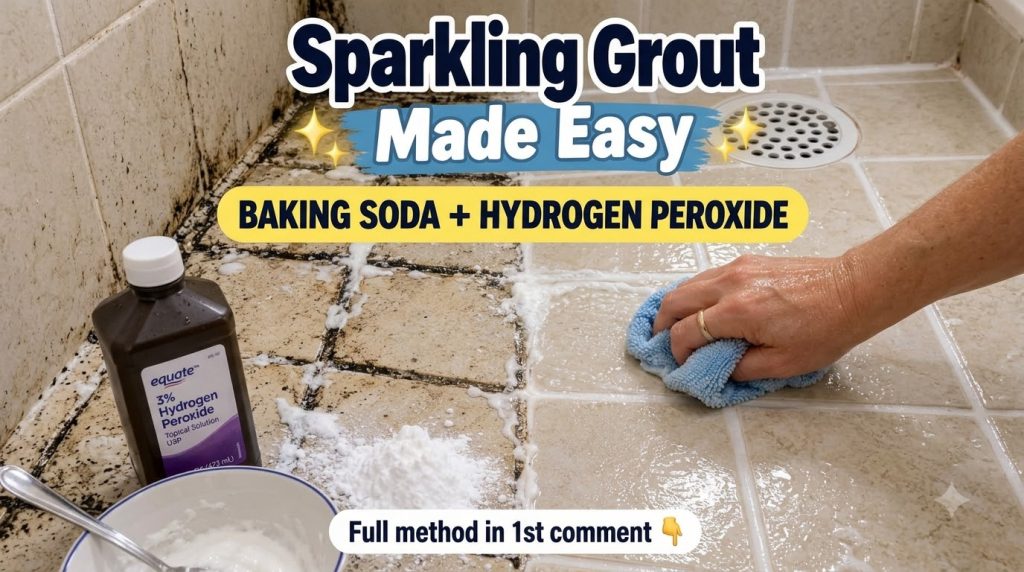
What You’ll Need
Ingredients for the Cleaning Paste:
- 1/2 cup baking soda
- 2-3 tablespoons 3% hydrogen peroxide (adjust as needed to form a paste)
Tools:
- Small mixing bowl
- Old toothbrush or dedicated grout brush
- Microfiber cloth or sponge
- Rubber gloves (optional, but recommended for protection)
Why This DIY Can Be Useful
This simple DIY cleaner harnesses the power of two common household items to tackle grout grime. Baking soda acts as a mild abrasive that helps scrub away dirt and stains without damaging your grout or tiles. It also has natural deodorizing properties. Hydrogen peroxide is a fantastic whitener and disinfectant. When combined, these ingredients create a paste that can penetrate and lift stubborn stains and even help address mildew, leaving your grout looking noticeably brighter.
How to Make It
- Pour the 1/2 cup of baking soda into your small mixing bowl.
- Gradually add the hydrogen peroxide, starting with 2 tablespoons.
- Mix thoroughly with a spoon or spatula until a thick, spreadable paste forms. If it’s too runny, add a little more baking soda. If it’s too dry, add a few more drops of hydrogen peroxide.
How to Use It
- Prepare the Area: Clear any loose debris or hair from the tiled surface you plan to clean. For best results, ensure the area is dry before applying the paste.
- Apply the Paste: Take a generous amount of the baking soda and hydrogen peroxide paste and apply it directly onto the grout lines you want to clean. You can use your fingers (wearing gloves), a spoon, or an old toothbrush to spread it evenly along the grout.
- Let it Sit: Allow the paste to sit on the grout lines for at least 10-15 minutes. This gives the hydrogen peroxide time to work on breaking down stains and lifting grime.
- Scrub: Using an old toothbrush or a dedicated grout brush, vigorously scrub the grout lines in a circular motion. You should start to see the grime lifting away.
- Wipe & Rinse: Once you’ve scrubbed all the treated areas, wipe away the paste and loosened dirt with a damp microfiber cloth or sponge. For larger areas, a light rinse with clean water can help remove all residue. Ensure all traces of the cleaner are removed from the tiles and grout.
- Dry: Allow the cleaned area to air dry completely.
What to Expect
You can expect to see significantly brighter and cleaner grout lines. The paste works wonders on general dirt buildup, discoloration, and even light mildew stains. While this method is highly effective, extremely old or deep-set stains might require a second application or more vigorous scrubbing. Your tiles will look refreshed, and the overall cleanliness of your space will be enhanced.
Helpful Tips
- Work in Sections: If you’re cleaning a large tiled area, work in smaller sections to prevent the paste from drying out before you can scrub and rinse it.
- Ventilation: Ensure good ventilation in the area you’re cleaning, especially when using hydrogen peroxide.
- Consistency is Key: For best results, maintain a regular cleaning schedule to prevent excessive grime buildup in your grout.
- Test in an Inconspicuous Area: Before applying to a large visible area, always test the paste on a small, hidden section of grout to ensure it doesn’t cause any discoloration or damage.
Important Notes / Safety
- Avoid mixing hydrogen peroxide with vinegar, as this can create a harmful chemical reaction.
- While hydrogen peroxide is generally safe for most tiles and grout, it’s always wise to perform a patch test first.
- Wear rubber gloves to protect your hands, especially if you have sensitive skin.
- Ensure the area is well-ventilated during and after cleaning.
- Store any leftover hydrogen peroxide in its original, dark container away from direct sunlight, as light can degrade its effectiveness.