Grow Your Own Ginger! Easy Steps for a Continuous Harvest
Imagine having a constant supply of fresh, zesty ginger right from your own home! Growing ginger is surprisingly easy and incredibly rewarding. Whether you’re a seasoned gardener or just starting your green thumb journey, cultivating ginger at home can add a delightful, spicy kick to your cooking, teas, and even provide a beautiful green plant for your windowsill. Let’s dive into how you can start your very own ginger patch, just like the vibrant sprouts you might have seen.
Why Grow Your Own Ginger?
- Freshness Guaranteed: Nothing beats the flavor of freshly harvested ginger. It’s more potent and aromatic than store-bought varieties.
- Cost-Effective: Once you get started, you’ll have a continuous supply, saving you trips to the grocery store.
- Beautiful Plant: Ginger plants have attractive, glossy green leaves that can brighten up any indoor space.
- Educational Fun: It’s a fantastic project for adults and even kids to learn about plant propagation.
What You’ll Need
The beauty of growing ginger is that it requires very few specialized tools. Here’s what you’ll need to get started:
- A Piece of Ginger Root (Rhizome): Look for a fresh, plump piece of ginger with visible ‘eyes’ or growth buds, similar to potato eyes. Organic ginger is often preferred as it’s less likely to be treated with growth inhibitors.
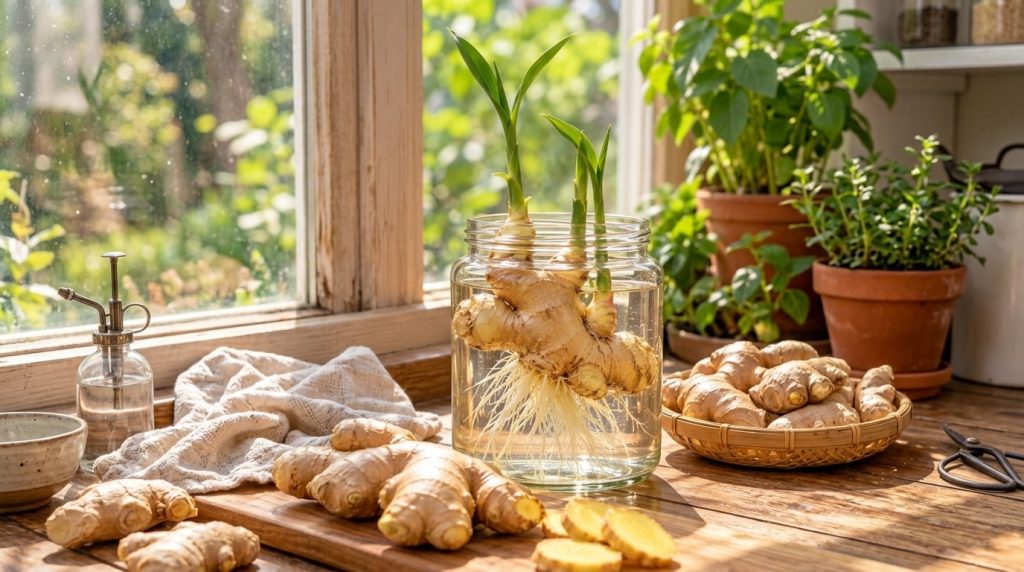
- A Shallow Dish or Jar: A clear glass jar, like the one in our image, or a shallow bowl works perfectly for the initial sprouting phase.
- Water: Regular tap water is fine.
- Potting Soil: Once your ginger sprouts, you’ll need well-draining, rich potting mix.
- A Pot or Container: Choose a wide, shallow pot (at least 12 inches wide and 8 inches deep) if growing indoors, as ginger grows horizontally.
- Sunny Location: Ginger loves warmth and bright, indirect light.
Step-by-Step Propagation for Continuous Harvests
1. Choose Your Ginger Root Wisely
Head to your local grocery store or farmer’s market. Select a ginger rhizome that is firm, blemish-free, and ideally has several visible ‘eyes’ or bumps. These are where new shoots and roots will emerge. If your ginger looks a little dry, you can soak it in warm water overnight to rehydrate it, which might encourage sprouting.
2. Sprouting in Water
This is where the magic begins! Place your chosen piece of ginger into a shallow dish or a clear glass jar with just enough water to cover about half of the rhizome. Make sure the ‘eyes’ are facing upwards or sideways so they can easily find the light. Place your container in a warm spot with bright, indirect sunlight, like a sunny windowsill. Change the water every day or two to prevent mold and keep it fresh.
Within a few weeks, you should start to see delicate white roots forming in the water and tiny green shoots emerging from the ‘eyes’ of the ginger. This stage is incredibly satisfying to watch, just as depicted in our example image!
3. Transferring to Soil
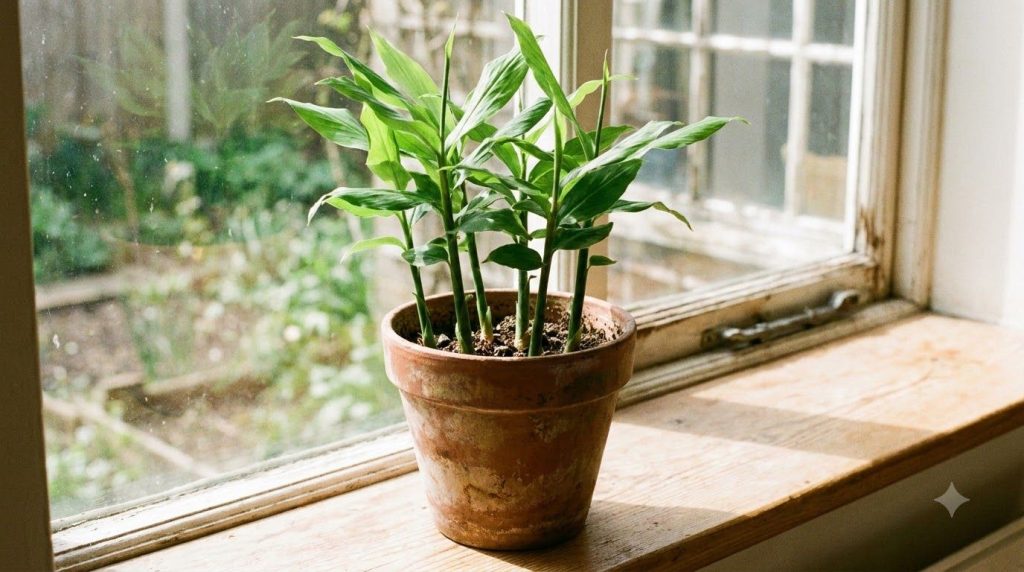
Once your ginger has developed strong roots (usually 1-2 inches long) and a few green shoots, it’s ready for its new home in the soil. Fill your chosen pot with a good quality, well-draining potting mix. Dig a shallow trench or make a small indentation. Place the sprouted ginger horizontally in the soil, with the roots pointing down and the green shoots pointing up. Cover the ginger lightly with about 1-2 inches of soil, leaving the very tip of the shoots exposed.
Care and Maintenance for a Bountiful Harvest
- Watering: Ginger loves consistent moisture but hates soggy feet. Keep the soil consistently damp but not waterlogged. Reduce watering in cooler months when growth slows.
- Light: Provide bright, indirect light. Direct scorching sun can burn the leaves, while too little light will hinder growth.
- Temperature: Ginger thrives in warm temperatures, ideally between 70-80°F (21-27°C). Protect it from cold drafts.
- Feeding: During the growing season (spring and summer), feed your ginger plant with a balanced liquid fertilizer every 2-4 weeks.
- Harvesting: You can start harvesting small pieces of ginger approximately 4-6 months after planting. Gently dig around the edges of the pot to expose a rhizome, cut off a piece, and then re-cover the rest. For a larger harvest, wait 8-10 months until the leaves start to yellow and die back.
Troubleshooting Common Ginger Growing Issues
- Rotting Ginger: This is usually due to overwatering or poor drainage. Ensure your pot has drainage holes and let the top inch of soil dry slightly between waterings.
- Slow Growth: Insufficient light, cold temperatures, or lack of nutrients can cause slow growth. Adjust its environment accordingly.
- Pests: Ginger is generally pest-resistant, but occasionally spider mites or aphids can be an issue. Treat with an organic insecticidal soap if needed.
Enjoy Your Homegrown Ginger!
Growing your own ginger is a fun and rewarding experience that connects you closer to your food and garden. With a little patience and care, you’ll be enjoying fresh, homegrown ginger year-round. Don’t be afraid to experiment and share your gardening journey with us!
Happy planting!