Embrace a timeless glow with this simple homemade bay leaf oil. Traditionally used in beauty routines, this DIY blend is designed to support a youthful and radiant complexion, often associated with collagen-friendly practices.
Quick Recipe
Prep time: 15 minutes
Best for: Supporting youthful-looking skin, promoting a radiant complexion, addressing dryness.
Use type: Oil
Main ingredients:
- Dried Bay Leaves
- Carrier Oil (e.g., Sweet Almond Oil, Olive Oil, Jojoba Oil)
- Vitamin E Oil (optional, for added skin benefits)
Ingredients
- 1/4 cup dried bay leaves (whole or roughly crushed)
- 1 cup carrier oil (such as sweet almond oil, olive oil, or jojoba oil)
- 1 teaspoon Vitamin E oil (optional, for extra nourishment)
How to Make It
- Prepare the Bay Leaves: If using whole bay leaves, gently crush them slightly to help release their beneficial compounds. Place the crushed bay leaves into a clean, dry glass jar with a tight-fitting lid.
- Add Carrier Oil: Pour your chosen carrier oil over the bay leaves in the jar, ensuring the leaves are fully submerged.
- Infuse the Oil (Gentle Heat Method): Place the open jar in a saucepan filled with about 2-3 inches of water (creating a double boiler). Heat on low for 1-2 hours, keeping the water at a gentle simmer, not boiling. This gentle heat helps to infuse the bay leaf properties into the oil. Alternatively, for a sun infusion, seal the jar and place it in a sunny spot for 2-4 weeks, shaking daily.
- Add Vitamin E (Optional): After the infusion period, let the oil cool completely if using the heat method. Stir in the Vitamin E oil, if desired.
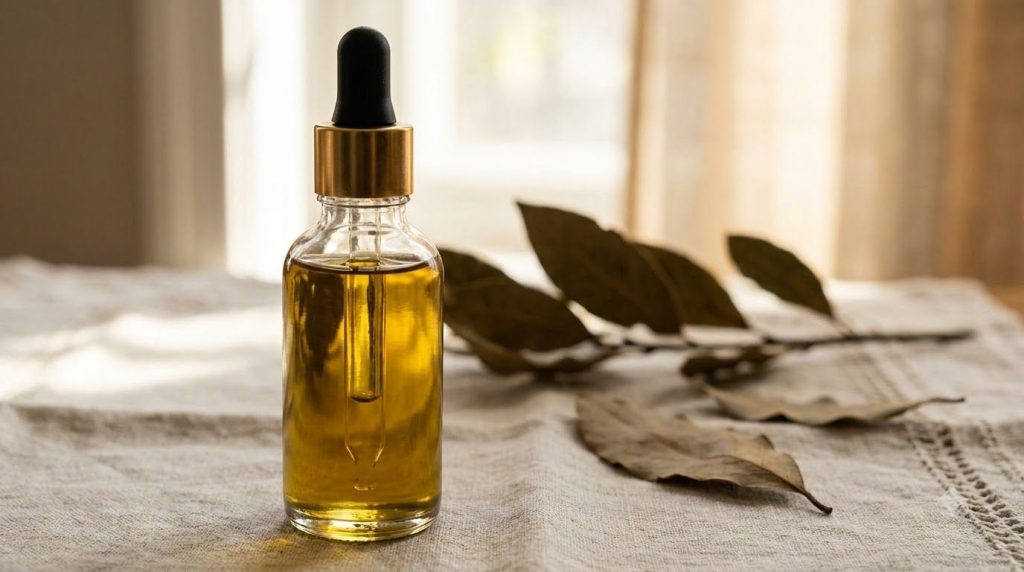
- Strain and Store: Strain the infused oil through a fine-mesh sieve or cheesecloth into another clean, airtight glass bottle. Discard the bay leaf solids. Label your bottle and store it in a cool, dark place.
How to Use It
- Cleanse Skin: Start with a clean face and neck, free from makeup and impurities.
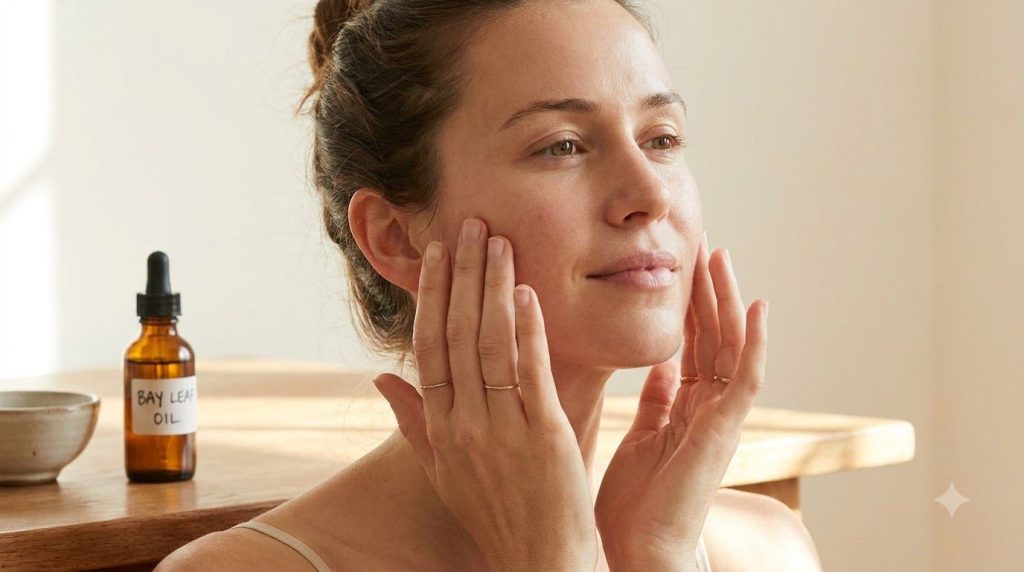
- Warm a Few Drops: Dispense 2-3 drops of the bay leaf oil into the palm of your hand and gently warm it by rubbing your palms together.
- Massage In: Gently massage the oil onto your face and neck using upward, circular motions. Focus on areas where you desire a smoother or more hydrated appearance.
How Often to Use It
You can use this bay leaf oil once daily, preferably in the evening as part of your nighttime skincare routine. Consistency is key for observing potential benefits.
Why These Ingredients Are Used
Dried Bay Leaves
Bay leaves are traditionally valued in various cultures for their aromatic and beneficial properties. In beauty, they are sometimes used for their potential to support a healthy skin appearance and tone, contributing to a fresher, more revitalized look.
Carrier Oil
Carrier oils like sweet almond, olive, or jojoba oil are excellent for nourishing and moisturizing the skin. They help deliver the beneficial compounds from the bay leaves, providing hydration and helping to maintain the skin’s natural barrier. These oils are chosen for their skin-loving fatty acids and vitamins.
Vitamin E Oil
Often considered a ‘secret ingredient’ in many homemade beauty blends, Vitamin E oil is a powerful antioxidant. It is widely recognized for its skin-conditioning properties, helping to support skin health and promote a smoother, more supple appearance. It’s a wonderful addition to any oil blend aimed at promoting youthful-looking skin.
What Results to Expect
With consistent use, this homemade bay leaf oil may help your skin feel softer and appear more hydrated. Many users find it helps to support a smoother-looking texture and a more radiant, youthful glow. Remember that natural remedies work gently and results can vary.
Safety Notes
- Patch Test First: Always perform a patch test on a small, inconspicuous area of your skin (like behind the ear or on the inner arm) at least 24 hours before applying the oil to your face to check for any sensitivities.
- Use Gently: Apply the oil with a light touch and avoid vigorous rubbing, especially on delicate facial skin.
- Avoid Irritated or Broken Skin: Do not use this oil on skin that is irritated, broken, or has open wounds.
- Stop Using if Discomfort Occurs: If you experience any redness, itching, burning, or irritation, discontinue use immediately.
- Storage: Store the oil in a cool, dark place to maintain its freshness and efficacy.
- Internal Use: This remedy is for external, topical use only. Do not ingest.
FAQ
Can I use fresh bay leaves instead of dried ones?
It’s generally recommended to use dried bay leaves for oil infusions, as fresh leaves contain water that can lead to spoilage of the oil. If you only have fresh, ensure they are thoroughly dried before use.
How long does this bay leaf oil last?
When stored properly in a cool, dark place, this infused oil can typically last for 6-12 months. Pay attention to any changes in smell or appearance, which could indicate spoilage.
Can this oil help with fine lines?
While this oil provides hydration and supports skin’s appearance, it’s not a medical treatment for fine lines. However, well-hydrated and nourished skin often appears smoother, which can help diminish the look of fine lines and contribute to a more youthful complexion.
Final Thoughts
Integrating simple, natural remedies like this homemade bay leaf oil into your beauty routine can be a wonderful way to nourish your skin. It’s a gentle approach to supporting a more radiant and youthful-looking complexion. We encourage you to try it and share your experiences!