Are you ready to bake a show-stopping dessert that will impress everyone? Our ultimate guide to a truly fudgy chocolate cake is here, along with a collection of other decadent chocolate dessert recipes. Whether you’re a seasoned baker or just starting, these recipes are designed to be easy to follow, ensuring perfect results every time. Get ready to transform your kitchen into a dessert paradise!
Quick Overview
- Main topic: Indulgent Chocolate Desserts
- Best for: Home bakers, dessert lovers, special occasions
- Number of recipes: 7
- Prep style: Baking and No-Bake Desserts
- Reader benefit: Easy-to-follow recipes for delicious, impressive chocolate treats
Recipe 1: Classic Fudgy Chocolate Cake
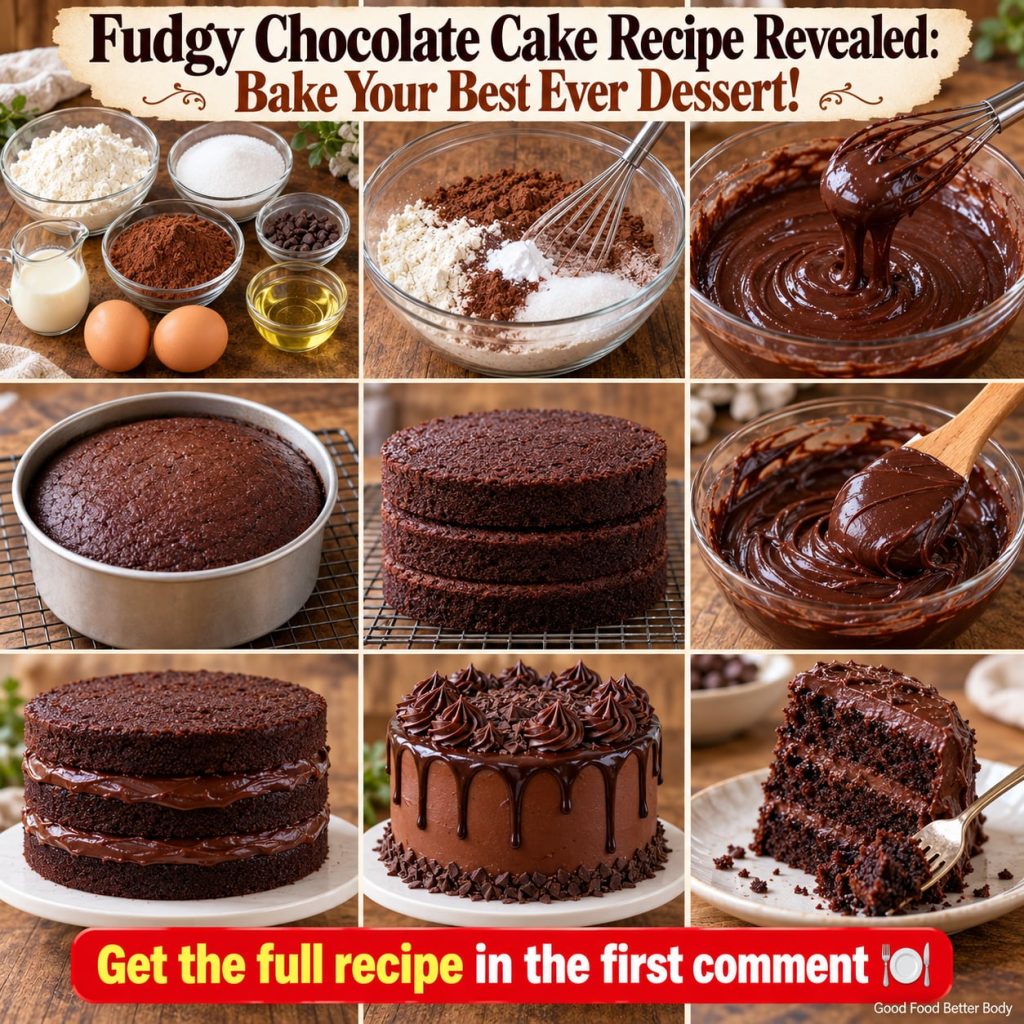
This is the ultimate fudgy chocolate cake recipe that promises a moist, dense crumb and intense chocolate flavor. Perfect for birthdays, holidays, or any time you crave a truly decadent treat.
Servings: 12-16
Prep time: 25 minutes
Cook / chill / rest time: 30-35 minutes (bake time), 60 minutes (cooling), 30 minutes (frosting chill)
Ingredients:
- 2 cups all-purpose flour
- 2 cups granulated sugar
- ¾ cup unsweetened cocoa powder
- 2 teaspoons baking soda
- 1 teaspoon baking powder
- 1 teaspoon salt
- 1 cup buttermilk
- ½ cup vegetable oil
- 2 large eggs
- 1 teaspoon vanilla extract
- 1 cup boiling water
- For the Chocolate Ganache Frosting:
- 1 ½ cups semi-sweet chocolate chips
- ¾ cup heavy cream
- 1 tablespoon unsalted butter (optional, for shine)
Instructions:
- Preheat oven to 350°F (175°C). Grease and flour two 9-inch round cake pans or one 9×13 inch rectangular pan.
- In a large bowl, whisk together flour, sugar, cocoa powder, baking soda, baking powder, and salt.
- Add buttermilk, oil, eggs, and vanilla extract to the dry ingredients. Beat with an electric mixer on medium speed for 2 minutes, scraping down the sides of the bowl as needed.
- Carefully stir in the boiling water (the batter will be thin).
- Pour the batter evenly into the prepared pans.
- Bake for 30-35 minutes, or until a wooden skewer inserted into the center comes out clean.
- Let cakes cool in the pans for 10 minutes before inverting them onto a wire rack to cool completely.
- For the Ganache: In a microwave-safe bowl, combine chocolate chips and heavy cream. Microwave in 30-second intervals, stirring after each, until melted and smooth. Stir in butter if using. Let cool slightly until thick enough to spread.
- Once cakes are completely cool, frost with the chocolate ganache.
Storage / Serving / Usage Note: Store leftover cake covered at room temperature for up to 3 days, or in the refrigerator for up to 5 days. Best served at room temperature.
Recipe 2: Molten Chocolate Lava Cakes
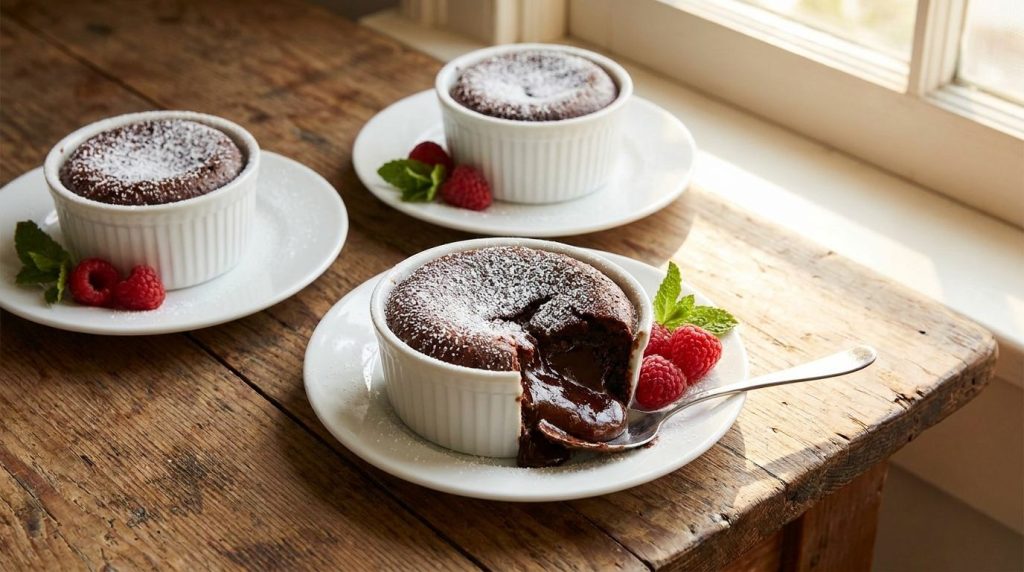
These individual molten chocolate lava cakes are surprisingly easy to make and deliver an impressive restaurant-quality dessert with a warm, fudgy center.
Servings: 4
Prep time: 15 minutes
Cook / chill / rest time: 12-14 minutes
Ingredients:
- ½ cup (1 stick) unsalted butter
- 4 ounces bittersweet chocolate, chopped
- 2 large eggs
- 2 large egg yolks
- ¼ cup granulated sugar
- 2 tablespoons all-purpose flour
- Pinch of salt
- Powdered sugar, for dusting (optional)
Instructions:
- Preheat oven to 400°F (200°C). Butter and flour four 6-ounce ramekins.
- In a heatproof bowl set over a saucepan of simmering water (or microwave), melt butter and chopped chocolate, stirring until smooth. Remove from heat and let cool slightly.
- In a separate bowl, whisk together eggs, egg yolks, and sugar until light and fluffy.
- Gradually whisk the melted chocolate mixture into the egg mixture.
- Fold in the flour and salt until just combined.
- Divide the batter evenly among the prepared ramekins.
- Bake for 12-14 minutes, or until the edges are set but the center still jiggles slightly.
- Carefully invert each ramekin onto a plate. Dust with powdered sugar, if desired.
Storage / Serving / Usage Note: Serve immediately while warm for the best molten center. Leftovers can be reheated gently in the microwave.
Recipe 3: Chocolate Fudge Brownies
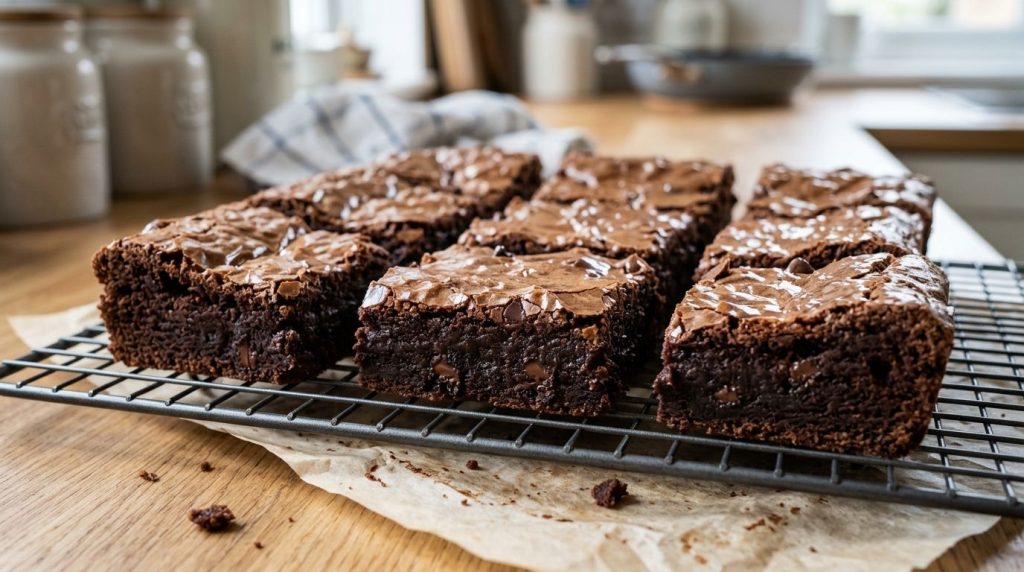
A timeless favorite, these chocolate fudge brownies are incredibly rich, perfectly chewy, and easy to make. They’re ideal for potlucks, lunchboxes, or a simple afternoon treat.
Servings: 16
Prep time: 15 minutes
Cook / chill / rest time: 25-30 minutes
Ingredients:
- ½ cup (1 stick) unsalted butter, melted
- 1 cup granulated sugar
- 2 large eggs
- 1 teaspoon vanilla extract
- ½ cup all-purpose flour
- ⅓ cup unsweetened cocoa powder
- ¼ teaspoon baking powder
- ¼ teaspoon salt
- ½ cup chocolate chips (optional)
Instructions:
- Preheat oven to 350°F (175°C). Grease and flour an 8×8 inch baking pan.
- In a large bowl, whisk together melted butter and sugar until combined.
- Whisk in eggs one at a time, then stir in vanilla extract.
- In a separate bowl, combine flour, cocoa powder, baking powder, and salt.
- Gradually add the dry ingredients to the wet ingredients, mixing until just combined. Fold in chocolate chips if using.
- Pour batter into the prepared pan and spread evenly.
- Bake for 25-30 minutes, or until a wooden skewer inserted into the center comes out with moist crumbs (not wet batter).
- Let cool completely in the pan on a wire rack before cutting into squares.
Storage / Serving / Usage Note: Store brownies in an airtight container at room temperature for up to 4-5 days. They also freeze well for up to 3 months.
Recipe 4: No-Bake Chocolate Lasagna
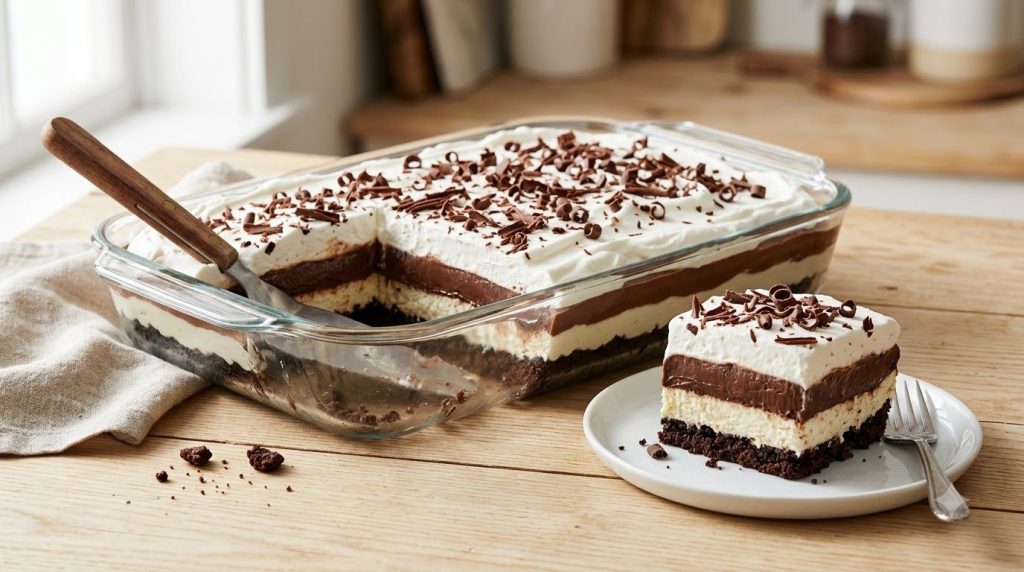
Looking for an easy yet impressive dessert? This no-bake chocolate lasagna features a delicious cookie crust, creamy layers, and rich chocolate pudding, all topped with whipped cream and chocolate shavings.
Servings: 12-16
Prep time: 30 minutes
Cook / chill / rest time: 4 hours (chill time)
Ingredients:
- 1 ½ cups crushed Oreo cookies (about 18 cookies)
- ½ cup unsalted butter, melted
- 8 ounces cream cheese, softened
- ¼ cup granulated sugar
- 2 tablespoons cold milk
- 12 ounces whipped topping, divided
- 2 (3.9 ounce) packages instant chocolate pudding mix
- 3 cups cold milk
- Chocolate shavings or mini chocolate chips, for garnish
Instructions:
- In a medium bowl, combine crushed Oreo cookies and melted butter. Press the mixture evenly into the bottom of a 9×13 inch baking dish. Refrigerate for 15 minutes.
- In a large bowl, beat softened cream cheese, granulated sugar, and 2 tablespoons cold milk until smooth and creamy. Fold in 1 cup of the whipped topping. Spread this mixture over the cookie crust.
- In a separate bowl, whisk together the instant chocolate pudding mixes and 3 cups cold milk for 2 minutes, until thickened. Carefully spread the pudding mixture over the cream cheese layer.
- Cover the dish with plastic wrap and refrigerate for at least 4 hours, or until firmly set.
- Before serving, spread the remaining whipped topping over the chocolate pudding layer. Garnish with chocolate shavings or mini chocolate chips.
Storage / Serving / Usage Note: Store covered in the refrigerator for up to 3-4 days. This dessert is best served chilled.
Recipe 5: Decadent Chocolate Mousse
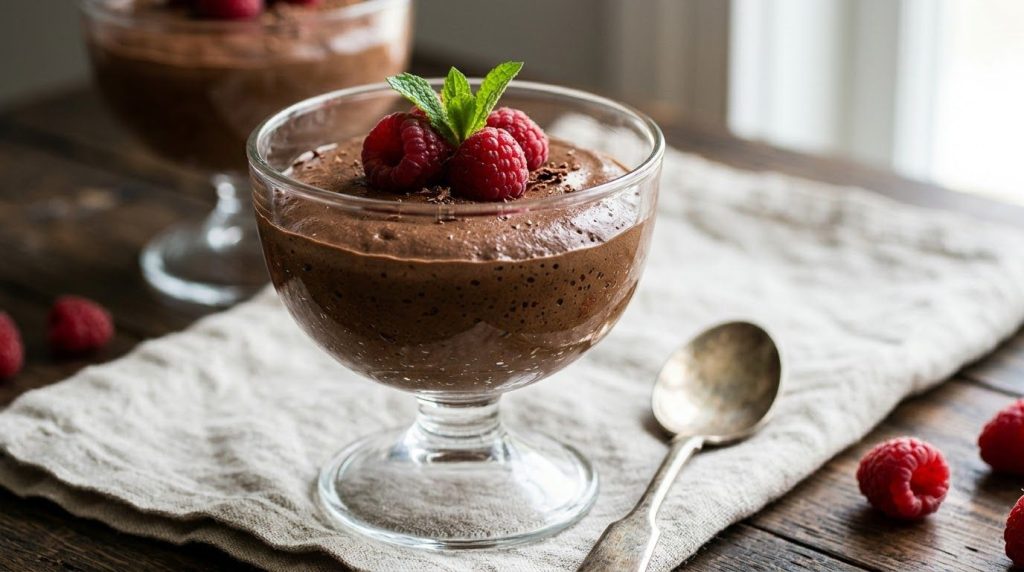
A sophisticated dessert that’s surprisingly simple to master, this decadent chocolate mousse is rich, airy, and melt-in-your-mouth delicious. Perfect for special gatherings or a romantic dinner.
Servings: 6
Prep time: 20 minutes
Cook / chill / rest time: 2-4 hours (chill time)
Ingredients:
- 8 ounces good quality bittersweet chocolate, chopped
- ¼ cup unsalted butter
- 4 large eggs, separated
- ¼ cup granulated sugar
- 1 teaspoon vanilla extract
- 1 cup heavy cream, cold
- Pinch of salt
Instructions:
- In a heatproof bowl set over a saucepan of simmering water (or microwave), melt chopped chocolate and butter, stirring until smooth. Let cool slightly.
- In a large bowl, whisk together egg yolks, sugar, and vanilla extract until pale and creamy. Gradually whisk in the melted chocolate mixture.
- In a separate clean bowl, beat egg whites with a pinch of salt until stiff peaks form. Gently fold the egg whites into the chocolate mixture in two additions.
- In another clean bowl, beat the cold heavy cream until soft peaks form. Gently fold the whipped cream into the chocolate mixture until no streaks remain.
- Divide the mousse among 6 serving glasses or ramekins. Refrigerate for at least 2-4 hours, or until set.
Storage / Serving / Usage Note: Store covered in the refrigerator for up to 2-3 days. Garnish with fresh berries or chocolate shavings before serving, if desired.
Recipe 6: Double Chocolate Chip Cookies
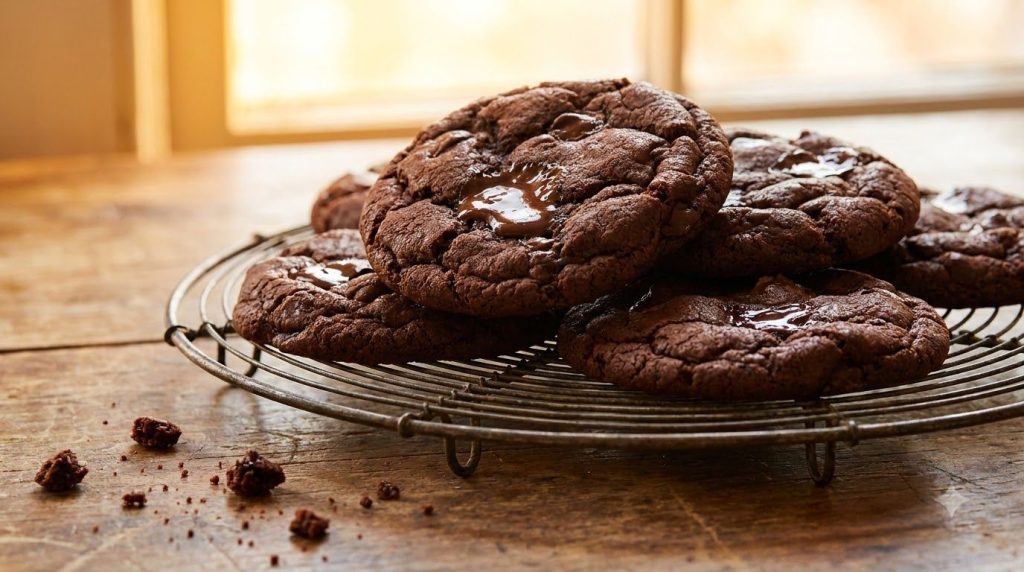
These double chocolate chip cookies are a chocolate lover’s dream! They’re soft, chewy, and loaded with rich chocolate flavor and extra chocolate chips in every bite.
Servings: 24 cookies
Prep time: 15 minutes
Cook / chill / rest time: 10-12 minutes
Ingredients:
- ½ cup (1 stick) unsalted butter, softened
- ½ cup granulated sugar
- ½ cup packed light brown sugar
- 1 large egg
- 1 teaspoon vanilla extract
- 1 ¼ cups all-purpose flour
- ½ cup unsweetened cocoa powder
- 1 teaspoon baking soda
- ¼ teaspoon salt
- 1 ½ cups chocolate chips (milk, semi-sweet, or dark)
Instructions:
- Preheat oven to 350°F (175°C). Line baking sheets with parchment paper.
- In a large bowl, cream together softened butter, granulated sugar, and brown sugar until light and fluffy.
- Beat in the egg, then stir in the vanilla extract until well combined.
- In a separate bowl, whisk together flour, cocoa powder, baking soda, and salt.
- Gradually add the dry ingredients to the wet ingredients, mixing on low speed until just combined. Fold in the chocolate chips.
- Drop rounded tablespoons of dough onto the prepared baking sheets, about 2 inches apart.
- Bake for 10-12 minutes, or until the edges are set but the centers are still slightly soft.
- Let cookies cool on the baking sheets for a few minutes before transferring to a wire rack to cool completely.
Storage / Serving / Usage Note: Store in an airtight container at room temperature for up to 5 days. Dough can be frozen for up to 3 months.
Recipe 7: Chocolate Peanut Butter Fudge
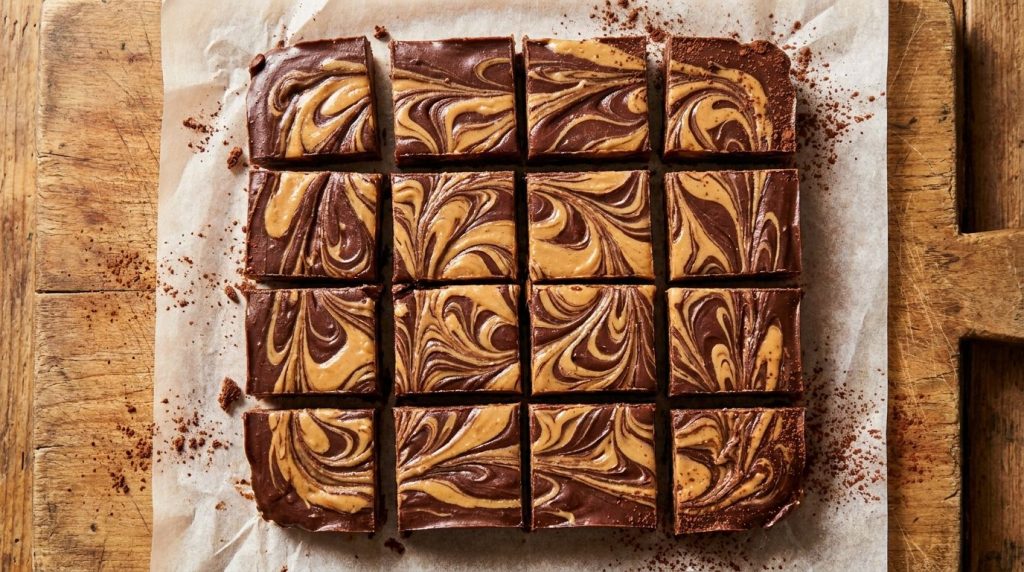
Indulge in the perfect marriage of chocolate and peanut butter with this incredibly easy, no-bake fudge. It’s rich, creamy, and melts in your mouth – ideal for gifting or satisfying a sweet craving.
Servings: 36 pieces
Prep time: 15 minutes
Cook / chill / rest time: 2 hours (chill time)
Ingredients:
- 1 (12 ounce) package semi-sweet chocolate chips
- 1 (14 ounce) can sweetened condensed milk, divided
- ½ cup peanut butter (creamy or crunchy)
- 1 teaspoon vanilla extract
- Pinch of salt
Instructions:
- Line an 8×8 inch baking pan with parchment paper, leaving an overhang on the sides for easy removal.
- In a microwave-safe bowl, combine chocolate chips and ¾ of the sweetened condensed milk. Microwave in 30-second intervals, stirring after each, until melted and smooth. Stir in vanilla extract and salt.
- Pour the chocolate mixture into the prepared pan and spread evenly.
- In a separate microwave-safe bowl, combine peanut butter and the remaining ¼ of the sweetened condensed milk. Microwave for 30 seconds, stir until smooth.
- Dollop the peanut butter mixture over the chocolate layer. Use a knife or skewer to swirl the peanut butter into the chocolate for a marbled effect.
- Refrigerate for at least 2 hours, or until firm.
- Once firm, use the parchment paper overhang to lift the fudge from the pan. Cut into small squares.
Storage / Serving / Usage Note: Store fudge in an airtight container at room temperature for up to 1 week, or in the refrigerator for longer freshness.
Simple Tips for Best Results
- Use Quality Ingredients: Especially for chocolate desserts, the quality of your chocolate, cocoa powder, and butter can significantly impact the final flavor.
- Measure Accurately: Baking is a science. Use proper measuring cups and spoons, and for flour, spoon it into the cup and level it off.
- Don’t Overmix: For cakes, cookies, and brownies, overmixing can lead to tough textures. Mix until just combined.
- Chill When Required: For no-bake desserts or doughs, chilling time is crucial for setting and flavor development. Don’t rush this step!
- Parchment Paper is Your Friend: Line your baking pans with parchment paper for easy removal and cleanup.
FAQ
What is the difference between a fudgy and a chewy brownie?
Fudgy brownies are dense, moist, and almost melt in your mouth, often achieved with more fat (butter/chocolate) and fewer leavening agents. Chewy brownies have a slightly more elastic texture, often due to a higher ratio of flour or brown sugar.
Can I make these chocolate desserts ahead of time?
Many chocolate desserts, like the Fudgy Chocolate Cake, No-Bake Lasagna, and Fudge, can be made a day or two in advance. Mousse also benefits from chilling. Lava cakes and cookies are often best served fresh.
How can I prevent my chocolate cake from drying out?
To prevent dry cake, avoid overbaking by checking for doneness a few minutes before the recommended time. Using ingredients like buttermilk, oil, or hot coffee/water (as in our classic recipe) also contributes to a moist crumb. Proper storage in an airtight container helps too.
Final Thoughts
Baking delicious chocolate desserts doesn’t have to be complicated. With these 7 decadent recipes, you have a treasure trove of treats ready to impress, from the rich and moist fudgy chocolate cake to quick no-bake options. Gather your ingredients, choose your favorite, and enjoy the blissful journey of creating irresistible chocolate magic!