Discover a simple two-ingredient Japanese beauty ritual that many are embracing for a radiant, youthful-looking complexion. This easy DIY recipe can help your skin feel smoother and appear brighter, tapping into traditional beauty wisdom.
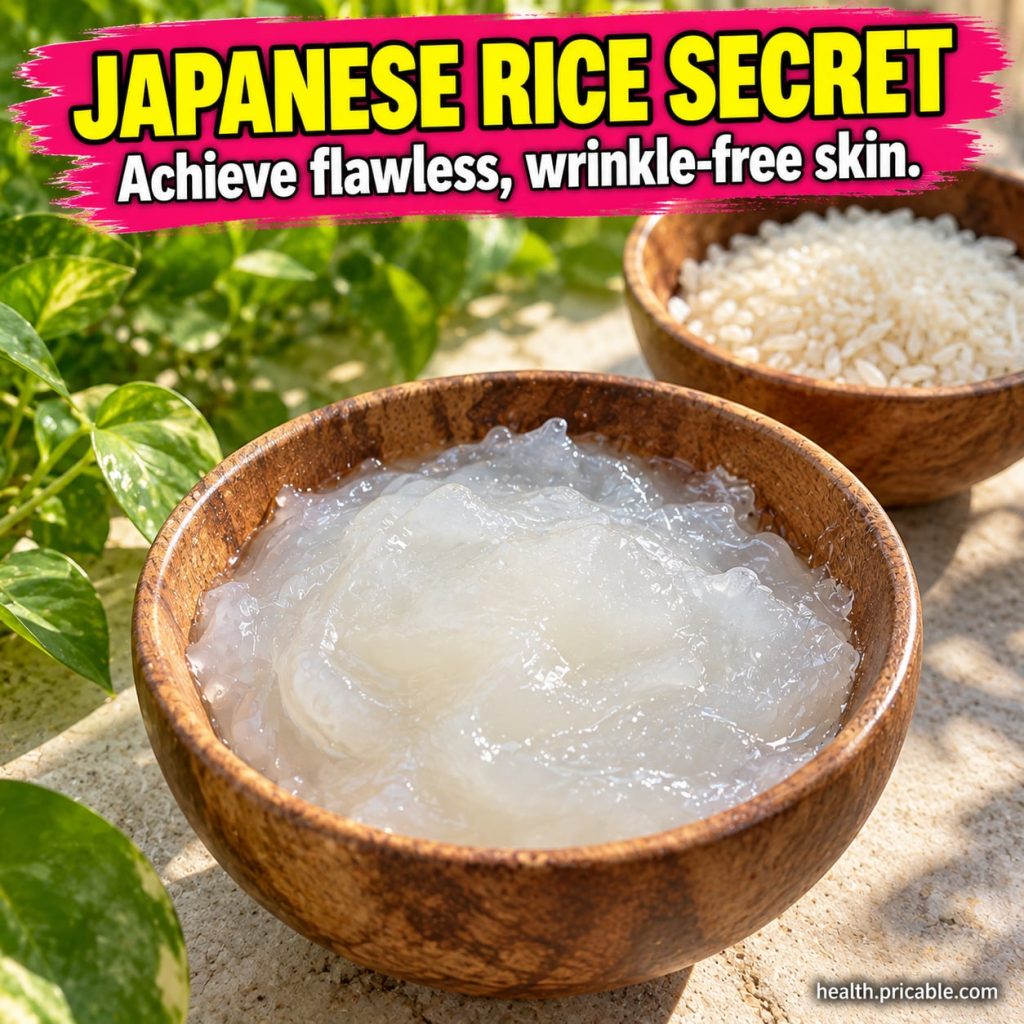
Quick Recipe
This quick recipe uses everyday kitchen staples to create a soothing and skin-supporting mask.
- Prep time: 20 minutes
- Best for: Dullness, uneven skin tone, supporting a youthful appearance
- Use type: Face Mask
- Main ingredients:
- Rice
- Milk
Ingredients
- 2 tablespoons uncooked white rice (such as short-grain or medium-grain)
- 3-4 tablespoons milk (dairy milk or plant-based options like almond or rice milk can be used, depending on your skin sensitivity and preference)
How to Make It
- Rinse the Rice: Place the 2 tablespoons of uncooked rice in a fine-mesh sieve and rinse thoroughly under cold water until the water runs clear.
- Cook the Rice: Transfer the rinsed rice to a small saucepan. Add about 1/2 cup of water. Bring to a boil, then reduce heat to low, cover, and simmer for about 15 minutes, or until the rice is tender and has absorbed most of the water. You want it slightly overcooked and soft.
- Prepare the Paste: Once cooked, let the rice cool slightly. Transfer the cooked rice to a small bowl. Using a fork, mash the rice until it forms a thick paste. For an even smoother consistency, you can use a small food processor or blender.
- Mix with Milk: Gradually add the milk to the mashed rice, one tablespoon at a time, mixing well after each addition. Continue until you achieve a smooth, spreadable paste consistency that is easy to apply but not too runny.
How to Use It
- Cleanse Your Face: Start with a clean, dry face. Gently wash away any makeup or impurities.
- Apply the Mask: Using clean fingertips or a soft brush, apply an even layer of the rice and milk mask to your face, avoiding the delicate eye area and lips.
- Relax and Wait: Leave the mask on for 15-20 minutes. This is a great time to lie down and relax!
- Rinse Off: Gently rinse the mask off with lukewarm water, using circular motions to provide a light exfoliation. Pat your skin dry with a soft towel.
- Follow Up: Complete your routine with your favorite toner, serum, and moisturizer to lock in hydration.

How Often to Use It
For best results, incorporate this Japanese rice face mask into your beauty routine 1-2 times per week. Consistent use can help maintain a smoother and more radiant complexion.
Why These Ingredients Are Used
Rice
Rice has been a staple in traditional Asian beauty routines for centuries. It’s often praised for its ability to help brighten the skin’s appearance, soothe irritation, and provide gentle exfoliation. Rice contains compounds like ferulic acid and allantoins, which are known for their antioxidant and anti-inflammatory properties. These components can support skin health and contribute to a smoother, more even-toned look.
Milk
Milk is a natural source of lactic acid, an alpha hydroxy acid (AHA) that works as a mild exfoliant. It helps to gently remove dead skin cells, revealing fresher, brighter skin underneath. Beyond exfoliation, milk is also rich in proteins and vitamins that can help moisturize and soften the skin, contributing to a supple and nourished feeling.
What Results to Expect
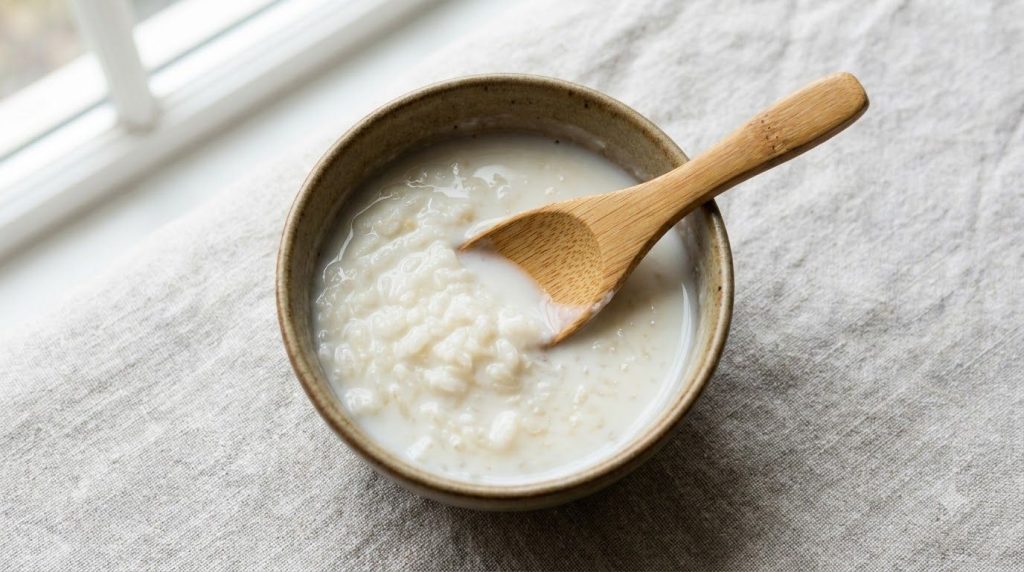
After using this rice and milk mask, you can expect your skin to feel noticeably softer and look more radiant. Regular application may help improve the appearance of dullness, support a more even skin tone, and contribute to a refreshed, youthful glow. While it’s not a miracle cure for wrinkles, the combination of gentle exfoliation and hydration can help skin look smoother and plumper.
Safety Notes
- Patch Test First: Always perform a patch test on a small, inconspicuous area of your skin (like behind your ear or on your inner arm) at least 24 hours before applying the mask to your entire face to check for any adverse reactions.
- Use Gently: Apply and remove the mask with gentle motions. Avoid harsh scrubbing, especially if your skin is sensitive.
- Avoid Irritated Skin: Do not use this mask on irritated, broken, or sunburned skin.
- Stop if Discomfort Occurs: If you experience any redness, itching, burning, or discomfort, rinse the mask off immediately and discontinue use.
- Allergies: If you have allergies to dairy or any components of rice, opt for alternative milk types or consult with a dermatologist.
FAQ
Can I use brown rice instead of white rice?
While white rice is traditionally used and blends into a smoother paste, brown rice can also be used. Be aware that brown rice may have a coarser texture and require longer cooking time to achieve a soft consistency for mashing.
How long can I store the prepared mask?
It’s best to prepare a fresh batch for each use to ensure maximum potency and hygiene. If you have any leftover, store it in an airtight container in the refrigerator for no more than 1-2 days. Discard if it develops an unusual smell or appearance.
What if I have very sensitive skin?
If you have sensitive skin, consider using a non-dairy milk alternative like rice milk, which is generally milder. Always prioritize the patch test to ensure compatibility with your skin.
Final Thoughts
Embracing natural beauty rituals can be a wonderful way to care for your skin. This simple Japanese rice and milk mask offers an accessible and gentle approach to support a radiant, youthful-looking complexion. Give it a try and let us know your experience in the comments below!