The Sweet Start: Mastering Mashing Bananas for Your Favorite Recipes
Mashed bananas are truly the sweet start to a world of culinary possibilities. When those beautiful brown speckles appear on your bananas, don’t toss them! They’re perfectly ripe and bursting with natural sweetness, ready to transform into something incredible. From comforting banana bread to light and fluffy pancakes, and yes, even a secret, delightful drink, understanding the simple art of mashing bananas is your first step.
This guide isn’t just about smashing fruit; it’s about achieving the perfect consistency for whatever creation you have in mind. Get ready to unlock the full potential of your ripe bananas and turn them into a delicious foundation for countless treats!
Why You’ll Love This Simple Banana Technique
- Easy Preparation: Mashing bananas requires minimal effort and basic kitchen tools.
- Natural Sweetness: Ripe, mashed bananas are packed with natural sugars, reducing the need for added sweeteners in recipes.
- Versatile: This foundational technique opens the door to countless recipes, from baked goods to refreshing drinks.
- Reduces Food Waste: It’s the perfect way to use up those overripe bananas that might otherwise go to waste.
- Customizable Texture: You can easily control the consistency from chunky to silky smooth, depending on your recipe’s needs.
Ingredients
- 2-3 large ripe bananas (with brown spots)
- Optional: 1 tsp (5 ml) lemon or lime juice (to prevent browning if storing)
Ingredient Notes
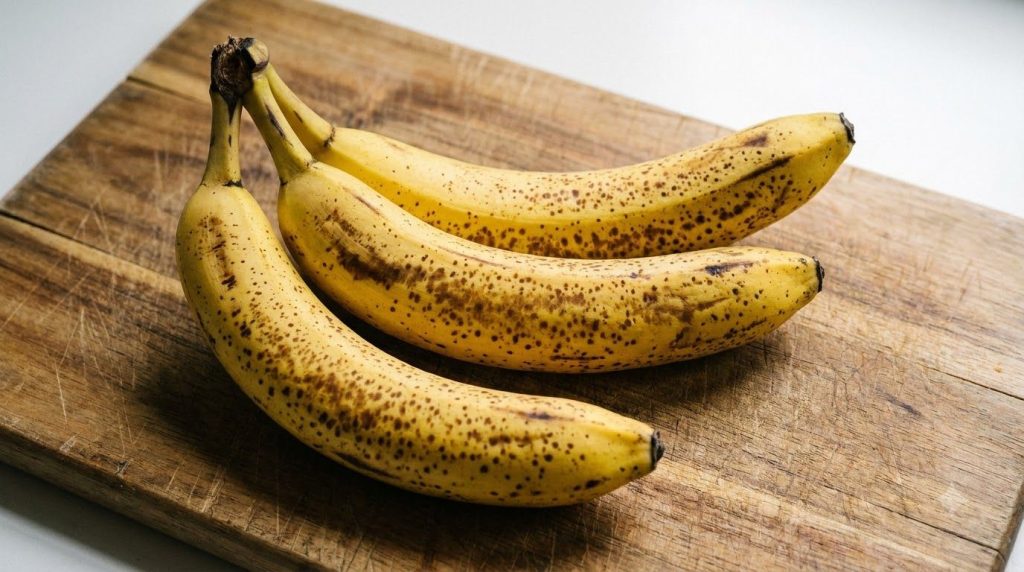
The key to perfect mashed bananas is choosing the right ripeness. Look for bananas with plenty of brown speckles on their yellow skin. These bananas are sweeter and softer, making them easier to mash and lending a richer flavor to your recipes. Avoid green or firm yellow bananas, as they will be harder to mash and lack the desired sweetness.
A splash of lemon or lime juice is optional but highly recommended if you plan to store your mashed bananas for later. The acid helps prevent enzymatic browning, keeping your bananas looking fresh.
Equipment You’ll Need
- A sturdy bowl
- A fork or a potato masher
How to Mash Bananas
Mashing bananas is incredibly straightforward, but a few tips can help you achieve the ideal consistency for your desired recipe.
-
Peel the Bananas
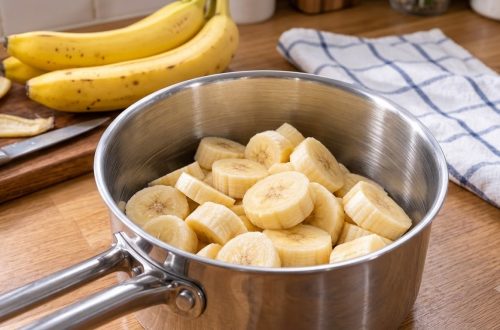
Start by peeling your ripe bananas. You can do this over your bowl to catch any sticky bits.
-
Break into Pieces
Break each banana into 2-3 smaller pieces directly into your bowl. This makes the initial mashing process easier.
-
Begin Mashing
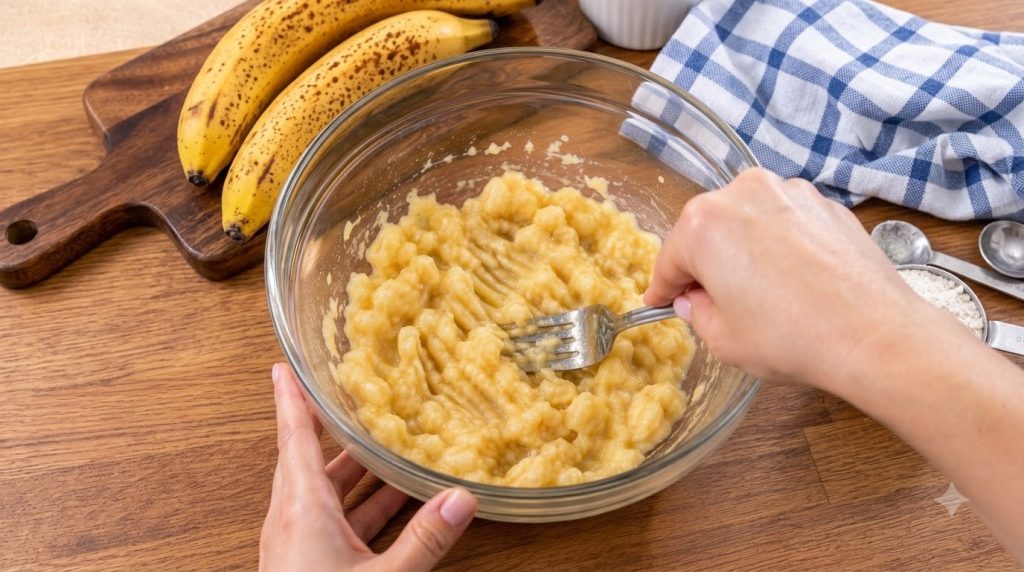
Using a fork or a potato masher, begin pressing down on the banana pieces. Start by breaking them down into smaller chunks.
-
Choose Your Consistency
- For Chunky Mashed Bananas: If you prefer some texture, like for banana bread or muffins, mash until most of the large lumps are gone, but some small pieces remain visible. This usually takes about 30-60 seconds of mashing.
- For Smooth Mashed Bananas: If you need a smoother consistency for smoothies, pancakes, or a baby food puree, continue mashing until the bananas are uniformly smooth with very few to no lumps. This might take 1-2 minutes, using the back of your fork to really press and scrape.
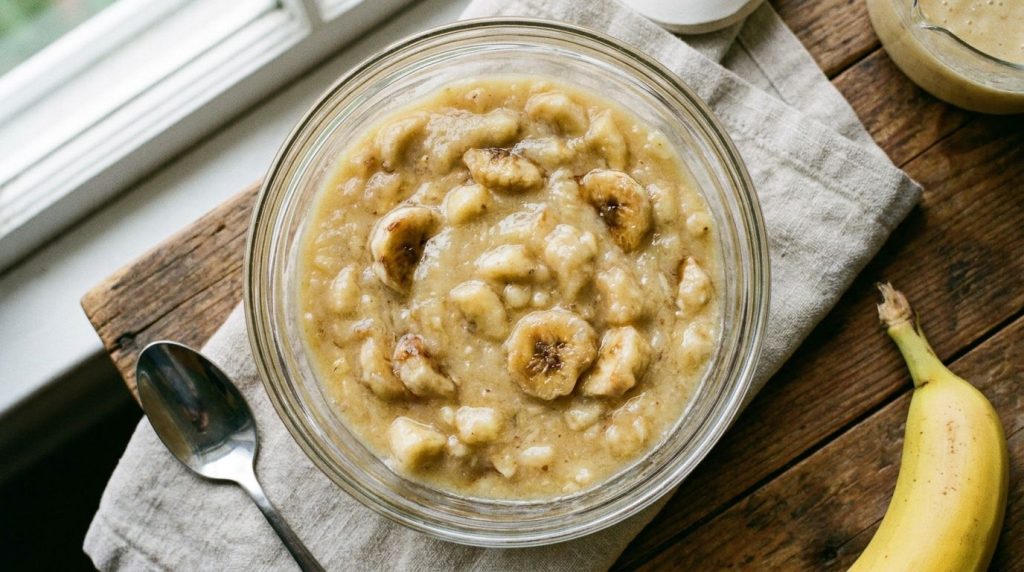
A chunky mash is perfect for adding texture to baked goods. 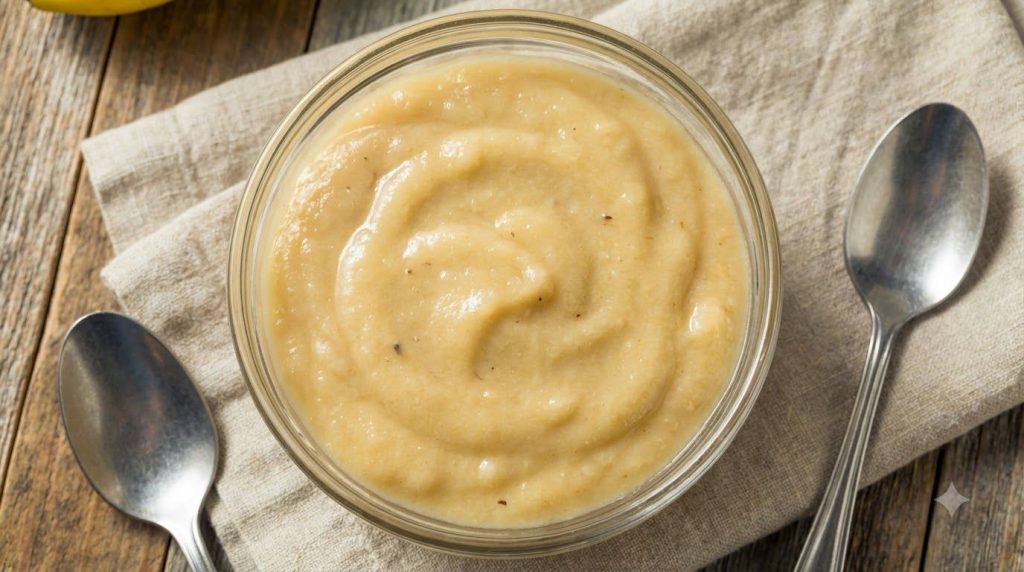
For a velvety finish, mash until completely smooth. -
Add Optional Citrus (If Storing)
If you’re not using the mashed bananas immediately and want to prevent browning, stir in 1 teaspoon of lemon or lime juice.
Pro Tips for the Best Results
- Embrace the Brown Spots: The more brown spots, the sweeter and easier to mash the bananas will be. Don’t be afraid of very ripe bananas!
- Use the Right Tool: A fork is perfect for a slightly chunky mash. For a super smooth consistency, a potato masher or even a pastry blender can work more efficiently.
- Work in a Deep Bowl: This prevents splashes and keeps your mashing contained.
- Control the Texture: Mash in stages. Start roughly, then continue until you reach your desired consistency. Don’t feel pressured to make it perfectly smooth if your recipe calls for some texture.
- Mash Just Before Use (or Store Immediately): Bananas brown quickly once exposed to air. Mash them when you’re ready to use them, or add citrus and store them right away.
Common Mistakes to Avoid
- Using Under-Ripe Bananas: Firm, yellow bananas are much harder to mash and won’t contribute the same level of sweetness or flavor to your recipes.
- Over-Mashing for Chunky Recipes: If your recipe specifies a chunky texture, stopping too soon is better than turning it into a complete puree when you didn’t intend to.
- Not Protecting from Air: Mashed bananas left exposed to air will brown quickly. If you’re not using them immediately, cover tightly or add citrus.
Variations & Texture Control
While mashing bananas is a simple technique, you can easily vary the consistency to suit different dishes:
- Rough Mash: For a rustic texture in banana bread or muffins, leave plenty of small lumps.
- Medium Mash: A balance of smooth and small chunks, great for adding body to smoothies or pancakes without being overly thick.
- Smooth Puree: Ideal for sauces, baby food, or very smooth batters where you don’t want any fibrous bits. Use a potato masher, or for extreme smoothness, a food processor can achieve a purée.
Delicious Uses for Mashed Bananas
Mashed bananas are incredibly versatile. Here are some fantastic ways to put your perfectly mashed bananas to use, including a nod to that ‘secret drink recipe’ concept:
- Baked Goods: The classic choice! Use them in banana bread, muffins, cakes, and cookies for moisture and natural sweetness.
- Pancakes & Waffles: Stir mashed bananas directly into your batter for a naturally sweet, moist, and flavorful breakfast.
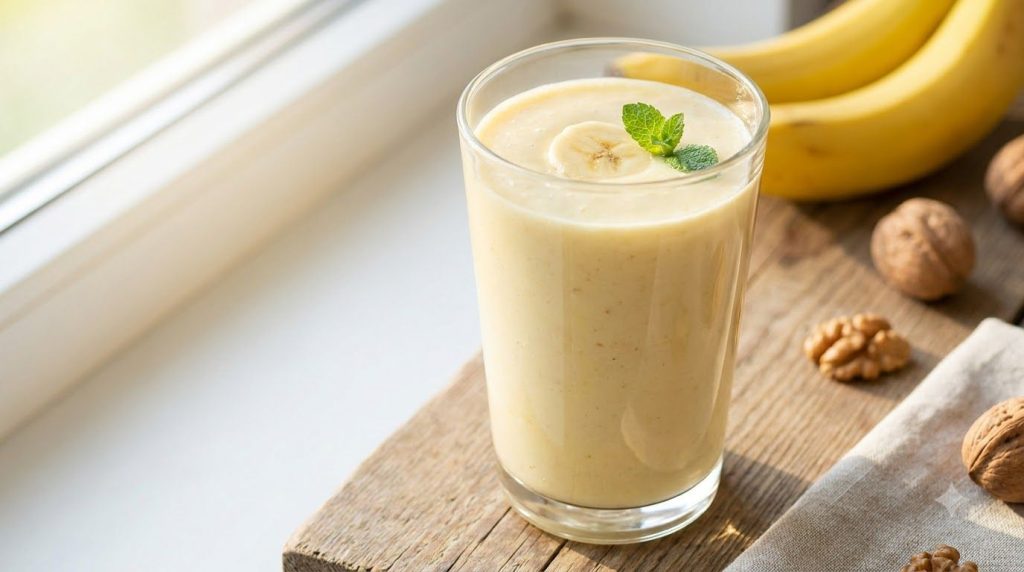
- Smoothies & Shakes: This is where the ‘secret drink recipe’ really shines! Mashed bananas add creaminess, sweetness, and a wonderful texture to blended beverages. Combine with milk (dairy or non-dairy), yogurt, protein powder, and other fruits for a nutritious and satisfying drink.
- Oatmeal & Porridge: Stir into hot oatmeal or overnight oats for natural sweetness and a creamy texture.
- Baby Food: A simple, nutritious, and naturally sweet first food for infants.
- Fritters & Doughnuts: Add to banana fritter batter for a sweet, fried treat.
Storage & Reheating
Mashed bananas can be prepared ahead of time and stored for later use, making meal prep a breeze.
- Refrigerator Storage: Place mashed bananas in an airtight container. If you added lemon or lime juice, they will stay fresh and resist browning for up to 2-3 days in the refrigerator. Without citrus, they may start to brown more quickly, though they are still safe to eat.
- Freezer Suitability: Mashed bananas freeze beautifully! Scoop them into freezer-safe bags, silicone molds (for individual portions), or airtight containers. Label with the date and amount. They can be stored in the freezer for up to 3 months.
- Reheating/Thawing: Thaw frozen mashed bananas in the refrigerator overnight or on the counter for a few hours. Stir well before using, as some liquid separation may occur. No reheating is typically needed, as they are usually used at room temperature or cold in recipes.
FAQ
How do I know if a banana is ripe enough for mashing?
Look for bananas with numerous brown speckles on their yellow skin. The more brown spots, the sweeter and softer the banana will be, making it ideal for mashing.
Can I mash bananas that are completely brown or black?
Yes, as long as they aren’t moldy or emitting an unpleasant odor. Bananas that are completely brown or black are incredibly sweet and soft, perfect for mashing, especially for very sweet baked goods.
What’s the best tool for mashing bananas?
A simple fork works great for a chunky mash. For a smoother consistency, a potato masher or even a pastry blender can be more efficient. A food processor can create a very smooth puree.
Can I freeze whole ripe bananas for mashing later?
Absolutely! Peel the ripe bananas first, then place them in a freezer-safe bag or container. When you’re ready to use them, thaw them slightly, and they’ll be very soft and easy to mash.
How can I prevent mashed bananas from turning brown?
To prevent browning, stir in about 1 teaspoon of lemon or lime juice per 2-3 mashed bananas. Alternatively, store them in an airtight container or freezer bag, pressing out as much air as possible.
What’s the best way to incorporate mashed bananas into drinks?
For drinks like smoothies, mashed bananas blend easily, adding natural sweetness and creaminess. For a thicker shake, frozen mashed bananas work wonderfully. Just ensure they are smooth enough to blend without leaving large chunks.
Can I mash bananas in a blender or food processor?
Yes, for a very smooth, lump-free puree, a blender or food processor works well. Be careful not to over-process, as it can sometimes make them too watery.
| Recipe Name: | How to Mash Bananas |
| Short Description: | A simple, step-by-step guide to perfectly mashing ripe bananas for any recipe, from chunky to smooth. |
| Prep Time: | 2 minutes |
| Cook Time: | 0 minutes |
| Total Time: | 2 minutes |
| Servings: | Varies by recipe |
| Course: | Basic Technique / Ingredient Preparation |
| Cuisine: | N/A |
| Cooking Method: | Mashing |
| Ingredients: | |
|
|
| Instructions: | |
|
|
| Notes: | |
| Always use ripe bananas with brown speckles for the best flavor and texture. The browner they are, the sweeter and easier to mash they’ll be. This versatile ingredient can be used in countless recipes, from baked goods to refreshing drinks. | |
| Storage: | |
| Store mashed bananas in an airtight container in the refrigerator for up to 2-3 days (longer with citrus juice). For longer storage, freeze in an airtight container or freezer bag for up to 3 months. Thaw in the refrigerator before use. | |
| Nutrition: | |
| Nutrition information is an estimate and may vary depending on the ingredients and brands used. | |