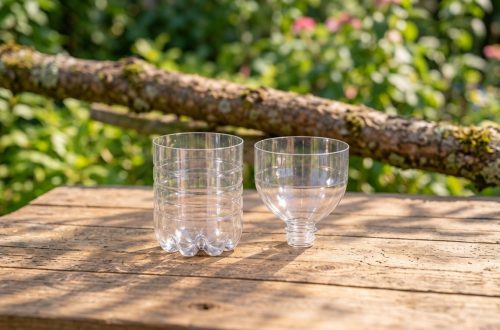
Welcome, fellow garden enthusiasts! Have you ever wished you could easily multiply your favorite plants without complicated grafting or delicate seed starting? Well, today, we’re diving into a clever and incredibly effective technique called air layering, specifically using a simple bottle cap! This DIY method is a game-changer for growing strong, new plants from your existing ones.
Air layering is an ancient propagation method that encourages roots to form on a stem while it’s still attached to the parent plant. This gives the new plant a significant head start, often resulting in larger, more vigorous new specimens than traditional cuttings. And with the bottle cap trick, it becomes even simpler and more accessible for home gardeners!
Why Choose Bottle Cap Air Layering?
- High Success Rate: Since the stem remains attached to the parent plant, it continues to receive nutrients and water, drastically increasing the chances of successful rooting.
- Stronger Plants: The resulting plant often has a more developed root system than a typical cutting, leading to a healthier and more robust new plant.
- Economical: You use readily available materials like bottle caps and rooting medium, making it a very cost-effective way to expand your plant collection.
- Easy for Beginners: Despite sounding advanced, the bottle cap method simplifies the process, making it suitable even for those new to propagation.
What You’ll Need:
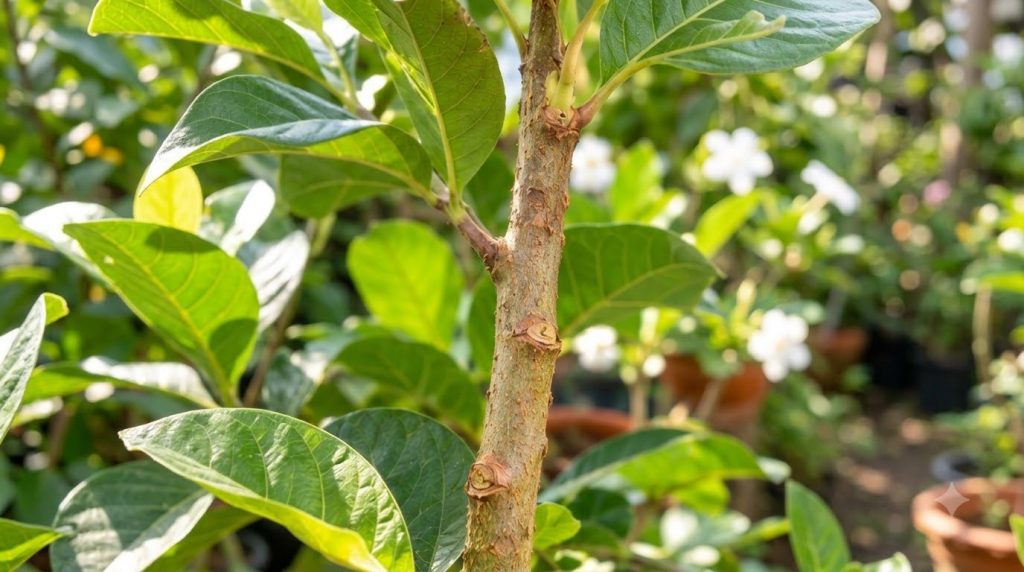
- A healthy parent plant (suitable plants include woody shrubs, fruit trees, and some houseplants like Ficus or Dracaena)
- A sharp, clean knife or pruning shears
- Rooting hormone (optional, but highly recommended)
- Moist sphagnum moss or another light, airy rooting medium
- A clear plastic bottle cap (from a water bottle or soda)
- Electrical tape or strong string
Step-by-Step Guide: Bottle Cap Air Layering
1. Choose Your Branch
Select a healthy, pencil-thick branch or stem that’s free from pests and diseases. Pick a section that is at least 6-12 inches long and has some leaves, ensuring it’s not too old or too new for optimal rooting.
2. Prepare the Stem
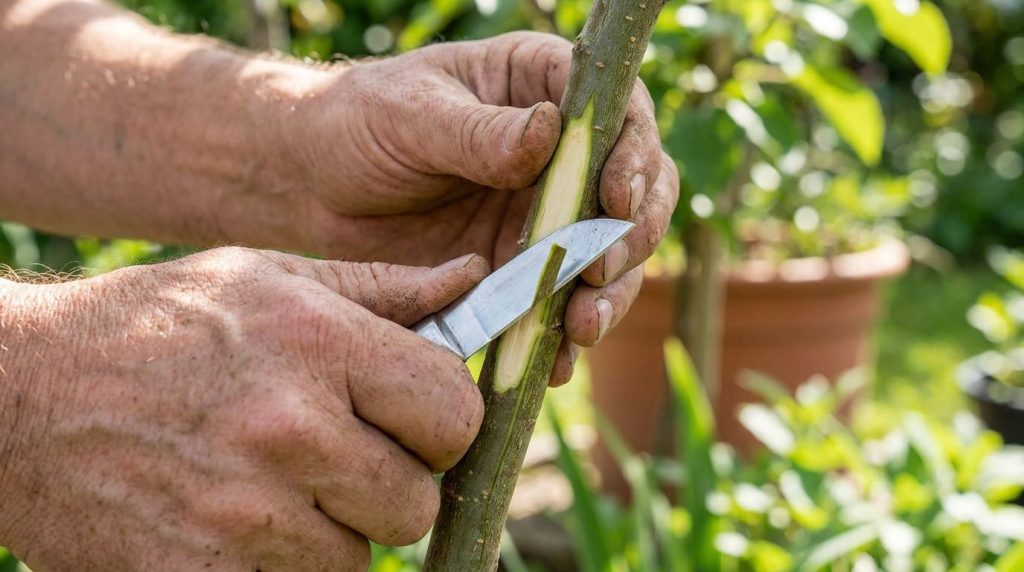
About 6-12 inches below the tip of your chosen branch, make two parallel cuts around the stem, about 1 inch apart. Carefully peel off the bark in between these two cuts. You’ll expose the cambium layer (the green layer beneath the bark). Gently scrape this layer to interrupt nutrient flow, which encourages root development.
3. Apply Rooting Hormone (Optional)
If you’re using rooting hormone, lightly dust or paint it around the exposed cambium area. This can significantly speed up the rooting process.
4. Prepare the Bottle Cap
Take your clear plastic bottle cap and cut a slit from the edge to the center, creating an opening large enough to slide over the prepared stem. You might also need to cut a small hole in the center if the stem is too wide.
5. Add Rooting Medium
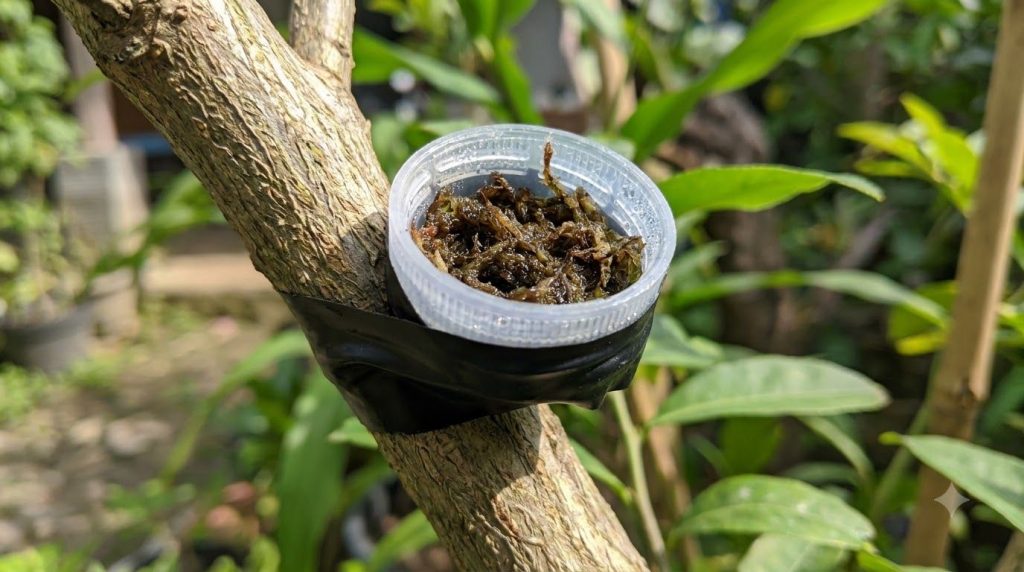
Moisten your sphagnum moss until it’s damp but not dripping. Form a small ball of moss around the exposed stem section. Then, carefully place the bottle cap around the moss and stem, ensuring the moss completely covers the exposed area.
6. Secure the Cap
Use electrical tape or strong string to tightly secure the bottle cap around the stem, ensuring a snug fit. This prevents moisture from escaping and keeps the rooting medium in place. The clear cap allows you to monitor root development without disturbing the process.
Aftercare and Patience
Now comes the waiting game! Depending on the type of plant, it can take anywhere from a few weeks to several months for roots to develop. Regularly check the bottle cap – if the moss appears dry, you can carefully re-moisten it through the opening (if you left a small one) or by briefly removing and replacing the cap. Keep the parent plant healthy and watered as usual.
When to Cut and Plant
Once you see a good network of roots filling the bottle cap, it’s time to separate your new plant! Carefully cut the stem just below the rooted section. Gently remove the bottle cap and moss, taking care not to damage the delicate new roots. Plant your new cutting into a pot with well-draining potting mix, and water thoroughly.
Place your newly potted plant in a sheltered spot with indirect light for a few weeks to allow it to acclimate before moving it to its permanent location. Congratulations, you’ve successfully propagated a new plant using this fantastic DIY bottle cap method!
Happy gardening!