DIY Power Clean: Restore Your Kitchen Hood’s Sparkle
Is your kitchen range hood looking more like a grease trap than a polished appliance? Stubborn, caked-on grease is one of the most frustrating challenges in kitchen cleaning. It’s not just unsightly; it can also affect the efficiency of your ventilation system. But before you reach for harsh chemicals, consider a powerful, budget-friendly DIY solution using everyday household ingredients.
Say goodbye to that sticky, stubborn grease with an incredible homemade cleaning mixture! Just a few simple ingredients are all you need to make your hood sparkle again, leaving your kitchen feeling fresh and clean.
The Greasy Grime Problem
Kitchen range hoods are essential for removing smoke, steam, and odors, but they also collect a significant amount of grease and cooking residue over time. This build-up can be incredibly tough to remove, often requiring a lot of scrubbing and specialized cleaners. The good news is that a simple combination of ingredients you likely already have can cut through even the most stubborn grime.
Why This DIY Mixture Works
Our powerful cleaning concoction relies on the synergy of three common household items:
- Baking Soda: This versatile ingredient is a mild abrasive that helps scrub away hardened grease without scratching surfaces. It also acts as a natural deodorizer, neutralizing stale cooking odors. Chemically, it’s a mild alkali, which can help break down fatty acids in grease.
- Dish Soap: Designed specifically to break down fats and oils, dish soap is a powerful degreaser. Its surfactants reduce the surface tension of water, allowing it to penetrate and lift grease more effectively.
- Water: The solvent that brings it all together, water helps dilute the baking soda into a paste or solution, making it easier to apply and spread. Warm water can also help soften grease for easier removal.
What You’ll Need
Ingredients:
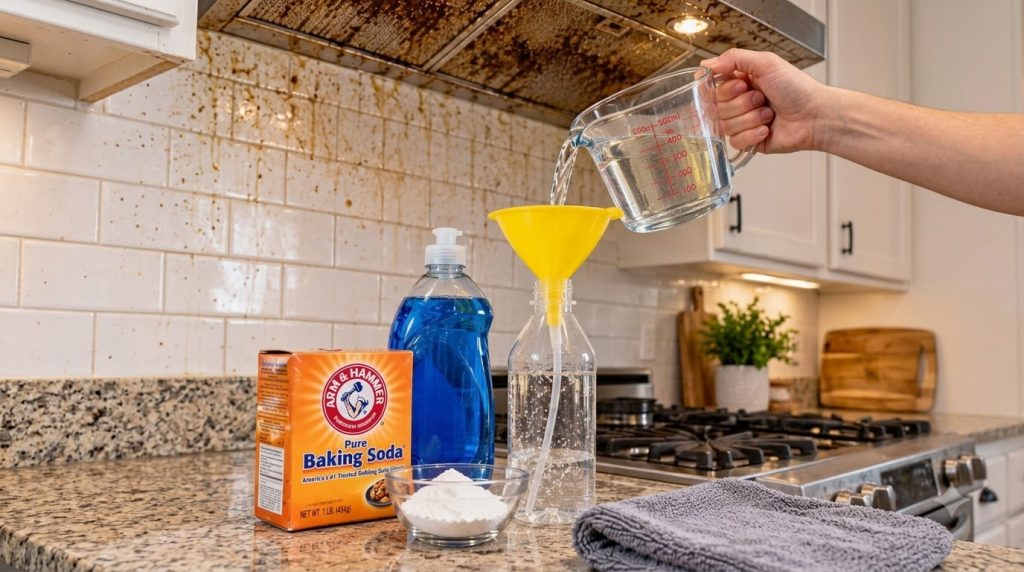
- ½ cup baking soda
- 2-3 tablespoons liquid dish soap (blue is a common type, but any liquid dish soap works)
- ¼ cup warm water (adjust as needed to form a paste)
Tools:
- Mixing bowl
- Spoon or spatula
- Spray bottle (optional, for a more liquid solution)
- Non-abrasive sponge or microfibre cloth
- Soft brush (like an old toothbrush, for crevices)
- Clean cloths or paper towels for wiping
- Bucket of clean warm water for rinsing
- Rubber gloves (recommended for hand protection)
Step-by-Step Guide to a Sparkling Hood
- Prepare Your Workspace: Lay down old newspapers or towels on your countertop and stovetop to protect them from drips. Ensure your cooktop is cool to the touch.
- Mix the Cleaning Paste: In your mixing bowl, combine the baking soda and liquid dish soap. Gradually add the warm water, stirring continuously, until you achieve a thick, spreadable paste. If you prefer a sprayable solution, add more water until it’s thin enough for your spray bottle.
- Apply the Mixture: Using your sponge or spatula, generously apply the paste directly onto the greasy surfaces of your range hood. For hard-to-reach areas or intricate grates, use a soft brush. If using a spray, mist the entire greasy area.
- Let it Sit: Allow the mixture to sit on the greasy areas for at least 15-30 minutes. For extremely stubborn build-up, you can leave it for up to an hour. This dwell time allows the baking soda and dish soap to work their magic, breaking down the grease.
- Scrub Away the Grime: After the waiting period, use your non-abrasive sponge or brush to gently scrub the treated surfaces. You should notice the grease loosening and coming off easily. For very tough spots, reapply a small amount of paste and scrub again.
- Wipe and Rinse: Dip a clean cloth into your bucket of clean warm water and thoroughly wipe down the entire hood, removing all traces of the cleaning paste and dissolved grease. Rinse and wring out your cloth frequently to avoid redepositing grime. Repeat until all residue is gone.
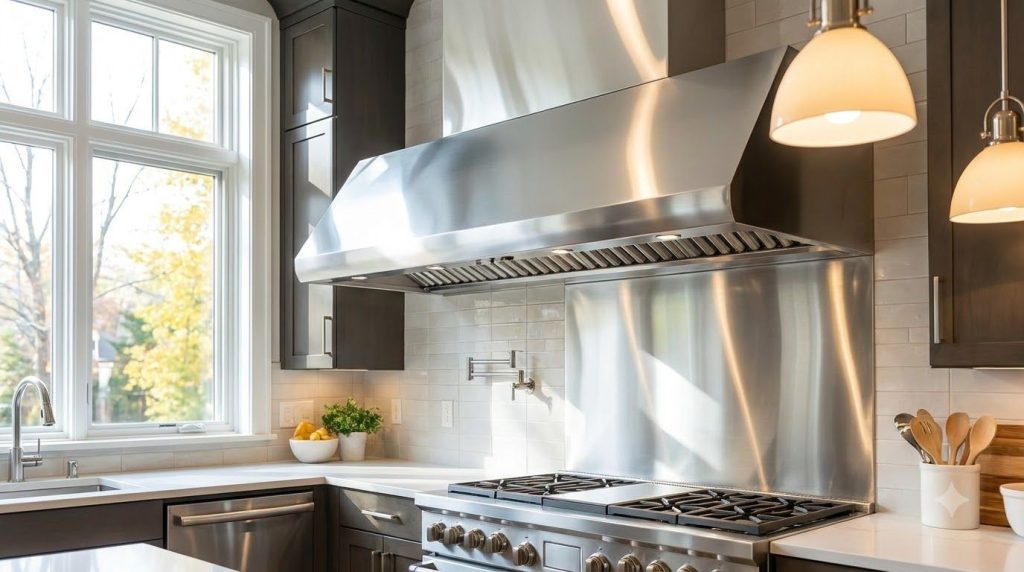
- Buff to a Shine: Finish by buffing the stainless steel surfaces with a dry, clean microfibre cloth to achieve a streak-free, sparkling shine.
Safety Notes and Best Practices
- Test First: Always test the mixture on an inconspicuous area of your range hood (or any surface) before full application to ensure it doesn’t cause discoloration or damage.
- Ventilation: Although these ingredients are natural, it’s always good practice to ensure proper ventilation when cleaning, especially in an enclosed space.
- Gloves: Wearing rubber gloves will protect your hands from drying out and make cleanup easier.
- Avoid Electrical Components: Be careful not to get excessive liquid into any electrical components of your range hood. If cleaning the filters, remove them first and clean them separately (often, a soak in hot soapy water is sufficient).
- Regular Maintenance: To prevent heavy build-up, aim to wipe down your range hood regularly with a degreasing spray or a simple dish soap and water solution after cooking greasy meals.
Conclusion
With just a few common household items and a little elbow grease, you can tackle even the toughest kitchen hood grime. This DIY power clean not only saves you money on expensive specialty cleaners but also provides a satisfying, sparkling result. Give it a try and enjoy a cleaner, fresher kitchen!