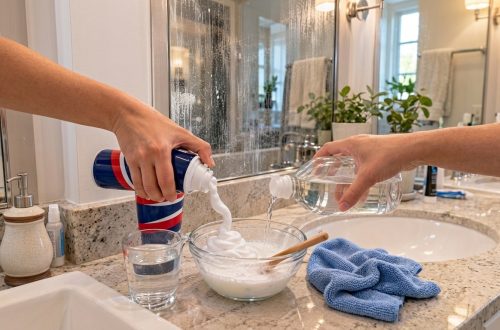
Are you tired of staring at a streaky, smudged mirror no matter how much you scrub? Stubborn fingerprints, toothpaste splatters, and general grime can make your mirrors look dull and dirty, even right after cleaning. If you’re looking for an effective and surprisingly simple solution that doesn’t involve harsh chemicals, you’ve come to the right place.
This DIY mirror cleaner uses common household items to cut through residue and leave your glass sparkling and truly streak-free. It’s a practical, affordable, and quick fix that might just become your new favorite cleaning hack.
What You’ll Need
- Shaving cream (not gel) – 2 tablespoons
- Water – 2 tablespoons
- Small bowl
- Spoon
- Microfiber cloth(s) – at least two recommended
- Glass measuring cup (optional, for precision)
Why This DIY Can Be Useful
The secret weapon in this DIY cleaner is shaving cream. While primarily used for shaving, many shaving creams contain mild surfactants and emulsifiers that are excellent at breaking down oils, dirt, and residue found on mirrors. They are designed to create a smooth surface and often contain ingredients that can help prevent fogging temporarily, contributing to that streak-free finish.
By mixing it with water, you create a gentle, foamy solution that can lift grime without leaving behind the soapy residue that often causes streaks from traditional cleaners. Plus, it’s an accessible and cost-effective ingredient you might already have at home.
How to Make It
- Measure 2 tablespoons of shaving cream into your small bowl. It’s best to use a basic shaving cream rather than a gel or one with heavy moisturizers, as these might leave a slight film.
- Add 2 tablespoons of water to the bowl.
- Using a spoon, mix the shaving cream and water together thoroughly. Stir until it forms a light, airy, foamy paste. The consistency should be thick enough to apply without dripping excessively.
How to Use It
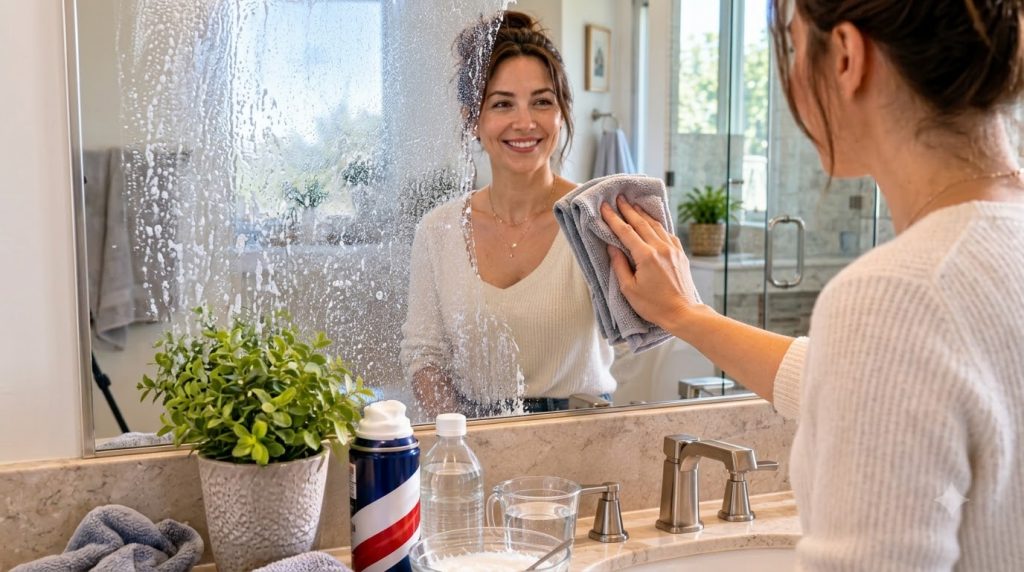
- Apply the Mixture: Take a small amount of the foamy mixture onto your clean microfiber cloth. Gently spread a thin, even layer over the entire surface of the mirror you want to clean. You don’t need a thick coat; a light film is sufficient to do the job.
- Let it Sit (Briefly): Allow the mixture to sit on the mirror for about 1-2 minutes. This gives the ingredients time to work on breaking down dirt and grime.
- Wipe Away: Using a clean, damp microfiber cloth, start wiping the mirror from top to bottom in small, overlapping sections. Apply gentle pressure to remove the shaving cream mixture along with the dirt.
- Buff to a Shine: Immediately after wiping, take a second, dry and clean microfiber cloth. Buff the mirror in circular motions until all streaks are gone and the surface is crystal clear. This buffing step is crucial for achieving that sparkling, streak-free finish.
What to Expect
You can expect your mirrors to be visibly cleaner, free from smudges, fingerprints, and streaks. The surface should feel smooth and look sparkling. While not a permanent solution for fogging, some users report a temporary reduction in mirror fog after using this method. Results can vary slightly depending on the initial condition of the mirror and the quality of your microfiber cloths.
Helpful Tips
- Microfiber is Key: Always use high-quality microfiber cloths for best results. They are superior at picking up dirt and buffing without leaving lint or streaks.
- Work in Sections: For larger mirrors, work in smaller sections to prevent the mixture from drying on the surface before you can wipe it away.
- Clean Cloths are Crucial: Ensure your microfiber cloths are clean and free of fabric softener residue, as this can transfer to the mirror and cause streaks.
- Window Cleaning: This method can also be effective for cleaning glass windows and shower doors, but always patch test first.
Important Notes / Safety
- Patch Test: Before applying to an entire mirror or any other surface, test a small, inconspicuous area first to ensure there are no adverse reactions or residue.
- Ventilation: While shaving cream is generally safe, ensure good ventilation in the bathroom during cleaning.
- Rinse Cloths Well: After use, rinse your microfiber cloths thoroughly to remove all product before laundering.
- Not for All Surfaces: This DIY is specifically for glass and mirrors. Do not use it on electronic screens, delicate antique glass, or coated surfaces without explicit manufacturer guidance.