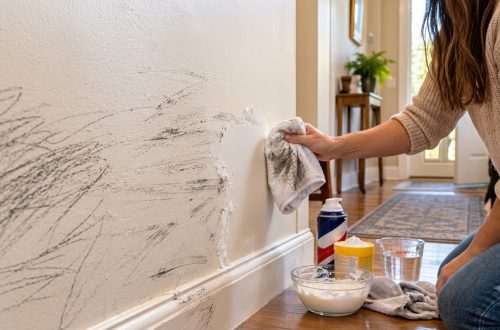
Are mysterious scuff marks making your walls look less than pristine? Before you reach for harsh chemicals or consider a fresh coat of paint, there’s a surprisingly simple and effective DIY solution that might be exactly what you need. This homemade cleaner is designed to tackle everyday grime and marks, leaving your walls looking refreshed with minimal effort. Plus, you likely have the ingredients in your home right now!
What You’ll Need
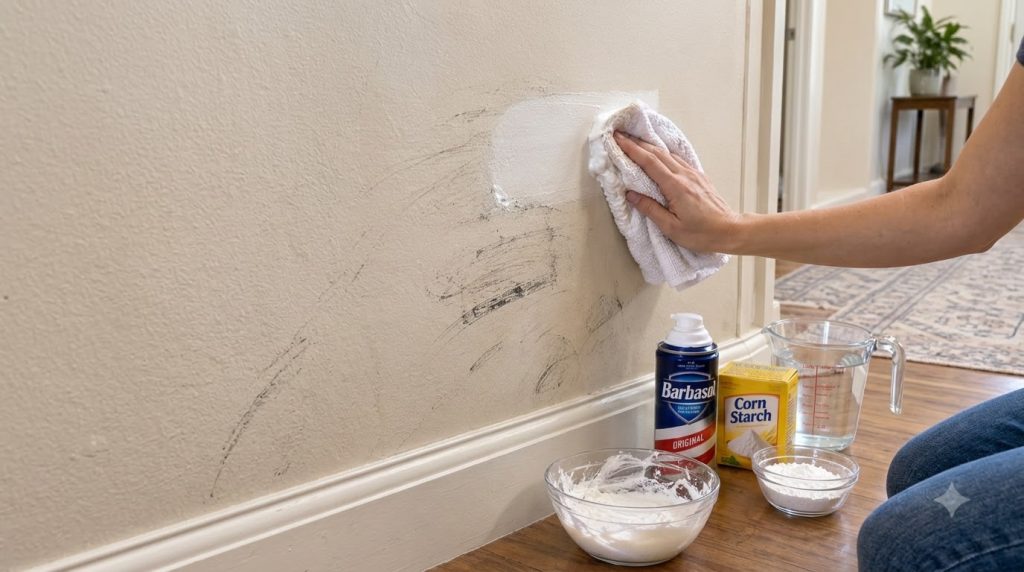
- 2 tablespoons Barbasol Shaving Cream (standard foam, not gel)
- 2 tablespoons Cornstarch
- 1 tablespoon Water (and a few extra drops if needed)
- Small mixing bowl
- Measuring spoons
- Clean, soft cloth or sponge
- Another clean, damp cloth for wiping
Why This DIY Can Be Useful
This DIY cleaner leverages the gentle yet effective properties of common household items. Shaving cream often contains mild surfactants that help lift dirt and grime from surfaces without being overly abrasive. When combined with cornstarch, which acts as a gentle scrubbing agent and can absorb oils, you get a paste that effectively breaks down and removes scuffs and marks. It’s a great alternative to harsh chemical cleaners, offering a softer touch for your walls.
How to Make It
- In your small mixing bowl, combine the 2 tablespoons of Barbasol shaving cream and 2 tablespoons of cornstarch.
- Add 1 tablespoon of water to the mixture.
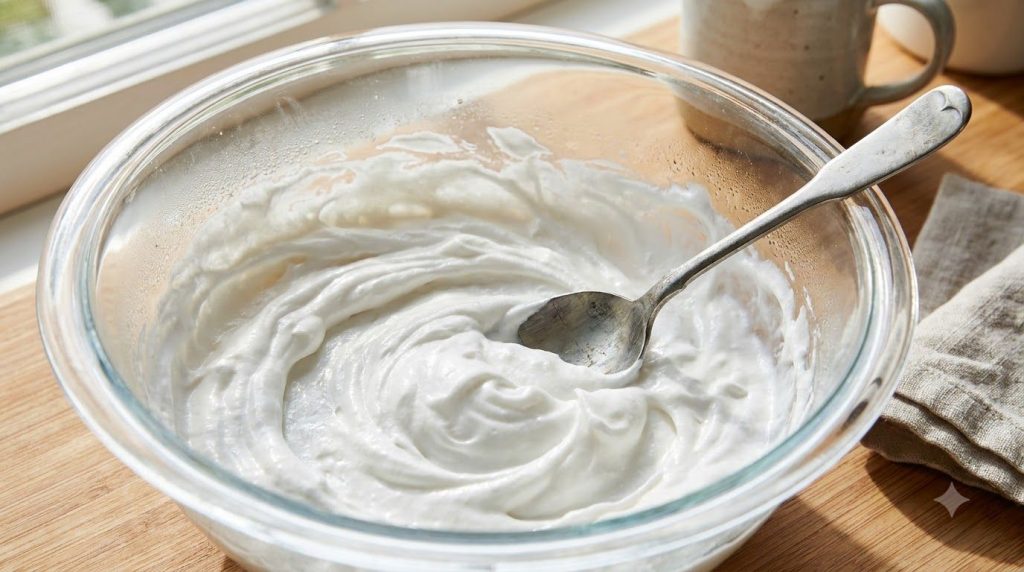
- Stir thoroughly with a spoon until a smooth, thick paste forms. The consistency should be similar to toothpaste or a thick yogurt.
- If the mixture seems too thick or crumbly, add a few extra drops of water at a time, mixing well after each addition, until you reach the desired paste-like consistency.
How to Use It
- Patch Test: Always test the cleaner in an inconspicuous area of your wall first to ensure it doesn’t cause any discoloration or damage. Apply a tiny amount, let it sit for a minute, then wipe clean.
- Apply: Scoop a small amount of the paste onto your clean, soft cloth or sponge.
- Target the Scuff: Gently rub the paste onto the scuff mark using light, circular motions. Avoid excessive pressure, as scrubbing too hard can damage your paint.
- Let it Sit (Optional): For stubborn marks, you can let the paste sit on the scuff for 1-2 minutes to allow it to work its magic.
- Wipe Clean: Use your clean, damp cloth to thoroughly wipe away the paste and any lifted grime from the wall. Make sure no residue is left behind.
- Dry: Allow the area to air dry completely.
What to Expect
You can expect this DIY cleaner to be very effective on most common scuff marks, dirt, and light grime. It works particularly well on crayon marks or pencil smudges. While it’s powerful for many everyday mishaps, remember that deeply embedded stains, permanent marker, or paint scuffs may require more specialized solutions or even a touch-up of paint. This method provides a gentle yet noticeable improvement for many common wall blemishes.
Helpful Tips
- Go Gentle: The key to success is gentle rubbing. Aggressive scrubbing can remove paint, especially on matte finishes.
- Fresh Cloth: Use a clean section of your cloth for each new spot to avoid spreading dirt.
- Batch Size: This recipe makes a small batch, perfect for a few spots. Scale up as needed for larger areas, but it’s often best for spot cleaning.
- Other Surfaces: While designed for walls, this mixture can sometimes work on scuffs on baseboards or doors. Always patch test first!
Important Notes / Safety
- Ventilation: While this DIY uses mild ingredients, it’s always good practice to ensure good ventilation when cleaning indoors.
- Avoid Delicate Surfaces: Do not use this cleaner on wallpaper, unsealed wood, or other extremely delicate surfaces without a thorough patch test, as it may cause damage.
- Rinse Thoroughly: Ensure all paste residue is completely wiped away to prevent any potential staining or sticky spots.
- Storage: This homemade paste is best used immediately. Do not store leftover mixture, as it can dry out or separate.