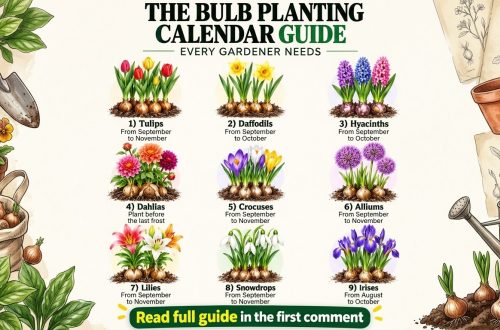
Welcome, fellow garden enthusiasts! Are you dreaming of a vibrant spring garden bursting with colorful tulips, cheerful daffodils, and elegant lilies? The secret to achieving those picture-perfect blooms often lies in one crucial, yet sometimes overlooked, detail: planting depth. It might seem like a minor thing, but giving your bulbs the right amount of soil cover makes all the difference.
Today, we’re diving deep into the world of bulb planting depths. We’ll explore why this factor is so important, provide an easy-to-follow guide for common spring bulbs, and share tips to ensure your garden flourishes beautifully season after season.
Why Planting Depth is a Game-Changer for Your Bulbs
Proper planting depth is more than just burying a bulb; it’s about creating the optimal environment for its growth. Here’s why it matters:
- Root Development: Planting bulbs at the correct depth encourages strong root systems. Too shallow, and roots might struggle to anchor the plant or access enough moisture. Too deep, and the bulb might expend too much energy pushing through the soil before it can develop robust roots.
- Temperature Regulation: Soil acts as an insulator. Planting at the right depth protects bulbs from extreme temperature fluctuations. In colder climates, deeper planting can shield them from harsh freezes, while in warmer areas, it can keep them cooler.
- Moisture Control: The right depth ensures bulbs receive adequate moisture without sitting in waterlogged conditions, which can lead to rot. It also prevents them from drying out too quickly on hot, sunny days.
- Stem Support: Deeper planting provides better support for the emerging stems, especially for taller flowers like tulips and daffodils, preventing them from flopping over in strong winds.
- Optimal Blooming: Ultimately, getting the depth right leads to healthier, stronger plants that produce more vibrant and abundant blooms.
The Golden Rule of Bulb Planting Depth
A general rule of thumb for most bulbs is to plant them about two to three times as deep as the bulb is tall. For example, if a bulb is 2 inches tall, plant it 4-6 inches deep. This rule works for many varieties, but some specific bulbs have unique requirements.
Specific Planting Depths for Popular Spring Bulbs
Let’s look at some common spring-blooming favorites and their ideal depths. Remember to always plant bulbs with the pointy side (where the shoot emerges) facing upwards, and the flatter, often root-scarred, side facing down.
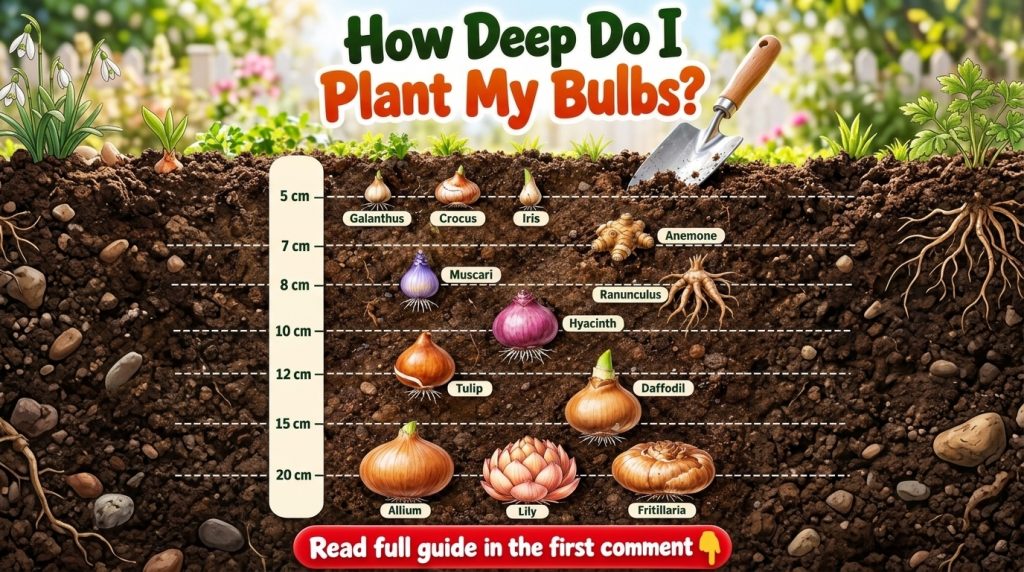
- Tulips (Tulipa): Plant approximately 6-8 inches deep. Deeper planting can sometimes protect them from rodents and encourage perennialization.
- Daffodils (Narcissus): These hardy beauties prefer a depth of about 6-8 inches.
- Hyacinths (Hyacinthus orientalis): Plant hyacinths around 6 inches deep for best results.
- Crocus (Crocus vernus/chrysanthus): Being smaller, crocuses only need to be planted about 3-4 inches deep.
- Grape Hyacinths (Muscari): Similar to crocuses, plant these charming little bulbs 3 inches deep.
- Lilies (Lilium): Lilies are unique and often benefit from deeper planting, around 8-10 inches, as many varieties produce roots along their stems (stem-rooting lilies).
- Alliums (Allium): Depending on the size of the bulb, plant alliums 4-8 inches deep. Larger varieties need more depth.
- Snowdrops (Galanthus): These early bloomers should be planted 2-3 inches deep.
How to Get Planting Depth Right Every Time
Here’s a simple process to ensure you’re planting bulbs correctly:
- Prepare Your Soil: Ensure your soil is well-draining. Amend heavy clay soils with compost or grit to improve drainage. Bulbs hate soggy feet!
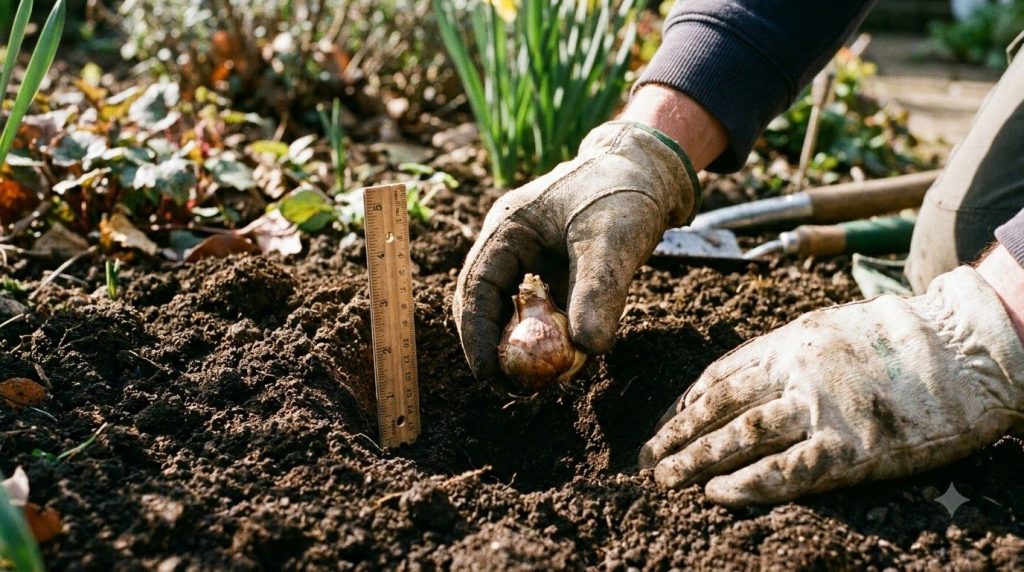
- Dig the Hole: Use a trowel, bulb planter, or spade to dig a hole to the recommended depth for your specific bulb type. A small ruler or measuring stick can be handy here.
- Place the Bulb: Position the bulb with the pointed end facing up (except for some specific bulbs like tuberous begonias or anemones, which have different orientations – always check your package instructions!).
- Backfill Gently: Cover the bulb with soil, gently patting it down to remove any large air pockets. Avoid compacting the soil too much, as this can hinder root growth.
- Water Thoroughly: After planting, give the area a good watering to settle the soil around the bulbs. This is especially important if the soil is dry.
Post-Planting Care for Thriving Blooms
Once your bulbs are in the ground, a little care goes a long way:
- Mulch: Apply a layer of organic mulch (like straw, shredded leaves, or wood chips) over the planting area. This helps retain moisture, regulate soil temperature, and suppress weeds.
- Winter Protection: In very cold climates, extra mulch can provide additional insulation.
- Spring Watering: Once shoots appear in spring, ensure they receive adequate water, especially during dry spells.
- Fertilizing: While not always necessary immediately after planting, a balanced bulb fertilizer can be applied in the fall or early spring to encourage stronger growth and blooms.
By paying attention to these simple details, you’re not just planting bulbs; you’re setting the stage for a spectacular display of nature’s beauty in your own backyard. Happy gardening, and may your spring be filled with perfect, glorious blooms!