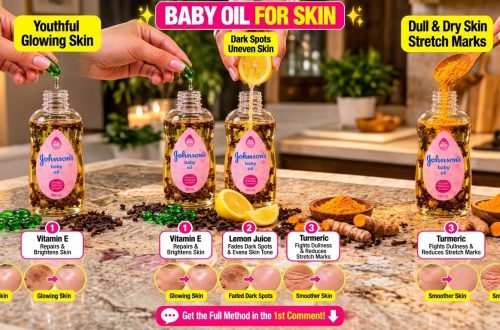
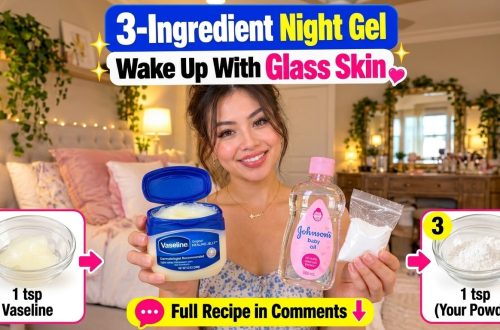
Are you dreaming of smoother, more radiant skin but don’t want to break the bank on expensive beauty products? We hear you! What if we told you that two simple, everyday ingredients could be your secret weapon against fine lines and dullness? Get ready to discover a DIY beauty hack that’s gaining buzz for its potential to give you that youthful glow: the Baby Oil & Aspirin Wrinkle-Fighting Gel!
This homemade remedy combines the gentle hydration of baby oil with the exfoliating power of aspirin to create a surprisingly effective treatment. It’s all about natural ingredients and affordable beauty solutions, right from your own home!
Why This DIY Combination Works Wonders
Before we dive into the recipe, let’s explore why baby oil and aspirin make such a dynamic duo for your skin:
The Power of Aspirin (Acetylsalicylic Acid)
- Gentle Exfoliation: Aspirin is a derivative of salicylic acid, a beta-hydroxy acid (BHA) known for its ability to penetrate oil and gently exfoliate the skin. This helps to remove dead skin cells, revealing a fresher, smoother complexion underneath.
- Anti-Inflammatory Properties: Aspirin is well-known for reducing inflammation, which can calm irritated skin and potentially reduce redness or minor blemishes.
- Improved Skin Texture: By promoting cell turnover and clearing pores, aspirin can help to refine skin texture and make fine lines appear less prominent over time.
The Magic of Baby Oil
- Deep Hydration: Baby oil (typically mineral oil) is an excellent occlusive moisturizer. It creates a protective barrier on the skin’s surface, locking in moisture and preventing water loss. Hydrated skin naturally looks plumper and smoother, diminishing the appearance of fine lines and wrinkles.
- Soft & Supple Skin: Its emollient properties leave your skin feeling incredibly soft and smooth, making it ideal for dry or mature skin types.
- Non-Irritating: Often formulated for sensitive baby skin, it’s generally gentle and hypoallergenic for most skin types.
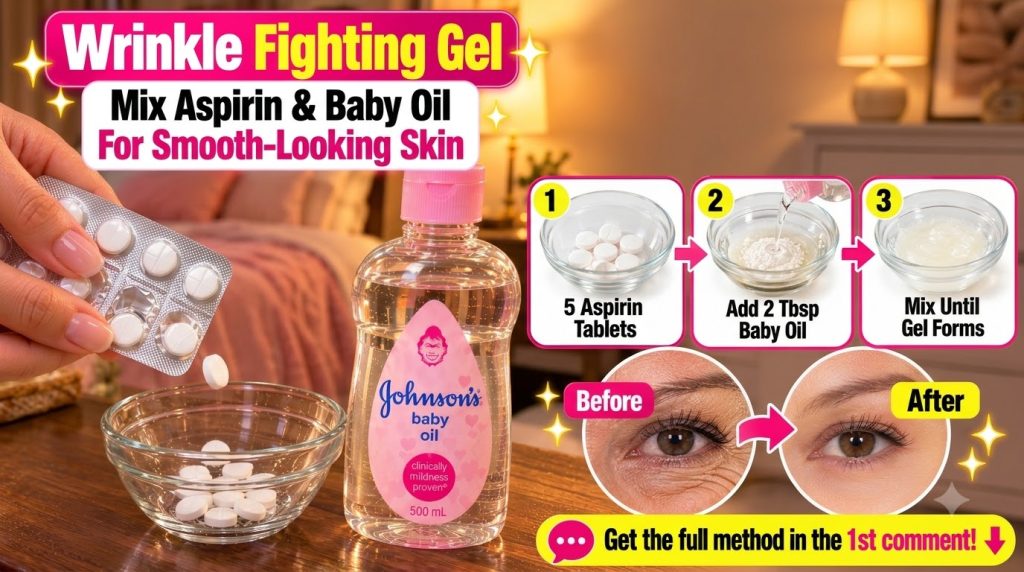
Your DIY Baby Oil & Aspirin Wrinkle-Fighting Gel Recipe
Ready to create your own glowing skin secret? Here’s how:
Ingredients You’ll Need:
- 3-4 uncoated aspirin tablets (plain, not buffered or enteric-coated)
- 1-2 tablespoons of pure baby oil
- Small, clean bowl
- Spoon or non-metallic spatula for mixing
Step-by-Step Instructions:
- Crush the Aspirin: Place the aspirin tablets in your small bowl. Use the back of a spoon or a mortar and pestle to crush them into a very fine powder. The finer the powder, the smoother your gel will be.
- Add Baby Oil: Slowly add the baby oil to the aspirin powder, starting with 1 tablespoon. Mix thoroughly until a smooth, paste-like gel forms. If it’s too thick, add a tiny bit more baby oil until you reach your desired consistency. It should be easy to spread but not too runny.
- Mix Well: Continue to mix for a minute or two to ensure all ingredients are fully incorporated and the aspirin is dissolved as much as possible.
How to Use Your Wrinkle-Fighting Gel:
- Patch Test First: Always, always perform a patch test on a small, inconspicuous area of your skin (like behind your ear or on your inner arm) at least 24 hours before full application. This ensures you don’t have an adverse reaction.
- Cleanse Your Face: Wash your face with your usual gentle cleanser and pat it dry.
- Apply the Gel: Using your fingertips or a clean brush, gently apply the aspirin and baby oil mixture to your face, focusing on areas with fine lines, wrinkles, or dullness. Avoid the immediate eye area if you have very sensitive eyes, but it can be applied carefully around the orbital bone.
- Relax & Let It Work: Leave the gel on for about 10-15 minutes. You might feel a slight tingling sensation, which is normal, but if you experience any burning or intense discomfort, rinse it off immediately.
- Rinse Off: Gently rinse your face with lukewarm water, ensuring all traces of the gel are removed. Pat your skin dry with a soft towel.
- Follow with Moisturizer: Apply your favorite lightweight moisturizer to lock in the hydration.
Important Considerations & Tips for Best Results
- Frequency: For most skin types, using this mask 1-2 times a week is sufficient. Over-exfoliation can lead to irritation.
- Sun Protection: Aspirin, being a BHA, can make your skin more sensitive to the sun. Always use a broad-spectrum sunscreen (SPF 30 or higher) daily, especially after using this treatment.
- Storage: It’s best to prepare a fresh batch each time you use it, as homemade remedies without preservatives can quickly lose their potency and become unhygienic.
- Listen to Your Skin: Everyone’s skin is unique. If you notice any irritation, redness, or discomfort, discontinue use.
- Consult a Professional: If you have sensitive skin conditions, allergies, or are pregnant/nursing, it’s always wise to consult a dermatologist before trying new DIY remedies.
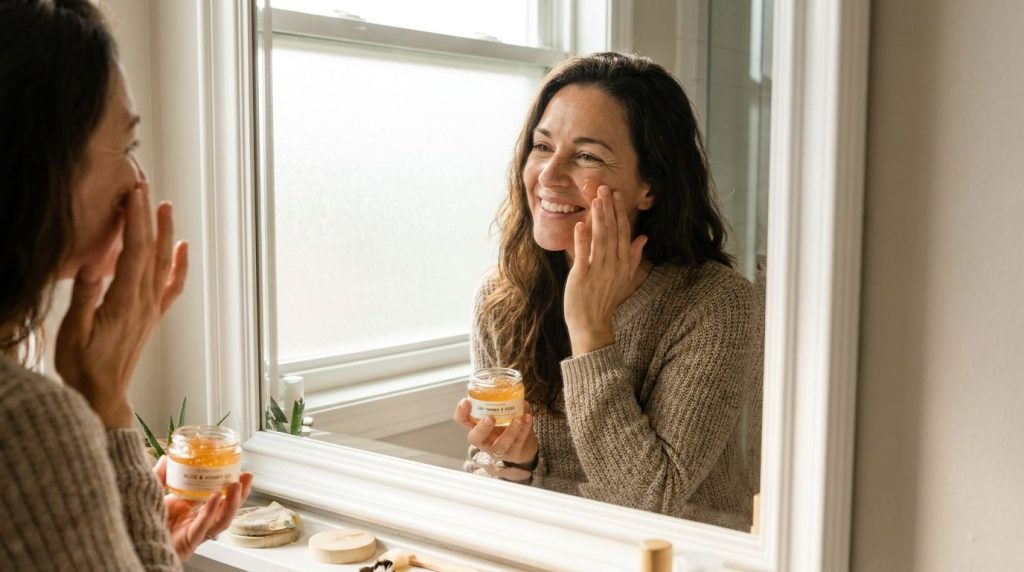
Embrace Your Natural Radiance!
This simple DIY Baby Oil & Aspirin Wrinkle-Fighting Gel is a fantastic way to incorporate natural, affordable beauty solutions into your routine. By harnessing the power of common ingredients, you can help improve your skin’s texture, hydrate deeply, and unveil a smoother, more youthful-looking complexion. Give it a try and prepare to fall in love with your naturally glowing skin!
Remember, consistent self-care and listening to your skin are the keys to lasting beauty. Enjoy your DIY journey!