Looking for a delightful way to add a splash of color and life to your outdoor space? Imagine cheerful chirps and vibrant feathered friends visiting your garden! Creating a DIY bird feeder is not only a rewarding project but also an eco-friendly one that helps repurpose materials and supports local wildlife. Join us as we explore how to build an adorable bird feeder using colorful bottle caps and a sturdy stick!
This project is perfect for gardeners of all ages and skill levels, offering a simple yet impactful way to contribute to your garden’s biodiversity and aesthetic appeal. Plus, it’s incredibly satisfying to watch birds enjoy a feeder you made with your own hands.
Why Make a DIY Bird Feeder?
Beyond the obvious benefit of attracting beautiful birds, a DIY bird feeder project offers several wonderful advantages:
- Eco-Friendly Repurposing: It’s a fantastic way to give new life to items that would otherwise end up in a landfill, like plastic bottle caps.
- Budget-Friendly: You can create a charming feeder with materials you likely already have around the house, saving money on store-bought options.
- Educational Fun: A great activity for families, teaching children about recycling, nature, and the importance of caring for wildlife.
- Garden Enhancement: Adds a unique, handmade touch to your garden design and helps you observe local bird species up close.
- Mental Wellness: Engaging in creative projects and connecting with nature can be incredibly therapeutic and stress-reducing.
Gather Your Simple Supplies
The beauty of this project lies in its simplicity and the common availability of materials. Here’s what you’ll need:
- A collection of colorful plastic bottle caps (the more vibrant, the better!)
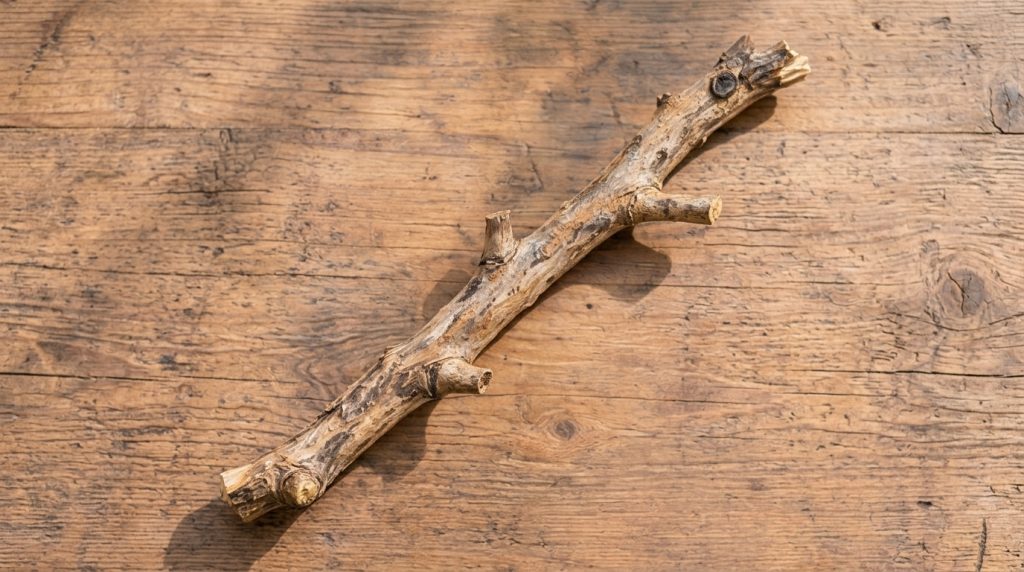
- A sturdy natural stick or small branch, about 1-2 feet long
- Strong string, fishing line, or thin wire
- A drill with a small drill bit (suitable for plastic caps and the stick)
- Birdseed
- Scissors or wire cutters
Step-by-Step Guide to Building Your Bird Feeder
Step 1: Prepare Your Materials
- Clean Bottle Caps: Wash and dry all your bottle caps thoroughly.
- Drill Holes in Caps: Carefully drill a small hole in the center of each bottle cap. Ensure the hole is large enough for your string or wire to pass through.
- Prepare the Stick: If needed, trim your stick to a suitable length. Drill a small hole near each end of the stick, and another one or two holes along the top center of the stick for hanging.
Step 2: Assemble the Feeder
- Create Seed Trays: Thread your string or wire through the holes in the bottle caps. You can stack a few caps together for a deeper seed tray or string them individually. Leave enough slack to form loops for hanging later.
- Attach to the Stick: Tie or secure the strung bottle caps to various points along your sturdy stick. You can create multiple hanging points or just a few, depending on the number of caps you have and your desired design. Ensure they hang securely.
- Form Hanging Loops: Use longer pieces of string or wire to create a loop from the holes drilled in the top of your stick. This will be how you hang your feeder. Make sure it’s strong enough to support the weight of the feeder and the birds.
Step 3: Fill and Hang Your Feeder
Once your bird feeder is assembled, it’s time for the fun part:
- Fill with Seed: Place a small amount of birdseed in each of the bottle cap trays.
- Choose a Location: Hang your new bird feeder in a safe, visible spot in your garden. Look for a location near shrubs or trees that offers birds some cover from predators, but also allows you to enjoy watching them. Ensure it’s out of reach of squirrels and other pests if possible.
Beyond Bottle Caps: Get Creative!
This bottle cap bird feeder is just the beginning! There are countless ways to repurpose materials for your garden. Consider using:
- Old teacups for charming mini-planters.
- Plastic bottles for self-watering systems.
- Broken pottery to create unique mosaic pathways or plant markers.
- Tin cans for colorful herb gardens.
The possibilities are endless when you think creatively about recycling and upcycling.
Invite Joyful Chirps to Your Garden!
Building this colorful bird feeder is a simple yet impactful project that brings beauty, life, and a touch of eco-consciousness to your garden. Not only will you enjoy the vibrant sights and sounds of your feathered visitors, but you’ll also feel good knowing you’ve created something wonderful from repurposed materials. Give it a try and watch your garden truly come alive!