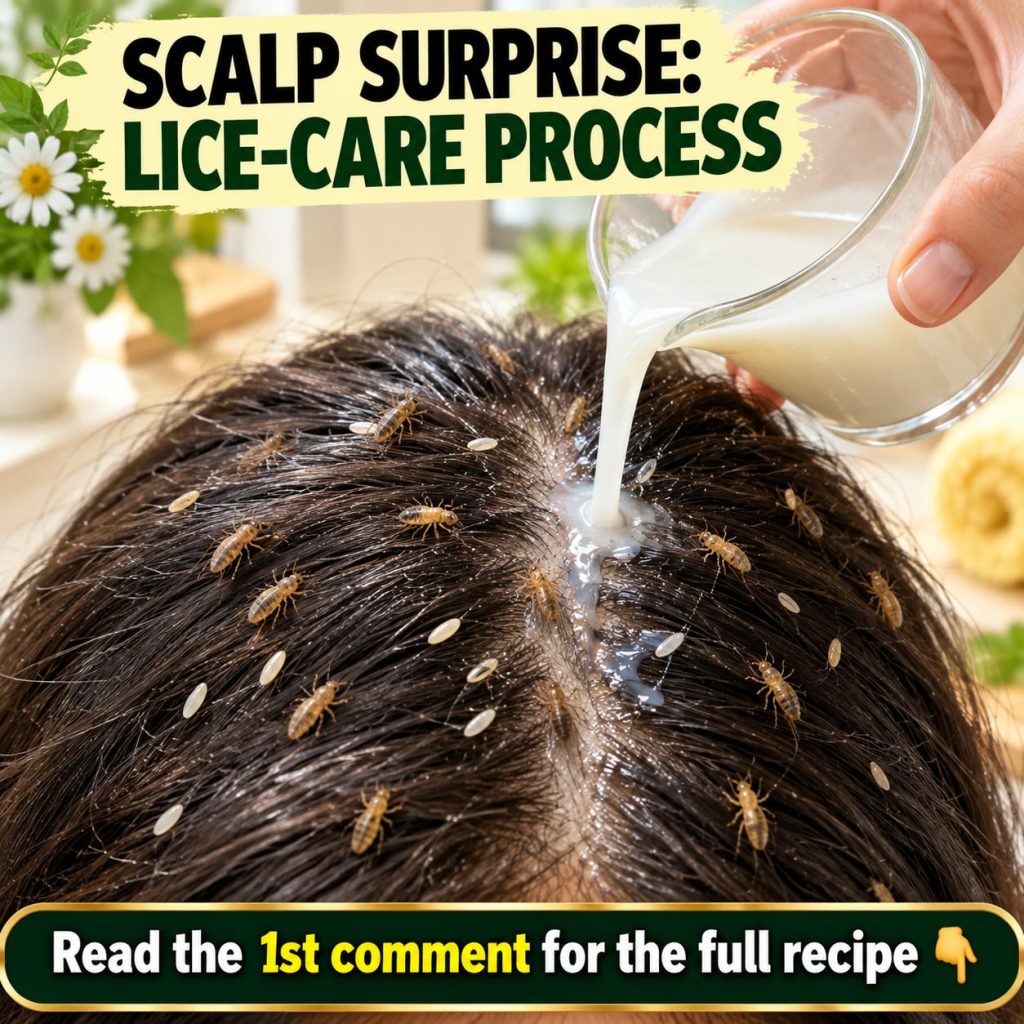
Dealing with an itchy scalp can be incredibly frustrating, especially when it’s caused by those persistent little visitors: head lice. While many commercial products promise quick fixes, a natural approach can often be a gentle yet effective way to tackle the problem, leading to an amazingly clean and comfortable scalp. If you’ve been searching for a thoughtful, step-by-step method to manage lice naturally, you’ve come to the right place.
Understanding Head Lice: A Quick Overview
Head lice are tiny, parasitic insects that live on the human scalp, feeding on small amounts of blood. They are most commonly found in children, but adults can easily get them too. Lice lay their eggs, called nits, close to the scalp, which then hatch, perpetuating the cycle. The main symptoms are intense itching, irritation, and sometimes a tickling sensation from the movement of the lice.
Why Consider Natural Lice Care?
Many people prefer natural methods for lice care to avoid the harsh chemicals found in some over-the-counter treatments. These natural approaches can be gentler on the scalp and hair, and often involve ingredients you might already have in your pantry. The key to success with any lice treatment, natural or otherwise, is consistency and thoroughness.
Your Step-by-Step Natural Lice-Care Routine
This method focuses on a multi-pronged approach: suffocating the lice, loosening the nits, and meticulous manual removal.
What You’ll Need:
- Carrier Oil: Olive oil, coconut oil, or almond oil (at least 1/2 cup, depending on hair length and thickness).
- Tea Tree Oil (Optional, for added benefit): 5-10 drops, ensure it’s a high-quality, pure essential oil.
- Apple Cider Vinegar (ACV): 1/2 cup.
- Fine-Tooth Lice Comb: Essential for removing lice and nits.
- Shampoo and Conditioner: Your regular, gentle products.
- Hair Clips: For sectioning hair.
- Plastic Shower Cap or Plastic Wrap.
- Towel: To protect clothing.
Step-by-Step Process:
Step 1: The Oil Treatment (Suffocation Aid)
The idea here is to coat the lice, making it difficult for them to breathe. If using tea tree oil, remember to dilute it properly with your carrier oil.
- Prepare the Oil Mixture: In a small bowl, mix your chosen carrier oil. If adding tea tree oil, blend 5-10 drops into the carrier oil.
- Apply Generously: Drape a towel over your shoulders to protect your clothes. Section the hair and apply the oil mixture generously from roots to tips, making sure the entire scalp and all hair strands are saturated. Pay extra attention to the areas behind the ears and at the nape of the neck, as these are common hiding spots for lice.
- Cover and Wait: Once hair is fully coated, cover the head with a plastic shower cap or plastic wrap. Leave the oil on for at least 8 hours, or preferably overnight. This allows the oil to effectively work on suffocating the lice.
Step 2: The Apple Cider Vinegar Rinse (Loosening Nits)
ACV is often used to help dissolve the sticky glue that nits use to attach themselves to hair strands, making them easier to remove.
- Apply ACV: Without rinsing out the oil, carefully pour or spray the 1/2 cup of apple cider vinegar over the entire scalp and hair. Gently massage it in.
- Wait Briefly: Allow the ACV to sit for about 5-10 minutes.
Step 3: Diligent Combing (The Key to Removal)
This is the most crucial step and requires patience and thoroughness.
- Section Hair: Divide the hair into small, manageable sections using clips.
- Comb Methodically: Take one small section of hair at a time. Starting at the scalp, slowly and carefully pull the fine-tooth lice comb through the hair, all the way to the ends.
- Inspect and Clean: After each stroke, wipe the comb on a paper towel or rinse it under hot running water to remove any lice or nits. Continue this process for every section of hair until the entire head has been meticulously combed.
Step 4: Thorough Washing and Conditioning
Now it’s time to cleanse the hair and scalp.
- Shampoo Twice: Rinse out the oil and ACV with warm water. Then, shampoo the hair twice to ensure all the oily residue is removed.
- Condition: Apply your regular conditioner and rinse thoroughly.
Step 5: The Repeat Cycle
Lice treatments are rarely a one-time event because unhatched nits might still be present. It’s recommended to repeat the entire process:
- On day 4 or 5 after the initial treatment.
- Again on day 9 or 10.
- And potentially a final time on day 13 or 14 to catch any newly hatched lice before they can lay eggs.
Important Tips for a Successful Process
- Clean Everything: Wash all bedding, towels, and clothing used recently in hot water and dry on high heat.
- Quarantine Non-Washables: For items that can’t be washed (like stuffed animals), seal them in a plastic bag for two weeks.
- Vacuum: Thoroughly vacuum carpets, rugs, and upholstered furniture.
- Check All Family Members: Lice spread easily. Check everyone in the household and treat them if necessary, even if they aren’t showing symptoms.
- Patience is Key: This process takes time and dedication. Don’t rush through the combing step!
Aftercare for a Healthy Scalp
Once the lice are gone, focus on maintaining a healthy scalp. Use gentle shampoos and conditioners, and consider incorporating a weekly scalp massage to encourage circulation. Keeping hair clean and regularly checking for any signs of re-infestation is also a good practice.
A Fresh Start for Your Scalp
While dealing with lice is never fun, this natural, step-by-step approach can offer a gentle yet powerful way to regain a clean, healthy, and happy scalp. With a bit of patience and diligence, you can tackle those unwanted visitors and enjoy the comfort of a truly fresh finish!