Craving something sweet, refreshing, and genuinely good for you? Look no further than this incredibly simple Strawberry Banana Ice Cream recipe! Forget the ice cream maker and complicated steps – with just two main ingredients and a blender, you can whip up a creamy, dreamy treat that tastes like pure sunshine.
This isn’t just a dessert; it’s a healthy indulgence that’s perfect for a quick snack, a light breakfast addition, or a satisfying post-dinner treat. The natural sweetness of ripe bananas perfectly complements the slightly tart burst of strawberries, creating a vibrant flavor and a wonderfully smooth texture that mimics soft-serve ice cream. It’s so easy, you’ll wonder why you haven’t been making it all along!
Why You’ll Love This Homemade Strawberry Banana Ice Cream
- Naturally Sweet & Healthy: Made purely from fruit, it’s a guilt-free pleasure with no added sugars needed.
- Dairy-Free & Vegan Friendly: Perfect for those with dietary restrictions or looking for a plant-based dessert.
- No Ice Cream Maker Required: All you need is a good blender or food processor.
- Quick & Easy: From frozen fruit to delicious ice cream in under 10 minutes.
- Customizable: Easily adapt with other fruits or add-ins to suit your taste.
- Kid-Friendly: A fantastic way to get more fruit into your family’s diet disguised as a treat!
Ingredients
- 2-3 large (about 300-450g) ripe bananas, peeled, sliced, and frozen
- 1 ½ cups (approximately 225g) frozen strawberries
- 1-2 tablespoons (15-30 ml) unsweetened non-dairy milk (like almond or oat milk), water, or regular milk (optional, for blending)
- ½ teaspoon vanilla extract (optional)
- 1-2 teaspoons maple syrup or honey (optional, for extra sweetness)
Ingredient Notes
- Frozen Bananas: The star of the show! Ensure they are ripe (yellow with brown spots) before freezing for maximum sweetness and creaminess. Freezing them in slices helps them blend more easily.
- Frozen Strawberries: You can use store-bought frozen strawberries or freeze your own fresh ones. They add a wonderful tartness and beautiful color.
- Liquid (Milk/Water): Only add a splash if your blender is struggling. Start with one tablespoon and add more only if absolutely necessary, as too much liquid will result in a smoothie rather than ice cream.
- Vanilla Extract: Enhances the overall flavor, adding a warm, subtle note.
- Sweetener: Ripe bananas are usually sweet enough, but if your strawberries are tart or you prefer a sweeter treat, a touch of maple syrup or honey can be added.
Equipment You’ll Need
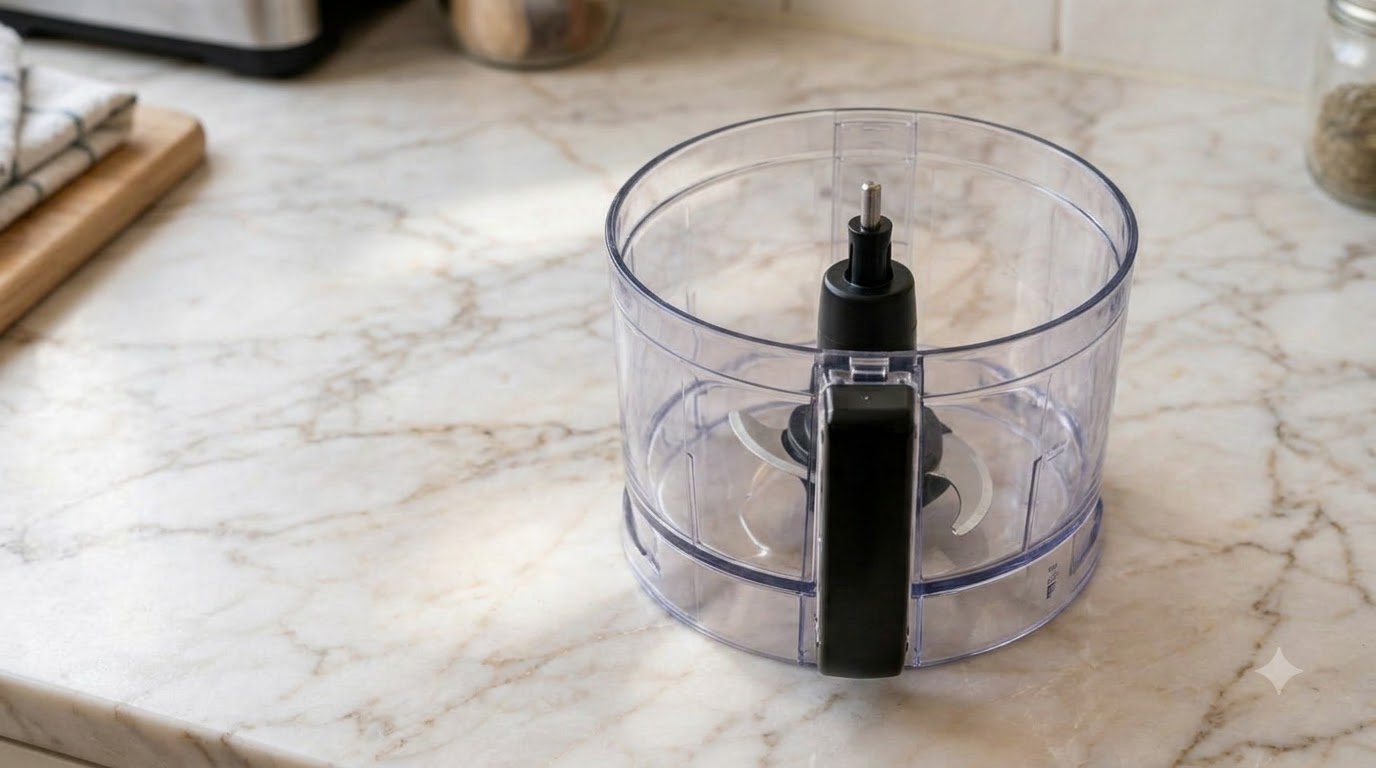
- High-speed blender or food processor
- Spatula or tamper (for blending)
- Freezer-safe container (if freezing for later)
How to Make Strawberry Banana Ice Cream
-
Prepare Your Fruit (if not already frozen): If your bananas aren’t pre-frozen, peel and slice them into 1-inch (2.5 cm) thick pieces. Spread them in a single layer on a parchment-lined baking sheet and freeze for at least 4-6 hours, or until solid. Ensure your strawberries are also frozen.
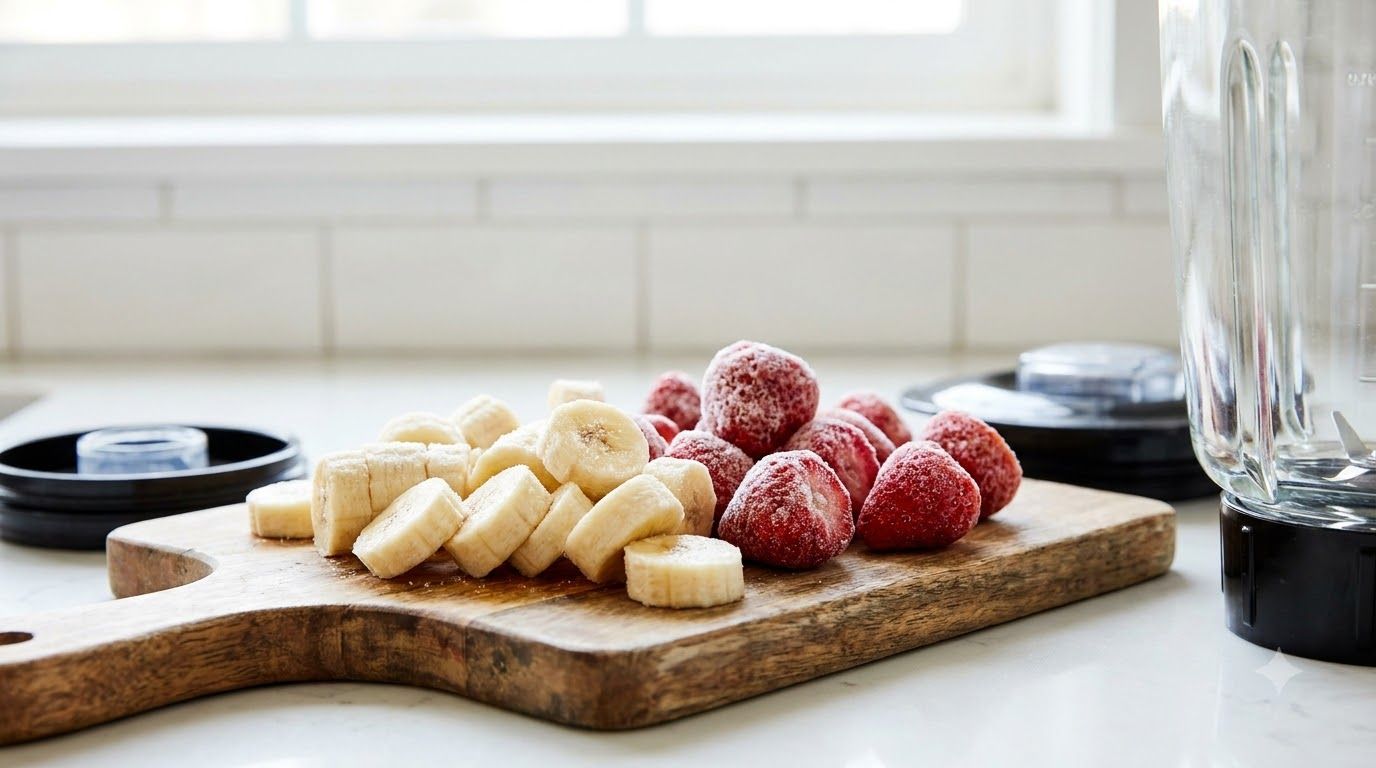
Ensure your fruit is well-frozen for the best ice cream texture. -
Combine Ingredients: Add the sliced frozen bananas and frozen strawberries to your high-speed blender or food processor. If using, also add the optional vanilla extract and any sweetener.
-
Blend Until Smooth: Begin blending on a low speed, gradually increasing. You will need to stop and scrape down the sides frequently with a spatula. If your mixture is too thick to blend, add liquid one tablespoon at a time, blending after each addition, until a smooth, creamy, soft-serve consistency is achieved. This may take a few minutes and some patience, especially with a food processor.
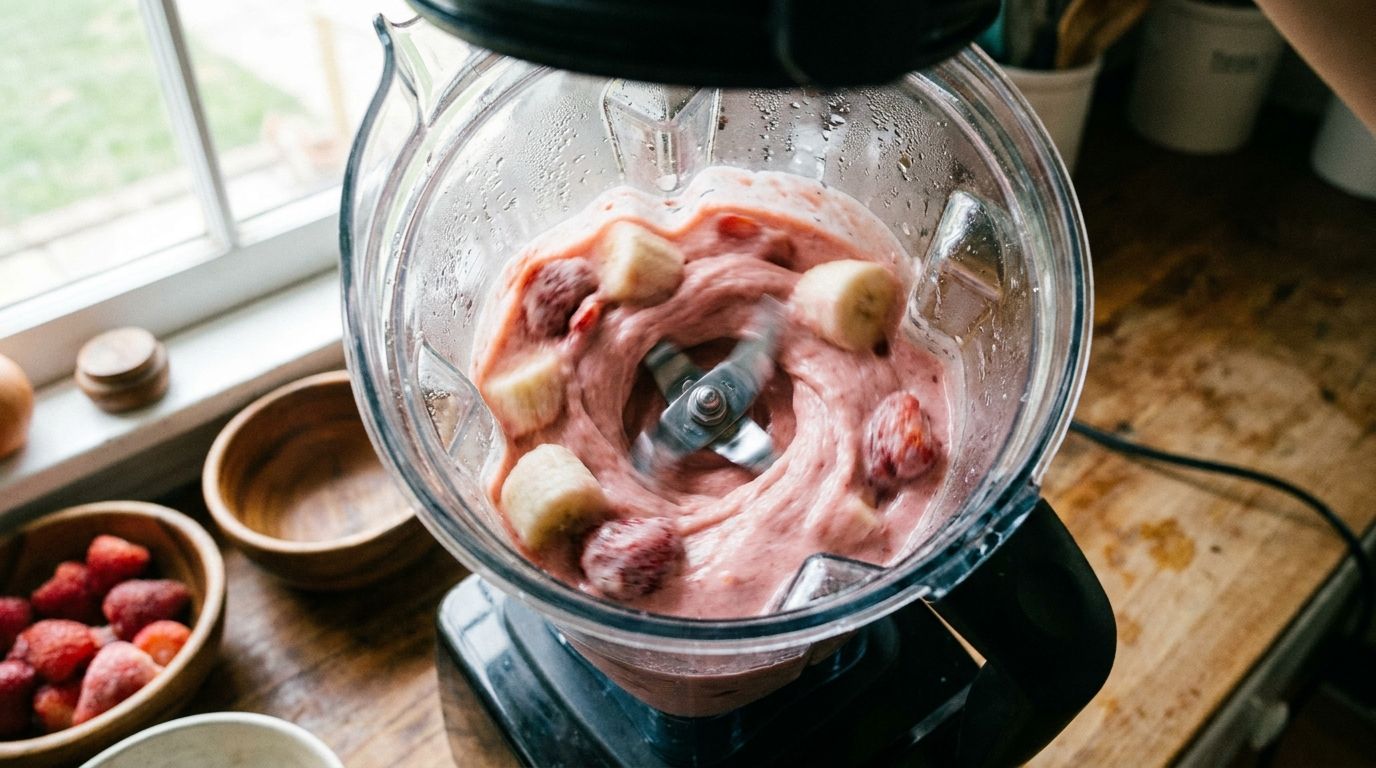
Blend until creamy and smooth, scraping down the sides as needed. -
Serve Immediately or Freeze: Once you have a smooth, thick, soft-serve consistency, you can scoop and serve your Strawberry Banana Ice Cream right away. For a firmer, more scoopable texture similar to traditional ice cream, transfer the mixture to a freezer-safe container and freeze for another 1-2 hours.
Pro Tips for the Best Results
- Use Very Ripe Bananas: The riper the banana (even with brown spots), the sweeter and creamier your ice cream will be.
- Freeze Bananas in Small Pieces: This makes blending much easier and reduces strain on your appliance.
- Use a Tamper (if available): If your blender has a tamper, use it to push the frozen fruit down into the blades without adding extra liquid. This is key for a thick consistency.
- Patience is Key: Don’t be tempted to add too much liquid if your blender is struggling. Stop, scrape, and blend again. A thick, icy consistency is what you’re aiming for.
- Chill Your Serving Bowls: For soft-serve, chilling your bowls beforehand will help keep the ice cream from melting too quickly.
- Eat Immediately: While you can refreeze it, this ice cream is best enjoyed fresh from the blender when it has that perfect soft-serve texture.
Common Mistakes to Avoid
- Not Freezing Fruit Enough: If your fruit isn’t completely frozen, you’ll end up with a smoothie, not ice cream. Ensure it’s rock solid.
- Adding Too Much Liquid: This is the most common mistake. Only add liquid a tablespoon at a time if absolutely necessary for blending.
- Using Under-Ripe Bananas: They won’t provide the necessary sweetness or creamy texture, resulting in a less flavorful and icier dessert.
- Over-Blending: While you want it smooth, blending for too long can start to warm the mixture, causing it to melt prematurely. Blend just until creamy.
Variations & Substitutions
- Add Other Fruits: Try a handful of frozen mango, pineapple, blueberries, or raspberries along with or instead of some strawberries.
- Chocolatey Twist: Add 1-2 tablespoons of unsweetened cocoa powder for a chocolate banana strawberry flavor.
- Nut Butter Boost: A spoonful of peanut butter or almond butter can add richness and protein.
- Spice It Up: A pinch of cinnamon or cardamom can add a unique warmth.
- Herbal Infusion: Blend in a few fresh mint leaves for a refreshing touch.
- Protein Punch: Incorporate a scoop of your favorite protein powder for a post-workout treat.
Serving Suggestions
This Strawberry Banana Ice Cream is fantastic on its own, but you can elevate it with some simple toppings:
- Fresh fruit (sliced strawberries, bananas, blueberries)
- A sprinkle of shredded coconut
- A drizzle of maple syrup or honey
- A sprinkle of chopped nuts or granola for crunch
- A dollop of dairy-free whipped cream
It makes a wonderful healthy dessert, a quick snack, or even a delightful breakfast bowl topped with granola.
Storage & Reheating
For best results, this Strawberry Banana Ice Cream is truly best enjoyed immediately after blending when it has a soft-serve consistency. If you have leftovers or want to prepare it ahead for a firmer scoop, transfer it to an airtight freezer-safe container.
- Refrigerator Storage: Not recommended. It will melt and lose its ice cream consistency.
- Freezer Storage: Store in an airtight container for up to 1-2 weeks.
- Reheating (Softening): When ready to enjoy from the freezer, let it sit on the counter for 10-20 minutes to soften slightly, or break it up and re-blend it with a tiny splash of liquid until creamy again.
FAQ
Q: Can I use fresh fruit instead of frozen?
A: No, you must use frozen fruit for this recipe to achieve an ice cream consistency. Fresh fruit will result in a smoothie.
Q: Do I need an ice cream maker?
A: Absolutely not! This recipe is specifically designed to be made without one, using just a blender or food processor.
Q: How ripe should the bananas be?
A: Very ripe! Look for bananas with plenty of brown spots, as these are the sweetest and will yield the creamiest result.
Q: Can I make this ahead of time?
A: Yes, you can make it ahead and freeze it. Just be aware that it will become very firm. You’ll need to let it soften at room temperature for a bit or re-blend it with a splash of liquid to regain the soft-serve texture.
Q: Why is my ice cream more like a smoothie?
A: This usually happens if your fruit wasn’t frozen solid enough, or if you added too much liquid during blending. Ensure fruit is rock hard and add liquid very sparingly.
Q: What if I don’t have a high-speed blender?
A: A food processor works wonderfully for this recipe. If using a regular blender, you might need to add a tiny bit more liquid and blend in smaller batches, stopping frequently to scrape.
Recipe Card
Recipe Name: Quick & Easy Strawberry Banana Ice Cream
Short Description: A delightful, healthy, and refreshing homemade ice cream made with just frozen fruit and a blender – no ice cream maker needed!
Prep Time: 5 minutes
Cook Time: 0 minutes
Total Time: 5 minutes (plus fruit freezing time)
Servings: 2-3
Course: Dessert, Snack
Cuisine: American
Cooking Method: Blending
Ingredients:
- 2-3 large (about 300-450g) ripe bananas, peeled, sliced, and frozen
- 1 ½ cups (approximately 225g) frozen strawberries
- 1-2 tablespoons (15-30 ml) unsweetened non-dairy milk (like almond or oat milk), water, or regular milk (optional, for blending)
- ½ teaspoon vanilla extract (optional)
- 1-2 teaspoons maple syrup or honey (optional, for extra sweetness)
Instructions:
- If bananas are not frozen, peel and slice them. Spread them on a parchment-lined baking sheet and freeze for 4-6 hours until solid.
- Add frozen banana slices, frozen strawberries, and optional vanilla extract and sweetener to a high-speed blender or food processor.
- Blend on low, gradually increasing speed. Use a spatula to scrape down the sides. If needed, add liquid one tablespoon at a time until a thick, creamy, soft-serve consistency forms.
- Serve immediately for soft-serve. For a firmer texture, transfer to an airtight freezer-safe container and freeze for 1-2 hours.
Notes: Using very ripe, well-frozen bananas is crucial for the best creamy texture and natural sweetness. Adjust liquid sparingly to avoid a smoothie consistency.
Storage: Store in an airtight freezer-safe container for up to 1-2 weeks. Re-blend or let soften at room temperature before serving from frozen.
Nutrition: Nutrition information is an estimate and may vary depending on the ingredients and brands used.