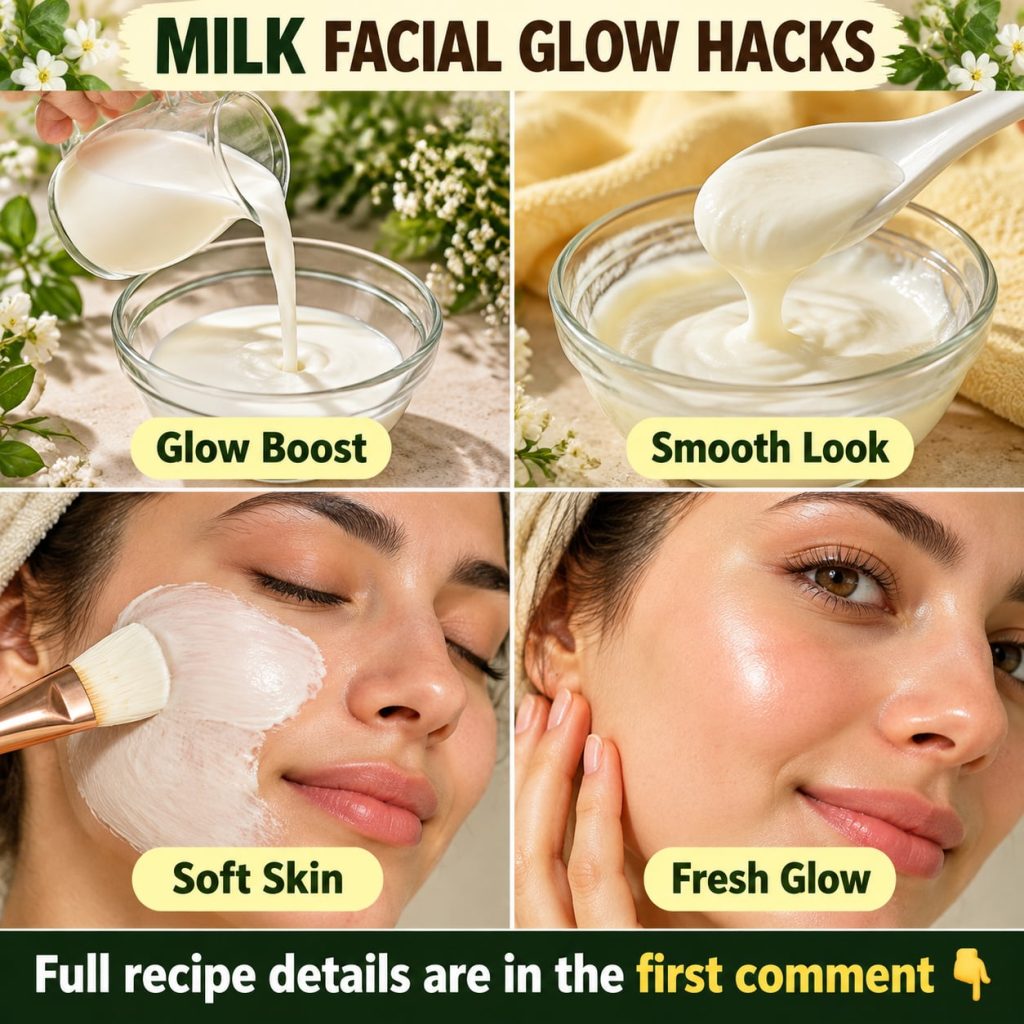
Are you looking for that radiant, healthy glow that makes your skin feel refreshed and vibrant? Many people are turning to simple, natural ingredients for their skincare routines, and milk facials are quickly becoming a popular choice! This trending beauty secret is celebrated for its potential to help achieve a smoother-looking, more luminous complexion. Forget complicated routines; let’s dive into how this common kitchen staple might just be the answer to your skin’s desires.
Milk has been used in beauty rituals for centuries, known for its gentle properties. From Cleopatra’s legendary milk baths to modern-day DIY hacks, its appeal remains strong. It’s affordable, accessible, and can be easily incorporated into your weekly pampering sessions. We’re here to guide you through easy-to-follow recipes that can help you explore the potential benefits of milk for your skin.
Why Milk for Your Skin? The Natural Benefits
Before we jump into the recipes, let’s understand why milk is such a beloved ingredient in natural skincare. It’s more than just a drink; it’s packed with components that can be wonderfully beneficial for your skin:
- Lactic Acid: Milk contains lactic acid, a gentle alpha hydroxy acid (AHA) that helps exfoliate the skin’s surface. This can lead to smoother-looking skin and a more even tone.
- Vitamins and Minerals: Rich in vitamins A, D, and B12, and minerals like calcium, milk can help nourish the skin, supporting its overall health and vitality.
- Moisturizing Properties: The fats and proteins in milk can provide hydration, helping to soothe dry or dull skin and leave it feeling soft and supple.
- Calming Effects: Milk is often praised for its ability to calm and reduce the appearance of redness, making it a favorite for those with sensitive skin.
Simple DIY Milk Facial Recipes to Try at Home
Here are a few easy-to-make milk facial recipes that you can prepare with ingredients you likely already have!
1. The Classic Milk Wash & Toner
This is the simplest way to introduce milk into your routine, perfect for a gentle cleanse or as a refreshing toner.
Ingredients:
- 1/4 cup cold whole milk (raw or unpasteurized milk is often preferred by some for extra enzymes, but pasteurized is fine too)
Instructions:
- Cleanse your face with your usual mild cleanser and pat dry.
- Dip a cotton pad into the cold milk and gently wipe it all over your face and neck.
- Massage the milk into your skin using upward circular motions for about 2-3 minutes.
- You can leave it on for 10-15 minutes or rinse it off immediately with cool water. Pat your skin dry.
- Follow up with your favorite moisturizer.
2. Hydrating Milk & Honey Mask
Honey is a natural humectant, meaning it attracts and retains moisture, making it a perfect partner for milk to boost hydration and soothe skin.
Ingredients:
- 2 tablespoons whole milk
- 1 tablespoon raw honey
Instructions:
- In a small bowl, mix the milk and honey until well combined.
- Apply the mixture evenly to your clean face and neck, avoiding the eye area.
- Leave the mask on for 15-20 minutes.
- Rinse off thoroughly with lukewarm water, then pat your face dry.
- Finish with your regular moisturizer.
3. Brightening Milk & Turmeric Mask
Turmeric is renowned for its anti-inflammatory properties and ability to potentially brighten the skin’s appearance, making this mask a wonderful option for a healthy glow.
Ingredients:
- 2 tablespoons whole milk
- 1/2 teaspoon organic turmeric powder (use sparingly to avoid temporary staining)
- Optional: 1/2 teaspoon gram flour (besan) for a thicker consistency and gentle exfoliation
Instructions:
- Combine the milk, turmeric powder, and optional gram flour in a bowl to form a smooth paste.
- Apply the mask to your clean face and neck.
- Allow it to sit for 10-15 minutes.
- Gently rinse off with cool water, massaging lightly in circular motions to help with exfoliation if you used gram flour.
- Cleanse any lingering yellow tint with a mild facial cleanser if needed, then moisturize.
Important Tips for Your Milk Facial Routine
- Patch Test: Always perform a patch test on a small area of your skin (like behind your ear or on your inner arm) before applying any new DIY recipe to your entire face, especially if you have sensitive skin or allergies.
- Consistency is Key: For best results, incorporate milk facials into your routine 1-2 times a week.
- Sun Protection: Anytime you use exfoliating ingredients like lactic acid, your skin can become more sensitive to the sun. Always follow up with a broad-spectrum sunscreen, even on cloudy days.
- Fresh Ingredients: Use fresh, good-quality milk and other ingredients for your recipes.
- Listen to Your Skin: If you experience any irritation, redness, or discomfort, discontinue use immediately.
Embracing natural beauty solutions can be a wonderful journey, and milk facials offer a simple, budget-friendly way to potentially enhance your skin’s natural radiance. Give these recipes a try and discover the glow that many people are raving about!