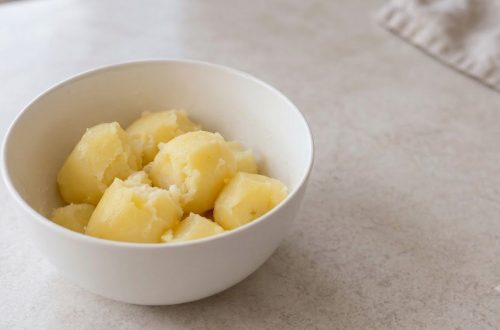
Craving something sweet, creamy, and satisfying without all the guilt or fuss? Look no further than this incredibly simple Easy Peanut Butter Banana Ice Cream! This delightful treat transforms humble frozen bananas and a few pantry staples into a rich, decadent-tasting dessert that’s ready in minutes.
It’s a fantastic way to use up ripe bananas and whip up a healthy, no-churn ice cream that tastes like a dream. With its smooth texture and harmonious blend of sweet banana and salty peanut butter, it’s a dessert that truly hits the spot, whether you prefer it soft-serve style or frozen solid.
Why You’ll Love This Easy Peanut Butter Banana Ice Cream
- Just 4 Ingredients: Seriously, that’s all you need for this delicious dessert!
- No Ice Cream Maker Required: All you need is a blender or food processor.
- Ready in Minutes: The active prep time is minimal, making it perfect for last-minute cravings.
- Naturally Sweet & Healthy: Made primarily from fruit, it’s a guilt-free way to enjoy a sweet treat.
- Customizable: Easily adapt with your favorite mix-ins or toppings.
- Vegan-Friendly: Simply use a plant-based milk to keep it entirely vegan.
Ingredients
Here’s what you’ll need to make this simple and satisfying ice cream:
- 3-4 large ripe bananas (about 450-600g), peeled and sliced into 1-inch (2.5 cm) pieces, then frozen solid
- ½ cup (120g) creamy peanut butter
- 2-4 tablespoons (30-60ml) milk (dairy or non-dairy, such as almond milk or oat milk), as needed
- 1 teaspoon (5ml) vanilla extract
Ingredient Notes
- Frozen Bananas: The riper the bananas, the sweeter your ice cream will be. Freezing them solid is crucial for the creamy, ice cream-like texture.
- Peanut Butter: Creamy peanut butter works best for a smooth consistency. Natural peanut butter (just peanuts and salt) is great, but any creamy variety will do. For a sweeter ice cream, choose a sweetened peanut butter.
- Milk: A small amount of milk helps achieve the perfect creamy texture and aids blending. Use any milk you prefer – dairy milk for richness, or a plant-based milk for a vegan option.
- Vanilla Extract: This enhances the overall flavor, adding a warm, subtle sweetness.
Equipment You’ll Need
- High-speed blender or a food processor
- Freezer-safe container (if freezing for later)
How to Make Easy Peanut Butter Banana Ice Cream
Follow these simple steps to create your own homemade banana ice cream:
-
Prepare Bananas
Peel the ripe bananas and slice them into roughly 1-inch (2.5 cm) thick rounds. Arrange the banana slices in a single layer on a parchment-lined baking sheet or plate. Place them in the freezer for at least 4 hours, or until completely solid. Freezing them flat prevents them from clumping together, making them easier to blend.
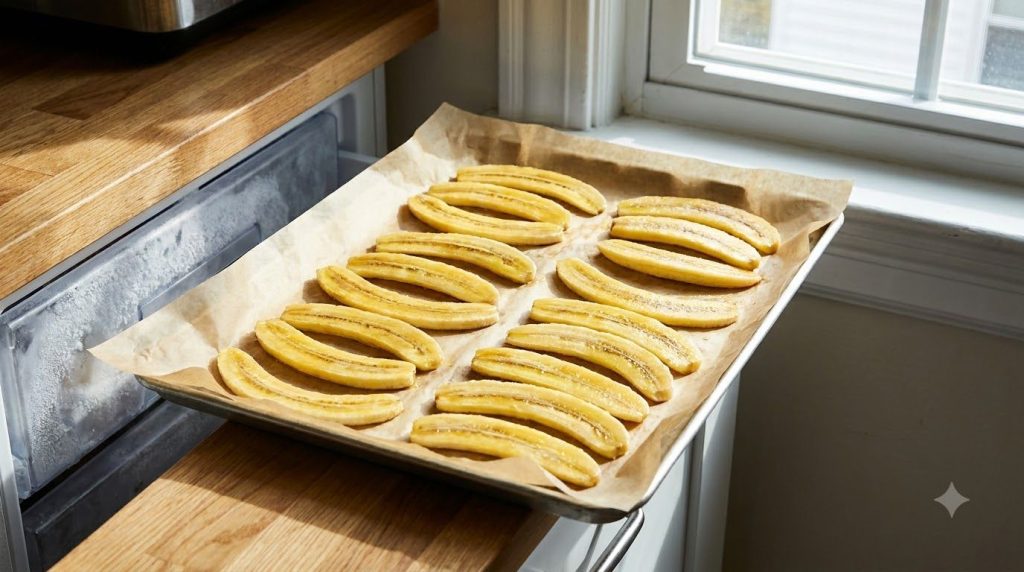
Freezing bananas in a single layer ensures they freeze evenly and don’t stick. -
Combine Ingredients
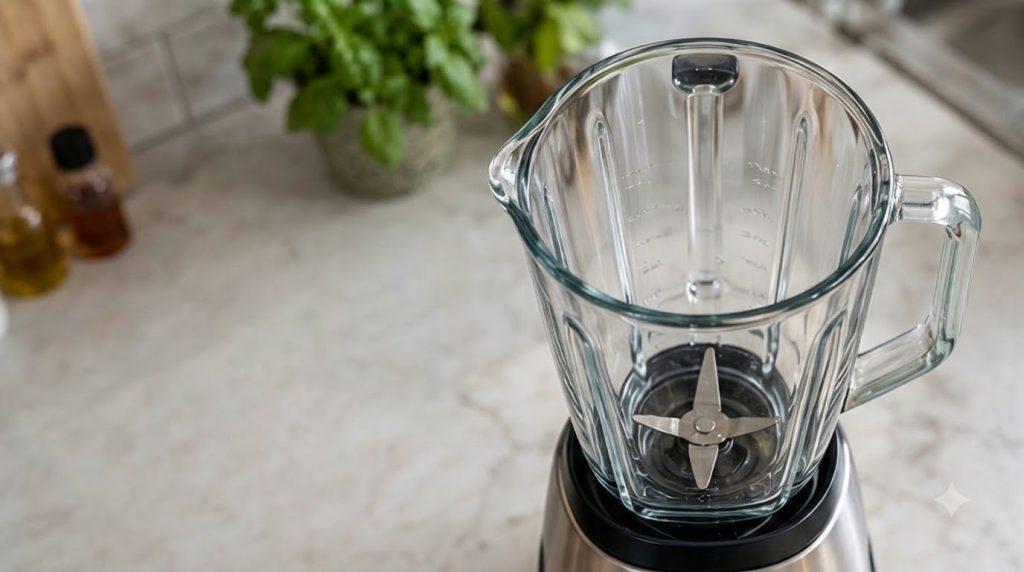
Once the banana slices are frozen solid, transfer them to a high-speed blender or food processor. Add the creamy peanut butter and vanilla extract.
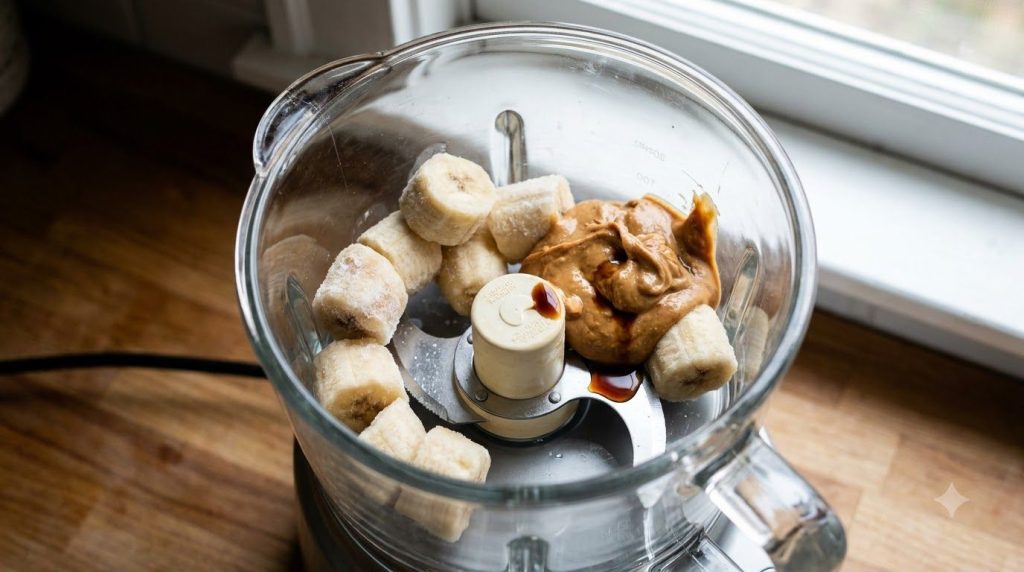
Gather your ingredients in the food processor to begin the magic! -
Blend Until Smooth
Begin blending or processing. At first, the mixture will look crumbly and chunky. Continue to blend, stopping frequently to scrape down the sides of the bowl with a spatula. Add the milk, 1 tablespoon at a time, only as needed, to help the mixture come together and achieve a smooth, creamy consistency. Be patient, as this can take a few minutes. The mixture will eventually transform into a thick, soft-serve ice cream texture.
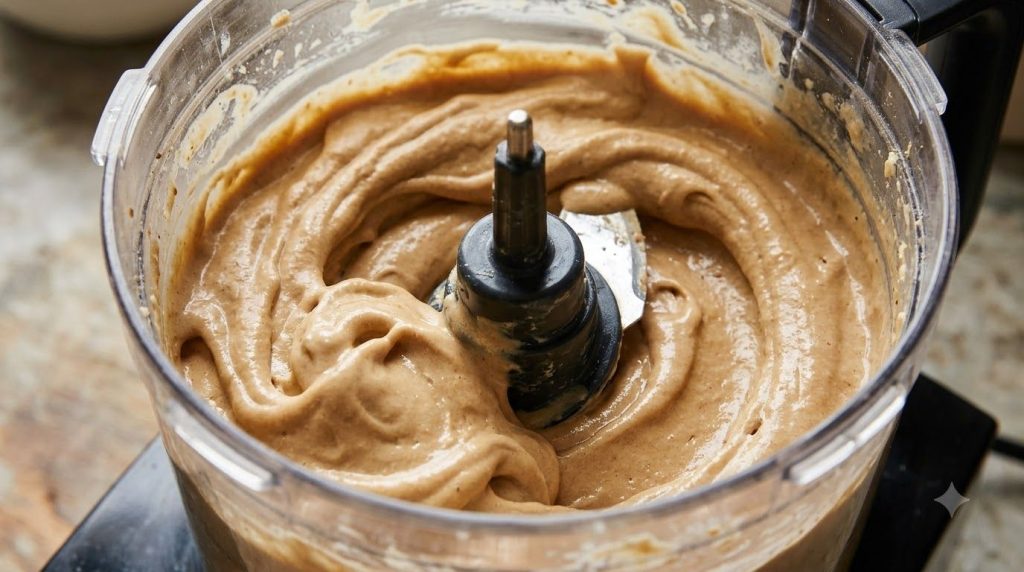
Keep blending until the mixture reaches a wonderfully smooth and creamy texture. -
Serve or Freeze
Serve immediately for a soft-serve consistency. If you prefer a firmer ice cream, transfer the mixture to a freezer-safe container, smooth the top, and freeze for another 1-2 hours until firm. Before serving a firmer ice cream, you may need to let it sit at room temperature for a few minutes to soften slightly for easier scooping.
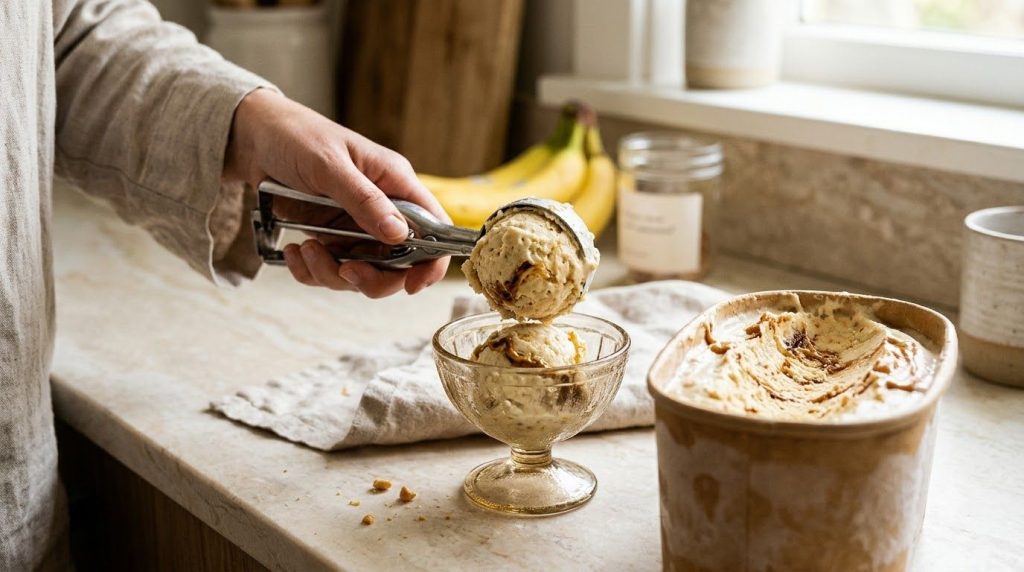
Scoop and enjoy your homemade, healthy ice cream!
Pro Tips for the Best Results
- Use Very Ripe Bananas: The riper the banana (even with brown spots), the sweeter and more flavorful your ice cream will be, reducing the need for added sweeteners.
- Chop Before Freezing: Slicing bananas into smaller pieces before freezing makes them easier for your blender or food processor to handle, leading to a smoother result faster.
- Patience is Key: Blending frozen fruit can be tough on blenders. Start on a low speed, then gradually increase. Stop and scrape down the sides often to ensure everything gets incorporated.
- Add Liquid Gradually: Only add milk a tablespoon at a time, just enough to get the blades moving. Too much liquid will result in a smoothie, not ice cream.
- Chill Your Bowl: For an even colder, slower-melting treat, chill your serving bowls in the freezer for 10-15 minutes before scooping.
Common Mistakes to Avoid
- Using Under-Ripe Bananas: This will result in a less sweet and potentially less creamy ice cream. Wait for those brown spots!
- Not Freezing Bananas Long Enough: If bananas aren’t completely solid, your mixture will be more like a thick smoothie than ice cream.
- Adding Too Much Liquid: This is the most common mistake. Resist the urge to add more milk than necessary; it will thin out the mixture too much.
- Over-Processing: While you need to blend until smooth, excessively long blending can warm the mixture, making it less firm. Blend in short bursts.
Variations & Substitutions
- Chocolate Peanut Butter: Add 1-2 tablespoons of unsweetened cocoa powder to the blender for a rich, chocolatey twist.
- Nut Butter Alternatives: Swap peanut butter for almond butter, cashew butter, or sunflower seed butter for different flavors or to accommodate allergies.
- Flavor Boosters: A pinch of cinnamon, a dash of nutmeg, or a sprinkle of flaky sea salt can elevate the flavors.
- Mix-Ins: Fold in mini chocolate chips, chopped nuts, shredded coconut, or granola after blending for added texture.
- Sweetener Boost: If your bananas aren’t super ripe or you prefer a sweeter ice cream, add a tablespoon of maple syrup or agave nectar during blending.
Serving Suggestions
This Easy Peanut Butter Banana Ice Cream is fantastic on its own, but here are some ideas to make it even better:
- Simple Toppings: Drizzle with extra peanut butter, a sprinkle of chopped peanuts, or a few chocolate shavings.
- Fresh Fruit: Serve with fresh banana slices, berries, or a handful of granola for a delicious breakfast or snack.
- Dessert Base: Use it as a healthier alternative to traditional ice cream alongside brownies, apple crisp, or a warm chocolate chip cookie.
- Kid-Friendly: A fun and healthy treat for children, especially when served with a few sprinkles!
Storage & Reheating
- Refrigerator Storage: This ice cream is not ideal for refrigerator storage as it will melt and lose its ice cream consistency.
- Freezer Storage: Store any leftover ice cream in an airtight, freezer-safe container for up to 2-3 weeks.
- Reheating: When ready to enjoy a firmer, frozen batch, simply remove it from the freezer and let it sit at room temperature for 10-15 minutes to soften slightly before scooping.
FAQ
Can I use fresh (unfrozen) bananas?
No, frozen bananas are essential for achieving the creamy, thick, ice cream-like texture. Using fresh bananas will result in a smoothie or a thin puree.
Do I need a special ice cream maker for this recipe?
No! This is a no-churn recipe, meaning you only need a high-speed blender or a food processor to make it.
Can I make this ahead of time?
Absolutely! You can prepare the ice cream and freeze it in an airtight container for up to 2-3 weeks. Just let it soften slightly at room temperature before serving.
Is this recipe vegan?
Yes, if you use a plant-based milk (like almond, oat, or soy milk) and ensure your peanut butter does not contain any dairy ingredients, this recipe is naturally vegan.
Why is my ice cream not creamy enough?
If your ice cream isn’t creamy, it’s likely due to either not blending long enough (patience is key!) or not using ripe enough bananas. Ensure bananas are very ripe and frozen solid, and scrape down the sides of your blender/food processor frequently.
What if I don’t have a high-speed blender?
A sturdy food processor often works even better than some blenders for this recipe, as it can handle the frozen bananas more easily. If using a less powerful blender, you might need to add a bit more milk, but do so very sparingly.
Recipe Card: Easy Peanut Butter Banana Ice Cream
Recipe Name: Easy Peanut Butter Banana Ice Cream
Short Description: A delicious, healthy, and incredibly simple 4-ingredient no-churn ice cream made with frozen bananas and creamy peanut butter.
Prep Time: 10 minutes active (plus 4+ hours freezing time for bananas)
Cook Time: 0 minutes
Total Time: 10 minutes active (plus freezing time)
Servings: 2-4
Course: Dessert
Cuisine: American
Cooking Method: Blending, no-churn
Ingredients:
- 3-4 large ripe bananas (about 450-600g), peeled and sliced into 1-inch (2.5 cm) pieces, then frozen solid
- ½ cup (120g) creamy peanut butter
- 2-4 tablespoons (30-60ml) milk (dairy or non-dairy), as needed
- 1 teaspoon (5ml) vanilla extract
Instructions:
- Prepare Bananas: Peel and slice ripe bananas into 1-inch (2.5 cm) rounds. Arrange on a parchment-lined baking sheet and freeze for at least 4 hours, or until completely solid.
- Combine Ingredients: Transfer the frozen banana slices to a high-speed blender or food processor. Add the creamy peanut butter and vanilla extract.
- Blend Until Smooth: Begin blending, stopping frequently to scrape down the sides. Add milk, 1 tablespoon at a time, only as needed, to help the mixture process until smooth, thick, and creamy, resembling soft-serve ice cream.
- Serve or Freeze: Serve immediately for a soft-serve consistency. For a firmer ice cream, transfer to a freezer-safe container and freeze for 1-2 hours. Let soften at room temperature for a few minutes before scooping.
Notes:
For the best creamy texture, use very ripe bananas. Adjust the amount of milk based on your blender’s power and desired consistency. Do not over-process, as this can warm the mixture.
Storage:
Store in an airtight, freezer-safe container for up to 2-3 weeks. Allow to thaw slightly at room temperature for 10-15 minutes before serving for easier scooping.
Nutrition:
Nutrition information is an estimate and may vary depending on the ingredients and brands used.