Are you tired of scrubbing stubborn kitchen grease, dirty stovetops, and those seemingly impossible burnt spots on your pans? Before you reach for another harsh chemical cleaner, consider a simple, effective DIY solution using ingredients you likely already have at home.
This homemade power cleaner is designed to cut through grime, tackle baked-on food, and leave your kitchen surfaces sparkling. It’s a practical, affordable option for achieving a clean home without relying on strong fumes or expensive products. Let’s get your kitchen shining!
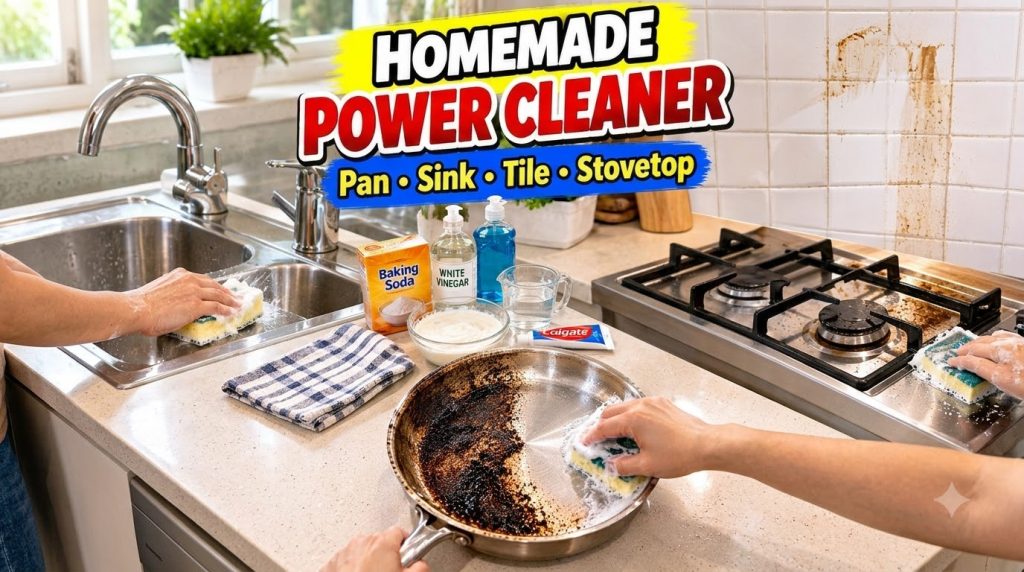
What You’ll Need
Ingredients for the Cleaner:
- 1/2 cup Baking Soda
- 1/4 cup White Vinegar
- 1 tablespoon Dish Soap
- 1 tablespoon White Toothpaste (standard paste, not gel)
- 1/4 cup Water
Tools:
- Medium mixing bowl
- Spoon or whisk for mixing
- Measuring cups and spoons
- Scrub sponge or brush
- Clean cloth or paper towels
Why This DIY Can Be Useful
This homemade cleaner combines common household items, each playing a key role in its effectiveness:
- Baking Soda: A natural abrasive that gently scrubs away grime and helps neutralize odors. It’s excellent for lifting tough stains.
- White Vinegar: An acid that helps dissolve mineral deposits, cut through grease, and offers some disinfecting properties. It breaks down residue effectively.
- Dish Soap: A powerful degreaser that emulsifies oils and allows dirt and grease to be easily rinsed away.
- Toothpaste: Acts as a mild abrasive and can help brighten surfaces, similar to how it works on teeth. Its gentle polishing action is particularly useful for burnt-on residues.
- Water: Helps dilute the mixture to a workable consistency and aids in rinsing.
How to Make It
Creating your homemade power cleaner is straightforward:
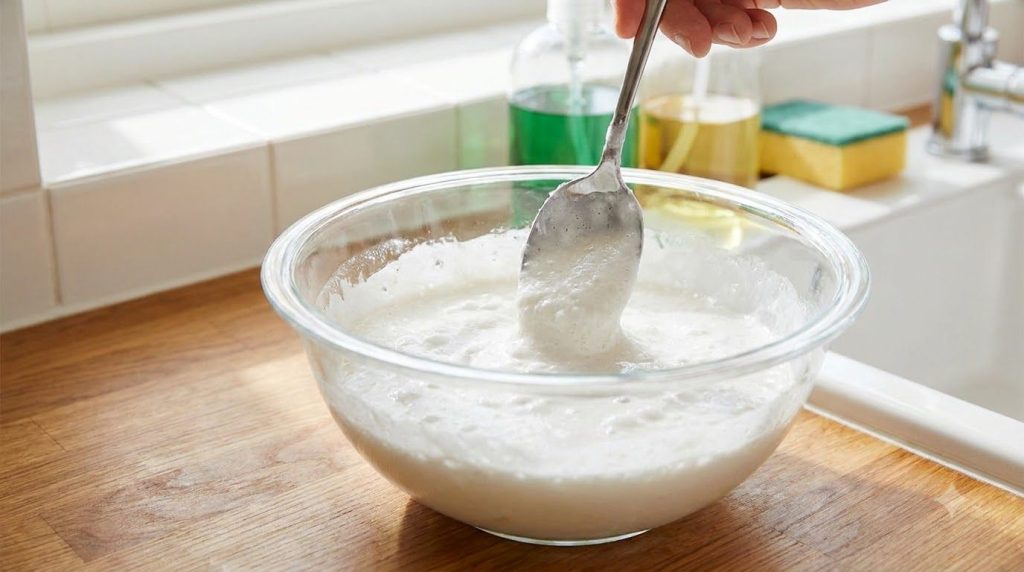
- In your medium mixing bowl, combine the 1/2 cup of baking soda and 1/4 cup of water. Stir well to form a thick paste.
- Gradually add the 1/4 cup of white vinegar to the paste. Be aware that the baking soda and vinegar will react and foam. Stir gently until the foaming subsides.
- Stir in the 1 tablespoon of dish soap.
- Finally, add the 1 tablespoon of white toothpaste. Mix thoroughly until all ingredients are well combined into a consistent, slightly thick cleaning paste.
How to Use It
For Greasy Stovetops and Tile Backsplashes:
- Scoop a generous amount of the cleaner onto your scrub sponge or brush.
- Apply the cleaner directly to the greasy or dirty areas.
- Gently scrub in a circular motion, allowing the abrasives to work on the grime.
- Let the cleaner sit for 5-10 minutes for tougher spots.
- Wipe away the cleaner and dissolved grease with a clean, damp cloth.
- Finish by wiping with a dry cloth for a streak-free shine.
For Stainless Steel Sinks:
- Wet the sink surface.
- Apply the cleaning paste to the entire sink, focusing on any stains or dull areas.
- Using a sponge, scrub the sink following the grain of the stainless steel to avoid scratching.
- Rinse thoroughly with warm water.
- Dry immediately with a clean cloth to prevent water spots and reveal a sparkling finish.
For Burnt Pans:
- Make sure the pan is completely cool.
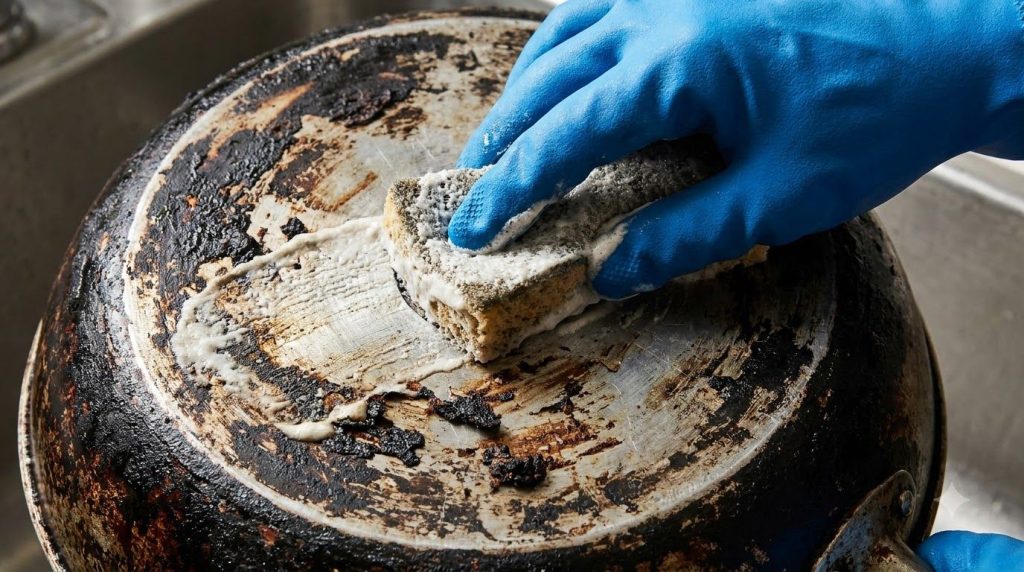
- Apply a thick layer of the cleaning paste directly onto the burnt-on areas of the pan.
- Let it sit for at least 30 minutes, or for severely burnt pans, leave it overnight.
- After the waiting time, use a scrub brush or a non-scratch scouring pad to vigorously scrub the burnt residue. The toothpaste and baking soda will work together to lift the stains.
- Rinse the pan thoroughly with water, scrubbing off any remaining cleaner and residue.
- Repeat if necessary for very stubborn stains.
What to Expect
You can expect to see a significant improvement in the cleanliness and shine of your kitchen surfaces. Greasy residue should lift away, and burnt-on food on pans will be considerably loosened, making it much easier to scrub off. While it may not remove every single stain instantly, consistent use can help maintain a cleaner kitchen and reduce the buildup of grime.
Helpful Tips
- Patch Test: Always test a small, inconspicuous area first, especially on delicate surfaces or natural stone, to ensure no discoloration or damage occurs.
- Consistency: If the mixture is too thick, add a tiny bit more water. If too thin, add a little more baking soda.
- Freshness: This cleaner is best used fresh. While you can store leftovers in an airtight container for a few days, its effectiveness may diminish over time.
- Gloves: Consider wearing cleaning gloves to protect your hands, especially if you have sensitive skin.
Important Notes / Safety
- Ventilation: Ensure good ventilation when cleaning, even with homemade solutions.
- Surfaces: While generally safe, avoid using vinegar-based solutions on natural stone surfaces like marble or granite, as the acid can etch the stone over time.
- Rinsing: Always rinse surfaces thoroughly after cleaning to remove all residue.
- Mixing: The baking soda and vinegar reaction creates foam; mix slowly to avoid overflow.
- Storage: Store any leftover cleaner in a sealed container away from children and pets.