Have you ever dreamed of making your own cream cheese at home? It might sound intimidating, but what if we told you it’s incredibly simple and requires just a few basic ingredients you likely already have in your kitchen? Get ready to say goodbye to store-bought and hello to the freshest, creamiest, most delightful homemade cream cheese you’ve ever tasted!
This recipe isn’t just easy; it’s a game-changer. Imagine a spread so rich and smooth, perfect for your morning bagel, a sophisticated fruit dip, or a key ingredient in your favorite desserts. Plus, when you make it yourself, you control exactly what goes into it, ensuring a healthier, preservative-free treat. It’s a wonderful way to elevate your culinary skills without breaking a sweat!
Whether you’re a seasoned home cook or a complete beginner, this step-by-step guide will walk you through everything you need to know. You’ll learn how to transform simple dairy into a gourmet staple, understand the health benefits of homemade ingredients, and discover versatile ways to enjoy your fresh creation. Let’s dive into the delicious world of homemade cream cheese!
Recipe Summary
- Prep Time: 15 minutes
- Cook Time: 10 minutes
- Total Time: 10-12 hours (includes chilling and straining)
- Servings: Approximately 1.5 cups
- Difficulty Level: Easy
- Course: Condiment, Spread, Breakfast, Snack
- Cuisine: American
- Diet Type: Vegetarian, Gluten-Free (check additions)
Why You’ll Love This Recipe
- Incredibly Easy: Seriously, anyone can make this!
- Taste & Texture: Far superior to store-bought – super fresh and creamy.
- Control Ingredients: No weird additives or preservatives.
- Budget-Friendly: Often cheaper than specialty cream cheeses.
- Versatile: Perfect for bagels, dips, frostings, and more.
- Customizable: Easily adapt flavors to sweet or savory.
- Impressive: Your friends and family will be amazed you made it yourself!
Ingredients
- 4 cups (1 liter) whole milk: Full-fat milk is key for creaminess. Avoid skim or low-fat for best results.
- 1/2 cup (120 ml) heavy cream: Adds extra richness and a luxurious texture. (Optional, for an even richer cream cheese)
- 2 tablespoons fresh lemon juice: Or white vinegar. This is the acid that curdles the milk.
- 1/2 teaspoon fine sea salt: To enhance flavor. Adjust to your taste.
- Optional flavorings: Fresh herbs, garlic powder, honey, cinnamon, etc., to mix in after straining.
Equipment Needed
- Large non-reactive pot (stainless steel or enamel)
- Strainer or colander
- Cheesecloth (at least 2-3 layers, or a nut milk bag)
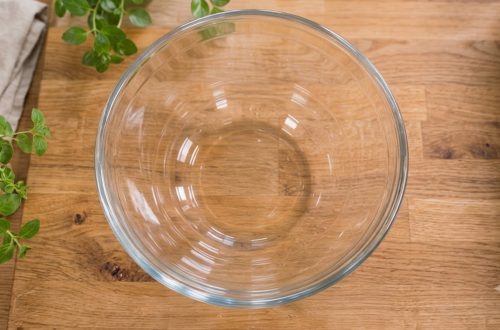
- Large bowl (to catch whey)
- Whisk
- Measuring cups and spoons
- Airtight container for storage
Step-by-Step Instructions
-
Heat the Milk and Cream:
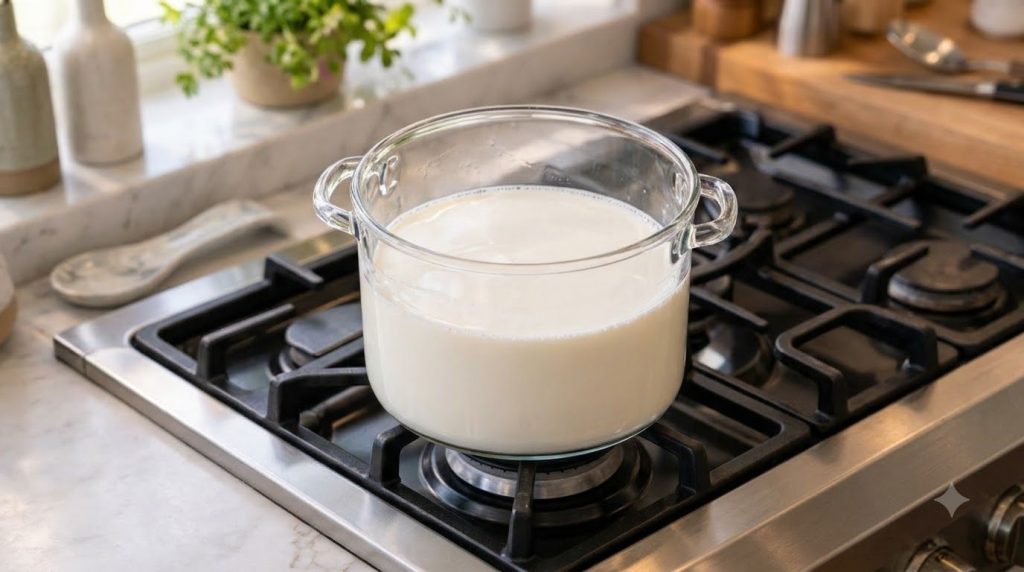
Pour the whole milk and heavy cream (if using) into your large non-reactive pot. Place the pot over medium-low heat. Heat slowly, stirring occasionally with a whisk, until the mixture reaches about 180°F (82°C), just before boiling. You’ll see small bubbles forming around the edges, but don’t let it come to a rolling boil. This should take about 8-10 minutes.
-
Add the Acid:
Remove the pot from the heat. Gently stir in the lemon juice (or white vinegar). Stir slowly for about 30 seconds. You should immediately start to see the milk curdling, separating into thick white curds and a yellowish, watery liquid (whey). If it doesn’t curdle immediately, add another teaspoon of lemon juice and stir again.
-
Rest and Curdle:
Cover the pot and let the mixture sit undisturbed at room temperature for 15-20 minutes. This allows the curds to fully separate from the whey and become firmer. You’ll notice a clear distinction between the solids and the liquid.
-
Prepare for Straining:
While the milk is resting, set up your straining station. Place a colander or strainer over a large bowl (this bowl will collect the whey). Line the colander with 2-3 layers of cheesecloth, making sure there’s enough overhang to gather later.
-
Strain the Curds:
Carefully pour the curdled milk mixture into the cheesecloth-lined colander. The whey will immediately start to drain into the bowl below, leaving the curds in the cheesecloth. Gather the edges of the cheesecloth, twisting gently to form a ball. This will help squeeze out some initial whey.
-
Hang and Drain:
Tie the cheesecloth bundle to a wooden spoon or a cabinet handle, allowing it to hang over the bowl to continue draining. Alternatively, place the bundle back into the colander, cover it with a plate, and place something heavy on top (like a can of food) to gently press out more whey. Refrigerate this setup for at least 6-8 hours, or preferably overnight (up to 12 hours) for a firmer cream cheese. The longer it drains, the thicker and firmer your cream cheese will be.
-
Process the Cream Cheese:
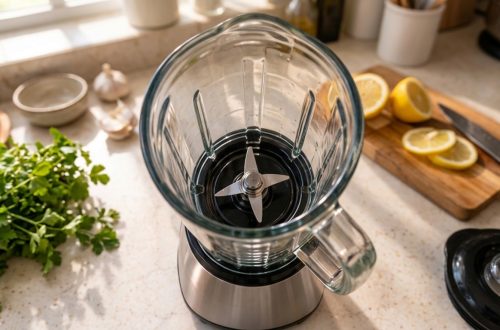
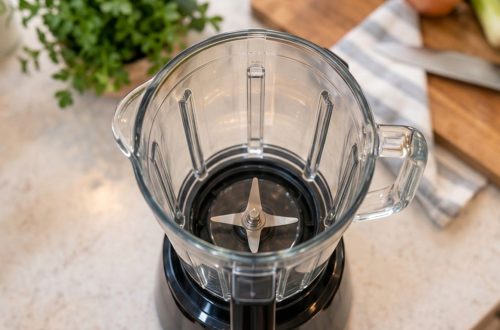
Once sufficiently drained, untie the cheesecloth and scoop the curds into a food processor or a blender. Add the 1/2 teaspoon of fine sea salt. Process for 1-2 minutes, scraping down the sides as needed, until the mixture is completely smooth and creamy. If it’s too thick, you can add a tablespoon or two of the reserved whey (or a splash of milk) to reach your desired consistency.
-
Adjust Seasoning and Enjoy:
Taste your homemade cream cheese and add more salt if desired. This is also the perfect time to mix in any optional flavorings. Transfer the cream cheese to an airtight container and refrigerate for at least 1 hour before serving to allow flavors to meld and for it to firm up slightly. Enjoy!
Nutrition Highlights
Homemade cream cheese offers a wonderful nutritional profile, especially when compared to some store-bought varieties that may contain stabilizers and preservatives. It’s a good source of protein, essential for muscle repair and satiety, and provides calcium for strong bones. Made with whole milk and cream, it contains healthy fats which are important for nutrient absorption and can contribute to a feeling of fullness. By making it yourself, you ensure a fresh product free from artificial additives, offering a wholesome and naturally delicious dairy option.
Ingredient Benefits
- Whole Milk: Provides a rich base, contributing healthy fats, protein, and calcium. Its higher fat content is crucial for the creamy texture and flavor of traditional cream cheese.
- Heavy Cream: An optional addition that significantly boosts the creaminess and luxurious mouthfeel of the final product. It’s high in fat, which also helps achieve that desirable thick consistency.
- Lemon Juice (or White Vinegar): Acts as the acidifier, causing the milk proteins to coagulate and separate into curds and whey. This natural process is fundamental to cheesemaking and results in the distinct texture of cream cheese.
- Fine Sea Salt: Essential for flavoring and balancing the richness of the dairy. It enhances the natural taste of the cream cheese and can also act as a mild preservative.
Expert Tips
- Use Full-Fat Dairy: For the creamiest, most flavorful cream cheese, always use whole milk and, if possible, include heavy cream. Low-fat options simply won’t yield the same rich result.
- Temperature is Key: Don’t boil the milk! Heating it gently to just before boiling (around 180°F/82°C) is ideal for curdling without scorching or altering the milk’s proteins too harshly.
- Don’t Rush the Draining: The longer your curds drain, the thicker and firmer your cream cheese will be. For a spreadable consistency, 6-8 hours is good; for a firmer block that can be used in baking, aim for 10-12 hours or even overnight.
- Experiment with Acidity: While lemon juice and white vinegar both work, some prefer the subtle tang lemon juice provides. Both are effective, so choose what you have on hand.
- Whey Has Uses! Don’t discard the whey! It’s rich in nutrients and can be used in smoothies, baking (like replacing water in bread recipes), watering plants, or as a base for soups.
- Season to Taste: The 1/2 teaspoon of salt is a guideline. Taste your cream cheese after blending and adjust the saltiness to your personal preference.
- Achieve Ultra-Smoothness: For the smoothest possible cream cheese, ensure you process it in a food processor or blender until absolutely no lumps remain. Add a tiny bit of reserved whey if it’s too stiff.
- Chill Before Serving: Always chill your homemade cream cheese for at least an hour after processing. This allows it to firm up further and for the flavors to fully develop.
Recipe Variations
- Herb & Garlic Cream Cheese: Mix in 1 tablespoon of finely chopped fresh chives, 1 teaspoon of garlic powder, and 1/2 teaspoon of onion powder with the salt when blending.
- Sweet Honey Vanilla Cream Cheese: Add 1-2 tablespoons of honey or maple syrup and 1/2 teaspoon of vanilla extract to the cream cheese during processing. Perfect for fruit or sweet bagels!
- Spicy Cream Cheese: Incorporate a pinch of cayenne pepper, a dash of hot sauce, or finely diced jalapeños for a kick.
- Lemon Dill Cream Cheese: Stir in 1 tablespoon of fresh lemon zest and 1 tablespoon of finely chopped fresh dill after blending.
- Chocoholic Cream Cheese: For a dessert spread, blend in 2 tablespoons of unsweetened cocoa powder and 2-3 tablespoons of powdered sugar (to taste) with the cream cheese.
- Higher Protein Version: You can experiment with adding a few tablespoons of plain Greek yogurt during the initial heating phase with the milk for a slight protein boost and tang, though this might slightly alter the texture.
Storage Instructions
Your delicious homemade cream cheese should be stored in an airtight container in the refrigerator. It will stay fresh for up to 7-10 days. Due to its fresh nature and lack of commercial preservatives, it doesn’t have as long a shelf life as store-bought varieties, so enjoy it promptly!
While technically you can freeze cream cheese, it’s generally not recommended for optimal texture. Freezing can alter the consistency, making it more crumbly or watery upon thawing. If you do freeze it, it’s best to use it in cooked dishes where texture changes are less noticeable, rather than as a spread. Thaw it slowly in the refrigerator overnight.
Frequently Asked Questions
Can I make this ahead of time?
Absolutely! Homemade cream cheese is excellent for making ahead. The draining process typically takes overnight, so planning to make it the day before you want to serve it is perfect. Once processed, it stores well in the fridge for up to a week.
Can I use low-fat milk?
While you can, it’s not recommended for the best results. Low-fat milk will yield a less creamy, less flavorful cream cheese with a potentially grainier texture. Full-fat whole milk is essential for the rich, smooth consistency you expect.
What can I do with the leftover whey?
Don’t discard it! Whey is nutritious. You can use it in smoothies, replace water with it in bread or pancake recipes, add it to soups, or even use it to water acid-loving plants in your garden.
How do I know if the milk has curdled enough?
You’ll see a clear separation: solid white curds floating in a yellowish, translucent liquid (whey). If the liquid is still milky or opaque, it needs more time to curdle, or you can add another teaspoon of acid.
Can I use a different type of acid?
Lemon juice and white vinegar are the most common and effective. Apple cider vinegar can also work, but it might impart a slightly different flavor. Avoid strongly flavored vinegars like balsamic.
My cream cheese isn’t smooth, what went wrong?
Ensure you processed it long enough in the food processor or blender. Sometimes adding a tablespoon or two of the reserved whey can help achieve a smoother consistency. Also, make sure all the curds are properly strained and not too wet or too dry before blending.
Can children eat this?
Yes, homemade cream cheese is generally safe and healthy for children, especially since you control the ingredients and avoid additives. Just be mindful of any added flavorings that might not be suitable for very young children.
How long does the draining process really take?
The minimum is usually 6-8 hours for a soft, spreadable cream cheese. For a firmer, more traditional cream cheese that holds its shape better, especially for baking or frostings, draining it for 10-12 hours or even overnight is ideal.
Conclusion
And there you have it – the secret to making your own luscious, fresh homemade cream cheese! It’s truly an empowering and delicious experience to create such a versatile pantry staple from scratch. Not only is it incredibly satisfying, but you also get the peace of mind knowing exactly what wholesome ingredients are going into your food.
So, why wait? Gather your ingredients, set aside a little time, and embark on this rewarding culinary adventure. Your bagels, crackers, and recipes will thank you! Give this recipe a try and let us know how your homemade cream cheese turns out in the comments below. Happy cheesemaking!