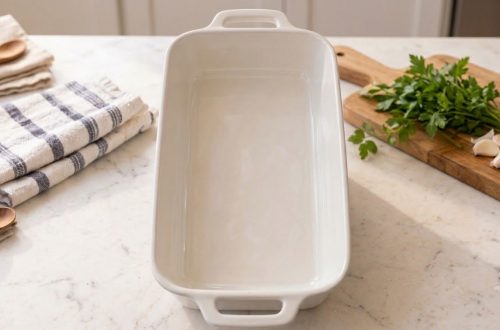
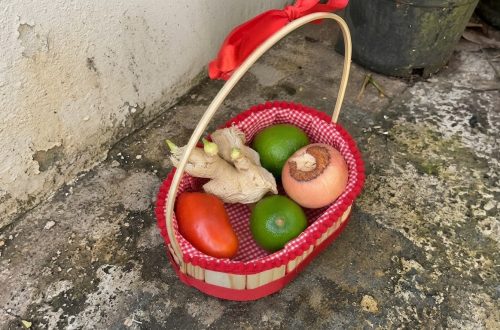
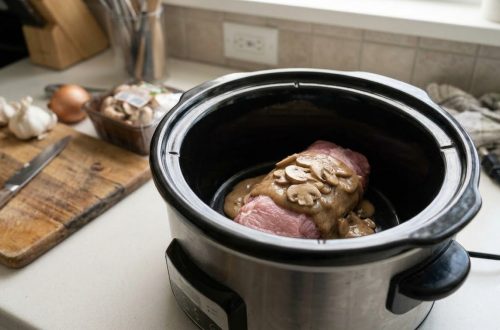
There’s something truly special about recipes that transport you back to childhood, isn’t there? This moist and flavorful fruit loaf is exactly that kind of recipe. Inspired by classic home baking, it’s packed with a medley of delicious dried fruits, offering a comforting warmth with every bite. Whether you’re hosting guests for an afternoon tea or simply craving a cozy treat, this timeless fruit loaf is sure to become a cherished favorite.
This isn’t just any fruit loaf; it’s a wholesome, easy-to-bake delight that brings a touch of nostalgia to your kitchen. Made with simple, accessible ingredients, it’s incredibly beginner-friendly, ensuring a perfect loaf every time. You’ll love how quickly it comes together, filling your home with an irresistible aroma that promises a taste of pure comfort.
In this article, you’ll discover a step-by-step guide to baking the most delicious nostalgic fruit loaf. We’ll cover everything from selecting the best dried fruits to expert tips for achieving that perfectly moist texture. Get ready to create a masterpiece that’s not only incredibly tasty but also brings a smile to everyone’s face.
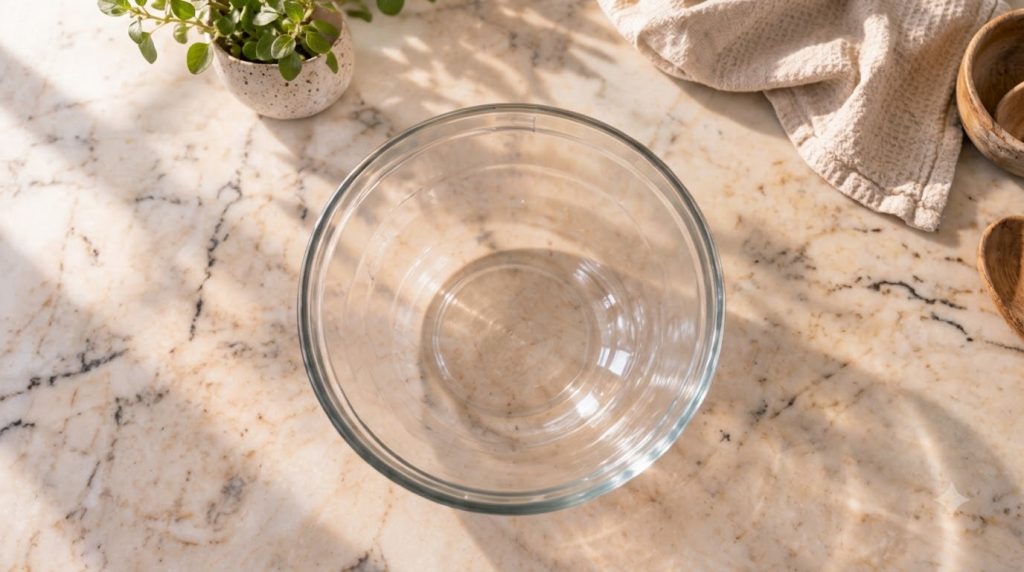
Recipe Summary
- Prep Time: 15 minutes
- Cook Time: 60-70 minutes
- Total Time: 1 hour 15 minutes – 1 hour 25 minutes
- Servings: 8-10 slices
- Difficulty Level: Easy
- Course: Dessert, Snack
- Cuisine: European, British
- Diet Type: Vegetarian (can be adapted to vegan)
Why You’ll Love This Recipe
- Classic Comfort: A taste that evokes cherished childhood memories.
- Effortlessly Easy: Perfect for beginners and seasoned bakers alike.
- Wholesome Ingredients: Packed with nutritious dried fruits.
- Perfect for Any Occasion: Great for breakfast, snack, or dessert.
- Fills Your Home with Aroma: The baking smell is absolutely divine!
- Stores Beautifully: Stays moist and delicious for days.
- Budget-Friendly: Uses common, affordable pantry staples.
- Customizable: Easily adapt the fruits and spices to your liking.
Ingredients
- 1 ½ cups (225g) all-purpose flour
- ½ cup (100g) granulated sugar (or brown sugar for deeper flavor)
- 2 teaspoons baking powder
- ½ teaspoon ground cinnamon
- ¼ teaspoon ground nutmeg
- ¼ teaspoon salt
- 1 large egg, lightly beaten
- ¾ cup (180ml) milk (any dairy or non-dairy milk)
- ¼ cup (60g) unsalted butter, melted and cooled (or neutral oil like vegetable/canola oil)
- 1 teaspoon vanilla extract
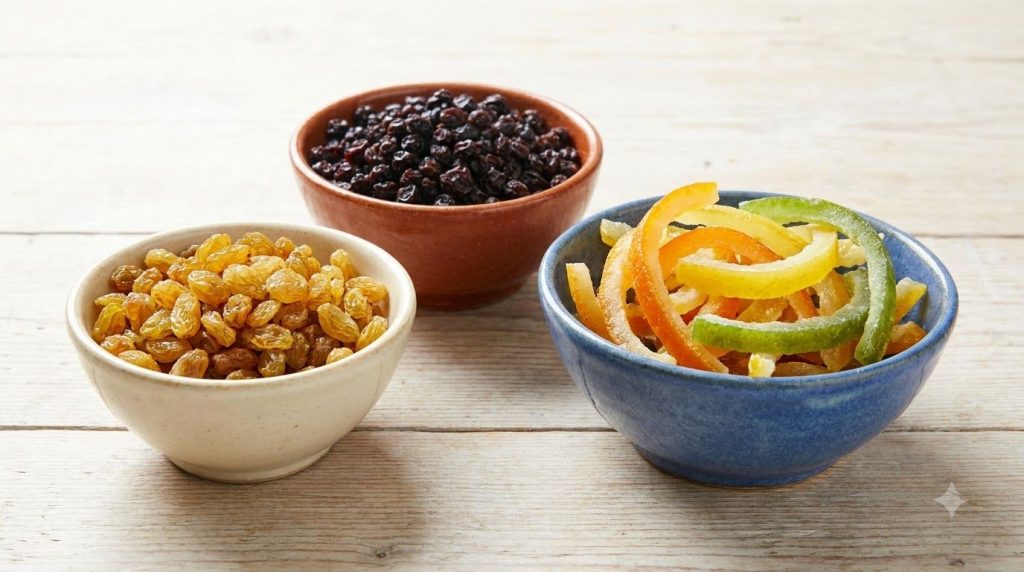
- 1 ½ cups (250g) mixed dried fruit (such as raisins, sultanas, currants, candied peel – feel free to use your favorites!)
- Optional: Zest of 1 orange or lemon for extra flavor
Equipment Needed
- 9×5 inch (23×13 cm) loaf pan
- Large mixing bowl
- Small mixing bowl
- Whisk
- Rubber spatula or wooden spoon
- Measuring cups and spoons
- Parchment paper (optional, for easy removal)
- Wire rack for cooling
Step-by-Step Instructions
- Preheat Oven & Prep Pan: Preheat your oven to 350°F (175°C). Lightly grease and flour your 9×5 inch loaf pan, or line it with parchment paper, leaving an overhang on the long sides for easy lifting. This prevents sticking and makes cleanup a breeze!
- Combine Dry Ingredients: In a large mixing bowl, whisk together the all-purpose flour, granulated sugar (or brown sugar), baking powder, ground cinnamon, ground nutmeg, and salt. Make sure there are no lumps and the spices are evenly distributed.
- Combine Wet Ingredients: In a separate small bowl, whisk together the lightly beaten egg, milk, melted and cooled butter (or oil), and vanilla extract. If using, add the orange or lemon zest here for maximum flavor infusion.
- Combine Wet and Dry: Pour the wet ingredients into the dry ingredients. Use a rubber spatula or wooden spoon to mix until just combined. Be careful not to overmix; a few streaks of flour are fine. Overmixing can lead to a tough loaf.
- Fold in Dried Fruit: Gently fold in the mixed dried fruit. Ensure the fruit is evenly distributed throughout the batter. If your dried fruit is very sticky, you can toss it with a tablespoon of flour before adding to the batter to prevent it from sinking to the bottom.
- Pour into Pan & Bake: Pour the batter into your prepared loaf pan and spread it evenly. Bake for 60-70 minutes, or until a wooden skewer or toothpick inserted into the center comes out clean. The top should be golden brown and spring back when lightly touched.
- Cool: Once baked, remove the loaf from the oven and let it cool in the pan for about 10-15 minutes. This allows the loaf to set. Then, carefully remove it from the pan and transfer it to a wire rack to cool completely. Slicing too early can cause it to crumble.
- Serve & Enjoy: Slice and serve warm or at room temperature. It’s wonderful on its own, or with a spread of butter or cream cheese.
Nutrition Highlights
This Nostalgic Fruit Loaf offers a delightful combination of energy-providing carbohydrates from the flour and natural sugars, along with dietary fiber from the generous amount of dried fruits. It contains healthy fats from the butter (or oil) and protein from the egg and milk. The spices like cinnamon and nutmeg also contribute beneficial antioxidants. While it’s a treat, it’s also a more wholesome alternative to many highly processed desserts, making it a great option for a satisfying snack or breakfast item.
Ingredient Benefits
- All-Purpose Flour: Provides the main structure and body of the loaf, contributing carbohydrates for energy.
- Granulated Sugar (or Brown Sugar): Adds sweetness and aids in browning the crust, while also contributing to the loaf’s moist texture.
- Baking Powder: The leavening agent responsible for helping the loaf rise and achieve a light, airy texture.
- Ground Cinnamon & Nutmeg: These warm spices provide a comforting aroma and flavor that defines the classic fruit loaf, complementing the sweetness of the fruit.
- Salt: A small amount of salt enhances all the other flavors in the loaf, balancing the sweetness.
- Large Egg: Acts as a binder, helping to hold the loaf together, and contributes to its richness and structure.
- Milk: Adds moisture to the batter, creating a tender crumb and helping to activate the baking powder.
- Melted Butter (or Neutral Oil): Provides richness, tenderness, and moisture to the loaf, contributing to its soft texture.
- Vanilla Extract: Enhances the overall flavor profile, adding a sweet and aromatic note.
- Mixed Dried Fruit: The star of the show! These provide natural sweetness, chewiness, and a boost of fiber, vitamins, and minerals. They are essential for the traditional fruit loaf experience.
- Orange or Lemon Zest (Optional): Adds a bright, citrusy aroma and a tangy counterpoint to the sweetness of the fruit, elevating the overall flavor.
Expert Tips
- Don’t Overmix: Overmixing develops gluten, which can lead to a tough, dry loaf. Mix just until the dry ingredients are incorporated into the wet.
- Soak Dried Fruit (Optional): For an extra moist loaf, you can soak the dried fruit in hot water, tea, or even a little rum or orange juice for 30 minutes before adding it to the batter. Drain well before using.
- Prevent Sinking Fruit: If your dried fruits tend to sink to the bottom, toss them with a tablespoon of the flour from the recipe before adding them to the batter. This light coating helps them stay suspended.
- Check for Doneness: Use a wooden skewer or toothpick. If it comes out with wet batter, bake for a few more minutes. If it comes out clean or with moist crumbs, it’s done.
- Cool Completely: Resist the urge to slice a hot loaf! Cooling completely allows the loaf to firm up and prevents it from crumbling.
- Enhance Flavor with Citrus Zest: Don’t skip the orange or lemon zest if you have it. It adds a wonderful brightness that truly elevates the fruit flavors.
- Vary Your Dried Fruits: Experiment with different combinations of dried fruits like cranberries, chopped apricots, dates, or even glaced cherries for a unique twist.
- Glaze for Shine: For a beautiful finish and added sweetness, brush the warm loaf with a simple glaze made from powdered sugar and a little milk or lemon juice.
Recipe Variations
- Vegan Version: Substitute the egg with a ‘flax egg’ (1 tbsp ground flaxseed mixed with 3 tbsp water, let sit for 5 minutes) and use a plant-based milk (almond, soy, oat) and neutral oil or vegan butter.
- Gluten-Free Version: Use a 1:1 gluten-free all-purpose flour blend. Note that texture might vary slightly.
- Nutty Fruit Loaf: Add ½ cup of chopped nuts like walnuts, pecans, or almonds to the batter along with the dried fruit for added crunch and flavor.
- Spiced Apple Fruit Loaf: Reduce dried fruit to 1 cup and add ½ cup finely diced apple (peeled or unpeeled) for extra moisture and flavor. Increase cinnamon slightly.
- Orange Blossom Fruit Loaf: Replace milk with orange juice and add 1-2 tablespoons of orange blossom water for an aromatic, floral twist.
- Mini Loaves: Divide the batter among smaller mini loaf pans. Baking time will be reduced significantly, so keep an eye on them!
Storage Instructions
- Refrigerator Storage: Store the fruit loaf in an airtight container at room temperature for up to 3-4 days. If your kitchen is very warm, consider storing it in the refrigerator to extend its freshness for up to a week. Make sure it’s wrapped well to prevent drying out.
- Freezer Storage: This fruit loaf freezes beautifully! Once completely cooled, wrap the entire loaf or individual slices tightly in plastic wrap, then place in a freezer-safe bag or container. It can be frozen for up to 3 months.
- Reheating: To enjoy from frozen, thaw slices at room temperature or gently warm in the microwave or a toaster oven until soft and warm. A whole loaf can be thawed overnight in the refrigerator.
- Best Storage Containers: Airtight containers, resealable freezer bags, or aluminum foil followed by plastic wrap are ideal for maintaining freshness and preventing freezer burn.
Frequently Asked Questions
Can I make this ahead of time?
Absolutely! This fruit loaf tastes even better the next day as the flavors have time to meld. It’s perfect for making a day or two in advance.
Can I freeze it?
Yes, this fruit loaf freezes very well. See the ‘Storage Instructions’ section above for detailed freezing tips.
What kind of dried fruit can I use?
You can use any combination of your favorite dried fruits. Common choices include raisins, sultanas, currants, dried cranberries, chopped apricots, or candied peel.
What milk works best?
Any milk will work! Dairy milk (whole, 2%, skim) or non-dairy alternatives like almond, soy, or oat milk will all yield excellent results.
Can children eat this?
Yes, this fruit loaf is a wonderful and wholesome snack for children. Its natural sweetness and soft texture make it very kid-friendly.
How do I prevent the fruit from sinking to the bottom?
Toss the dried fruit with a tablespoon of flour (taken from the recipe’s total flour quantity) before folding it into the batter. This helps coat the fruit and keeps it suspended.
Can I add nuts to this recipe?
Yes, you can! Adding ½ cup of chopped walnuts, pecans, or almonds will add a lovely crunch and nutty flavor.
Why is my fruit loaf dry?
A dry fruit loaf is often a result of overmixing the batter or overbaking. Ensure you mix just until combined and check for doneness at the earlier end of the baking time range.
Can I use fresh fruit instead of dried?
While delicious, fresh fruit has a much higher water content and will significantly change the loaf’s texture, potentially making it soggy. This recipe is specifically designed for dried fruits.
Conclusion
This Nostalgic Fruit Loaf recipe is more than just a baked good; it’s a taste of comfort, a hug in every slice, and a delightful journey back to simpler times. With its moist texture, rich flavors, and ease of preparation, it’s bound to become a staple in your home baking repertoire. So, gather your ingredients, preheat your oven, and get ready to create a timeless treat that will be loved by everyone. Happy baking!