Hey, beautiful! Ever dreamt of having that fresh, bouncy, youthful skin you see in magazines, but without breaking the bank or slathering on chemical-laden products? Well, your beauty bestie is here to spill a secret! Today, we’re diving into the wonderful world of DIY beauty to create a homemade “collagen” cream using simple, natural ingredients. Get ready to embrace that radiant glow!
Why Collagen is Our Skin’s Best Friend
Before we jump into our DIY magic, let’s have a quick chat about collagen. Think of collagen as the natural scaffolding that keeps your skin firm, plump, and smooth. As we get older, our body’s natural collagen production starts to slow down, leading to those fine lines and wrinkles we all dread. While we can’t magically add pure collagen back into our skin topically, we can use natural ingredients that support skin elasticity, hydration, and a youthful appearance.
The Power of Natural Ingredients for Your Skin
Why choose homemade? Because you know exactly what’s going into your skin! Commercial products can sometimes contain ingredients that might irritate sensitive skin or offer temporary fixes. With our DIY cream, we’re focusing on nourishing, natural elements that work together to promote healthy, supple skin.
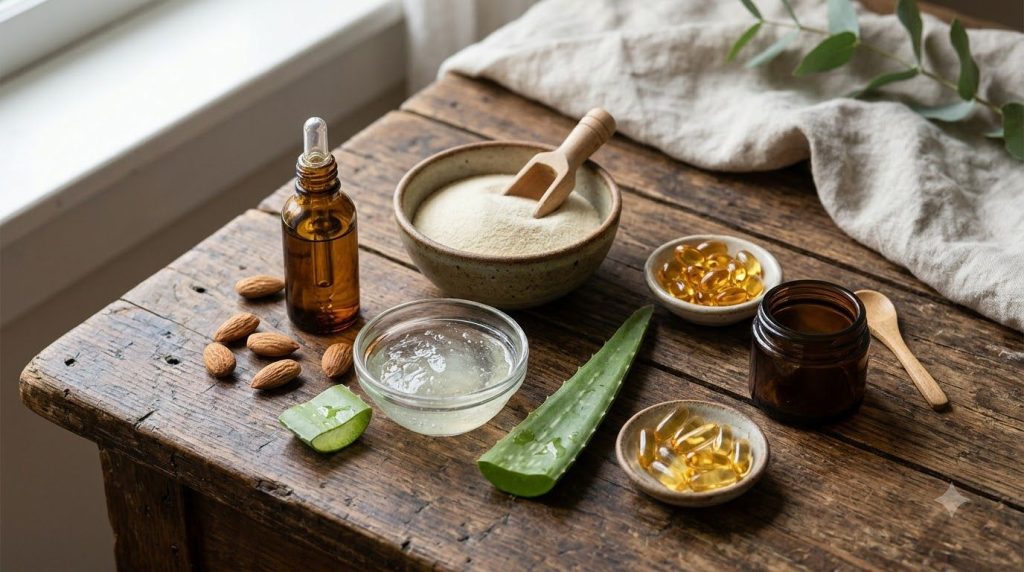 Gather your natural allies for youthful skin!
Your Secret Recipe: DIY Natural Collagen-Boosting Cream
This recipe uses ingredients known for their hydrating and skin-supporting properties, helping your skin look its best. The gelatin acts as a temporary skin tightener and hydrator, giving a ‘collagen-like’ boost.
What You’ll Need:
- 1 tablespoon unflavored gelatin powder (food-grade)
- 2 tablespoons hot distilled water (not boiling)
- 1 tablespoon pure aloe vera gel
- 1 teaspoon sweet almond oil (or jojoba oil for oily skin)
- 1 capsule of Vitamin E oil (prick and squeeze out the oil)
- Optional: 2-3 drops of rosehip oil for added anti-aging benefits
- A small, clean, airtight container
Step-by-Step Instructions:
- Dissolve the Gelatin: In a small, heatproof bowl, combine the unflavored gelatin powder with the hot distilled water. Stir continuously until the gelatin is completely dissolved and no lumps remain. This creates a thick, jelly-like consistency.
- Cool Down: Let the gelatin mixture cool down to room temperature. It will thicken considerably.
- Add Nourishing Ingredients: Once cooled, add the aloe vera gel, sweet almond oil (or jojoba), and the oil from the Vitamin E capsule to the gelatin mixture. If using, add the rosehip oil now too.
- Mix Thoroughly: Stir all the ingredients together very well until you have a smooth, consistent cream. It might take a couple of minutes to ensure everything is fully incorporated.
- Transfer and Store: Carefully spoon your homemade collagen cream into your clean, airtight container.
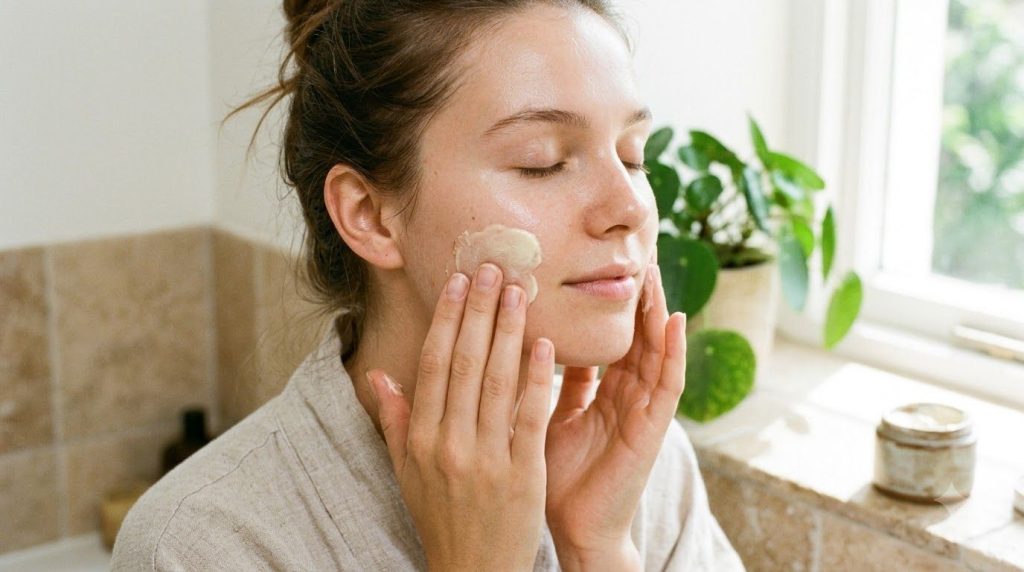 Gently massage the cream into your skin for best results!
How to Use Your DIY Natural Collagen Cream
- Cleanse First: Always apply to freshly cleansed and toned skin.
- Apply Gently: Take a small amount of the cream and gently massage it onto your face, neck, and décolletage using upward strokes.
- Nighttime Routine: This cream is wonderful to use as part of your nighttime skincare routine, allowing the ingredients to work their magic overnight. You can also use a small amount in the morning before your makeup.
- Consistency is Key: For best results, use this cream regularly.
Important Tips & Storage:
- Patch Test: Always do a patch test on a small area of your skin (like your inner arm) before applying it all over your face, especially if you have sensitive skin.
- Refrigerate: Since this cream contains natural ingredients and no harsh preservatives, it MUST be stored in the refrigerator.
- Shelf Life: Use within 7-10 days for optimal freshness and effectiveness. Make small batches frequently.
Embrace Your Natural Glow!
Creating your own skincare products is not only empowering but also a fantastic way to nourish your skin with ingredients you trust. This DIY natural collagen-boosting cream is a beautiful step towards maintaining that youthful radiance we all adore. Give it a try and watch your skin thank you!
Do you have any favorite DIY beauty recipes? Share them with us in the comments below! We love hearing your tips and tricks.