This cake is a dream for chocolate and peanut butter lovers looking for a healthier alternative. It’s incredibly moist, rich, and surprisingly simple to make, relying on ripe bananas, eggs, cocoa, and peanut butter for its delightful texture and flavor. No flour means it’s naturally gluten-free, making it a fantastic option for almost everyone. Whether you’re seeking a wholesome dessert, a quick snack, or a treat that satisfies your sweet tooth without the guilt, this Flourless Chocolate Peanut Butter Cake is an absolute winner. It’s perfect for casual gatherings, after-dinner indulgence, or even a delightful breakfast treat!
Why You’ll Love This Recipe
- Naturally Gluten-Free: Made without any flour, it’s a great choice for those with gluten sensitivities or simply looking to reduce gluten intake.
- Simple Ingredients: You likely have most of these pantry staples on hand already.
- Quick & Easy: Minimal prep time and straightforward instructions make this recipe perfect for beginner bakers or busy schedules.
- Rich Flavor: The combination of chocolate and peanut butter is a classic for a reason, creating a deeply satisfying taste.
- Moist & Tender Texture: Ripe bananas ensure a wonderfully moist crumb without the need for excess oil or butter.
- Customizable: Easily adapt it with optional add-ins like chocolate chips or a simple glaze.
Ingredients
- 2 large ripe bananas (about 1 cup / 240g mashed)
- 2 large eggs
- ½ cup (48g) unsweetened cocoa powder
- ½ cup (128g) creamy peanut butter (or crunchy, if preferred)
- ¼ cup (60ml) maple syrup or honey (optional, for extra sweetness if bananas aren’t very ripe)
- 1 teaspoon vanilla extract
- 1 teaspoon baking powder
- ¼ teaspoon salt
- Optional: ¼ cup (40g) chocolate chips for mixing in or topping
Ingredient Notes
- Ripe Bananas: The riper your bananas are (think brown spots!), the sweeter and more flavorful your cake will be. They provide natural sweetness and moisture.
- Peanut Butter: Use natural creamy peanut butter for the best results, as it tends to be less sugary. If using crunchy, you’ll get a nice textural contrast. Almond butter or cashew butter can be substituted for a different flavor profile.
- Unsweetened Cocoa Powder: This is key for rich chocolate flavor. If you only have sweetened cocoa powder, you may want to reduce or omit the optional maple syrup.
- Sweetener (Optional): If your bananas aren’t extremely ripe, or if you prefer a sweeter cake, adding maple syrup or honey will enhance the overall sweetness. Adjust to your taste.
Equipment You’ll Need
- Mixing bowls
- Fork or potato masher (for bananas)
- Whisk
- 8×8 inch (20×20 cm) square baking pan or 9-inch (23 cm) round baking pan
- Parchment paper
- Cooking spray or butter for greasing
How to Make Delicious Flourless Chocolate Peanut Butter Cake
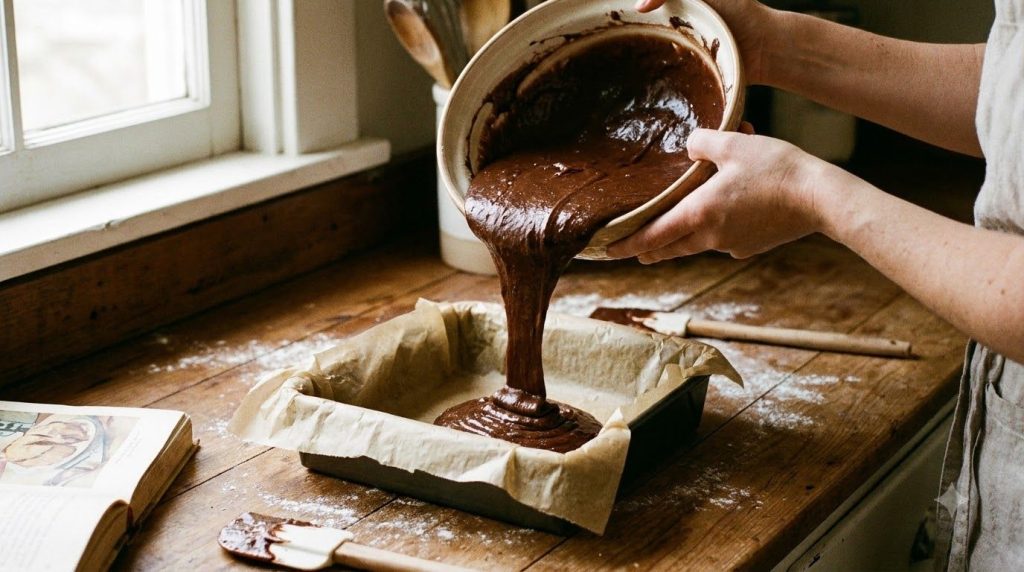
- Preheat Oven & Prepare Pan: Preheat your oven to 350°F (175°C). Lightly grease an 8×8 inch (20×20 cm) square baking pan or a 9-inch (23 cm) round baking pan. Line the bottom with parchment paper, leaving an overhang on two sides for easy removal, then grease the parchment paper as well.
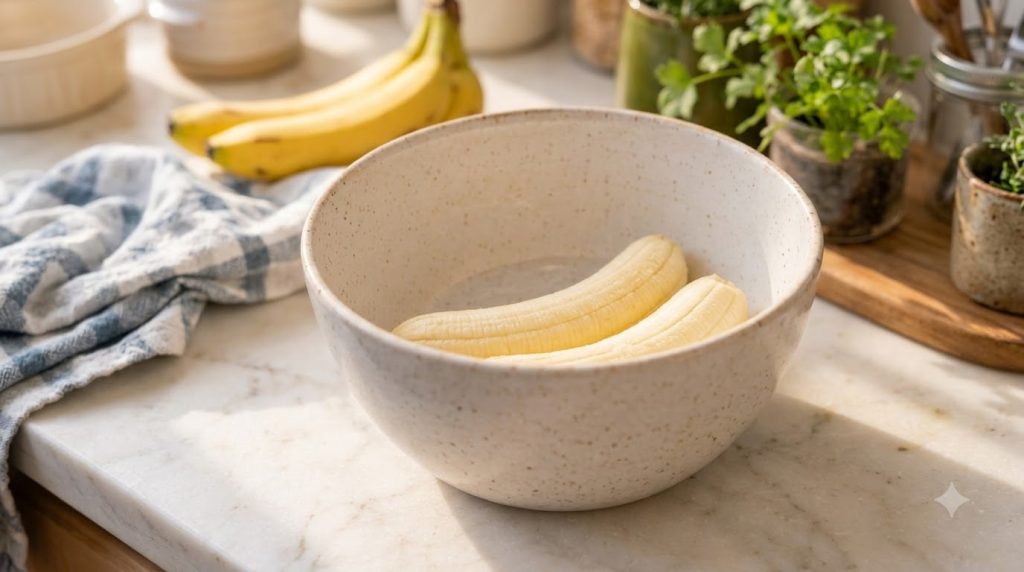
- Mash Bananas: In a large mixing bowl, thoroughly mash the ripe bananas with a fork or potato masher until mostly smooth with a few small lumps remaining. Aim for about 1 cup (240g) of mashed banana.
- Combine Wet Ingredients: Add the eggs, peanut butter, optional maple syrup or honey, and vanilla extract to the mashed bananas. Whisk everything together until well combined and smooth.
- Add Dry Ingredients: To the wet mixture, add the unsweetened cocoa powder, baking powder, and salt. Stir gently until just combined. Be careful not to overmix; a few streaks of cocoa are fine. If using, fold in the chocolate chips now.
- Pour and Bake: Pour the batter evenly into your prepared baking pan.
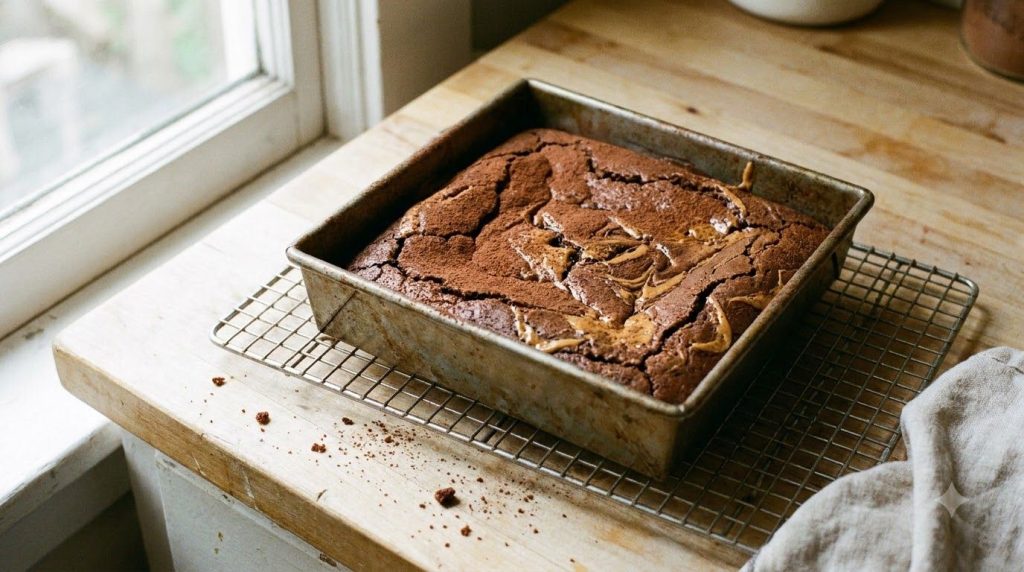
- Bake the Cake: Bake for 25-35 minutes, or until a wooden skewer or toothpick inserted into the center comes out clean or with moist crumbs attached. The cake should be set and spring back lightly when touched.
- Cool Completely: Remove the cake from the oven and let it cool in the pan on a wire rack for at least 15-20 minutes. Then, using the parchment paper overhang, carefully lift the cake out of the pan and transfer it to the wire rack to cool completely before slicing and serving. This helps prevent it from breaking apart.
Pro Tips for the Best Results
- Use Very Ripe Bananas: The riper your bananas, the sweeter and more moist your cake will be. Don’t be afraid of bananas with lots of brown spots!
- Don’t Overmix: Overmixing can lead to a denser cake. Mix only until the ingredients are just combined.
- Proper Pan Preparation: Greasing and lining your pan ensures the cake doesn’t stick and is easy to remove.
- Adjust Sweetness: Taste your mashed banana mixture before adding optional sweetener. If your bananas are extremely ripe, you might not need any extra.
- Cool Before Slicing: This flourless cake is delicate when warm. Allowing it to cool completely helps it firm up and prevents it from crumbling when sliced.
- Evenly Spread Batter: Make sure to spread the batter evenly in the pan for consistent baking.
Common Mistakes to Avoid
- Using Under-Ripe Bananas: This will result in a less sweet and potentially drier cake. Always go for very ripe bananas.
- Overmixing the Batter: As with many baked goods, overmixing can develop gluten (even in a flourless cake, through egg proteins) and lead to a tough or rubbery texture.
- Not Greasing/Lining the Pan Properly: This is a sticky batter, so ensuring your pan is well-prepared is crucial for easy release.
- Slicing When Warm: This cake is quite soft when hot. Patience is key for clean slices and to prevent it from falling apart.
- Baking at the Wrong Temperature: An oven that’s too hot can dry out the cake, while one that’s too cool can prevent it from setting properly. Ensure your oven is accurately preheated.
Variations & Substitutions
- Nut Butter Swap: Instead of peanut butter, try almond butter, cashew butter, or even sunflower seed butter for a nut-free option (ensure it’s safe for allergies).
- Added Flavor: A pinch of cinnamon, a dash of espresso powder, or a little orange zest can enhance the chocolate flavor.
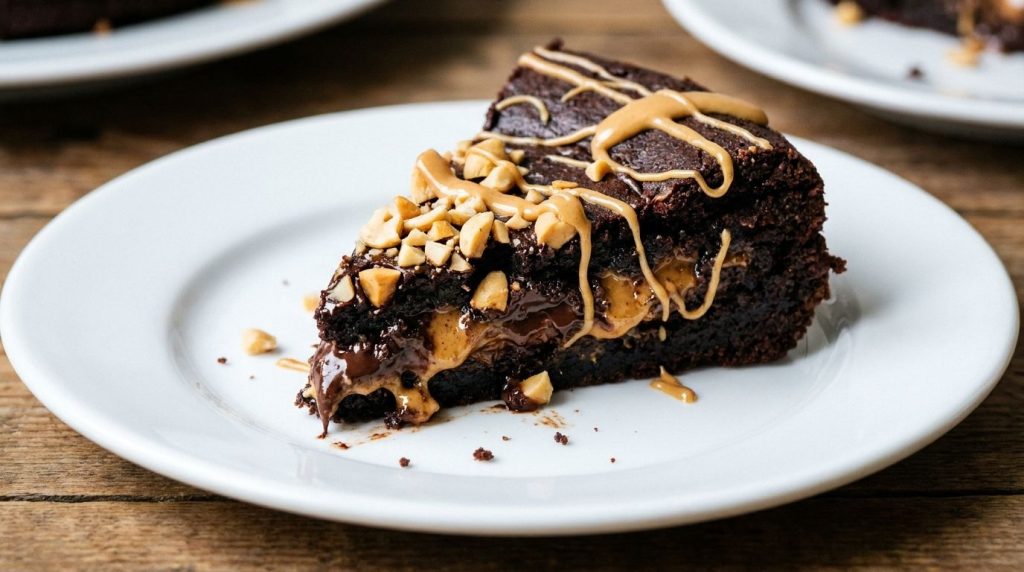
- Toppings Galore: Drizzle with melted peanut butter, a simple chocolate ganache, a dusting of powdered sugar, or a dollop of whipped cream.
- Mix-Ins: Stir in a handful of chopped nuts, shredded coconut, or extra chocolate chips for added texture and flavor.
- Cupcakes: Divide the batter among a muffin tin lined with paper liners and bake for a shorter time (approx. 18-25 minutes).
Serving Suggestions
This Flourless Chocolate Peanut Butter Cake is delicious on its own, but you can elevate it with a few simple additions. Serve it slightly warm with a scoop of vanilla ice cream or a dollop of whipped cream. A drizzle of extra melted peanut butter or a light dusting of powdered sugar makes for an elegant presentation. For a richer dessert, a spoonful of chocolate sauce is always a welcome addition. It also pairs wonderfully with a glass of cold milk or a hot cup of coffee.
Storage & Reheating
- Refrigerator Storage: Store leftover cake in an airtight container at room temperature for up to 2 days, or in the refrigerator for up to 5 days. Chilling can sometimes make flourless cakes a bit denser, but the flavors deepen.
- Freezer Suitability: This cake freezes well. Wrap individual slices tightly in plastic wrap, then place them in a freezer-safe bag or container. It can be stored in the freezer for up to 2-3 months.
- Reheating: If refrigerated, let slices come to room temperature for about 15-20 minutes for the best texture. You can also warm individual slices gently in the microwave for 15-30 seconds until just warm. If frozen, thaw overnight in the refrigerator before enjoying.
FAQ
Q: Is this cake really gluten-free?
A: Yes, since it uses no flour, it is naturally gluten-free. Just ensure your other ingredients (like peanut butter) are certified gluten-free if cross-contamination is a concern.
Q: Can I use over-ripe bananas that are completely brown?
A: Absolutely! The browner the banana, the sweeter and more easily it mashes, making it ideal for this recipe.
Q: Can I substitute another sweetener for maple syrup?
A: Yes, honey or agave nectar are good substitutes. Granulated sugar can also work, but liquids help with moisture.
Q: My cake turned out a bit crumbly, what went wrong?
A: This can happen if the cake was sliced while still too warm or if the bananas weren’t ripe enough, leading to less moisture. Ensure proper cooling before slicing.
Q: How do I know when the cake is done baking?
A: Insert a wooden skewer or toothpick into the center of the cake. It should come out clean or with moist crumbs attached, but not wet batter. The edges will also start to pull away slightly from the pan.
Q: Can I make this cake in advance?
A: Yes, this cake is great for making ahead. Store it in an airtight container as recommended, and it will remain delicious for several days. The flavors often deepen overnight.
Flourless Chocolate Peanut Butter Cake
A moist, rich, and easy-to-make flourless chocolate peanut butter cake, naturally sweetened with bananas. Perfect for a healthier, gluten-free dessert.
Prep Time: 15 minutes
Cook Time: 25-35 minutes
Total Time: 40-50 minutes (plus cooling time)
Servings: 8-10 slices
Course: Dessert
Cuisine: American
Cooking Method: Baking
Ingredients:
- 2 large ripe bananas (about 1 cup / 240g mashed)
- 2 large eggs
- ½ cup (48g) unsweetened cocoa powder
- ½ cup (128g) creamy peanut butter
- ¼ cup (60ml) maple syrup or honey (optional)
- 1 teaspoon vanilla extract
- 1 teaspoon baking powder
- ¼ teaspoon salt
- Optional: ¼ cup (40g) chocolate chips
Instructions:
- Preheat your oven to 350°F (175°C). Lightly grease an 8×8 inch (20×20 cm) square baking pan or a 9-inch (23 cm) round baking pan. Line the bottom with parchment paper, leaving an overhang on two sides for easy removal, then grease the parchment paper as well.
- In a large mixing bowl, thoroughly mash the ripe bananas with a fork or potato masher until mostly smooth.
- Add the eggs, peanut butter, optional maple syrup or honey, and vanilla extract to the mashed bananas. Whisk everything together until well combined and smooth.
- To the wet mixture, add the unsweetened cocoa powder, baking powder, and salt. Stir gently until just combined. If using, fold in the chocolate chips now.
- Pour the batter evenly into your prepared baking pan.
- Bake for 25-35 minutes, or until a wooden skewer or toothpick inserted into the center comes out clean or with moist crumbs attached.
- Remove the cake from the oven and let it cool in the pan on a wire rack for at least 15-20 minutes. Then, carefully lift the cake out using the parchment paper overhang and transfer to the wire rack to cool completely before slicing and serving.
Notes:
For the best flavor and moisture, use very ripe bananas (with brown spots). Adjust optional sweetener to your preference. Ensure the cake cools completely before slicing for clean cuts.
Storage:
Store in an airtight container at room temperature for up to 2 days, or in the refrigerator for up to 5 days. Can be frozen for up to 2-3 months.
Nutrition:
Nutrition information is an estimate and may vary depending on the ingredients and brands used.