Achieve a glowing complexion with this simple 4-ingredient DIY glow gel, featuring everyday essentials like Vaseline and baby oil. This easy home remedy is designed to help your skin feel smoother and look more radiant.
Quick Recipe
Prep time: 5 minutes
Best for: Dryness, dullness, supporting a radiant complexion
Use type: Gel
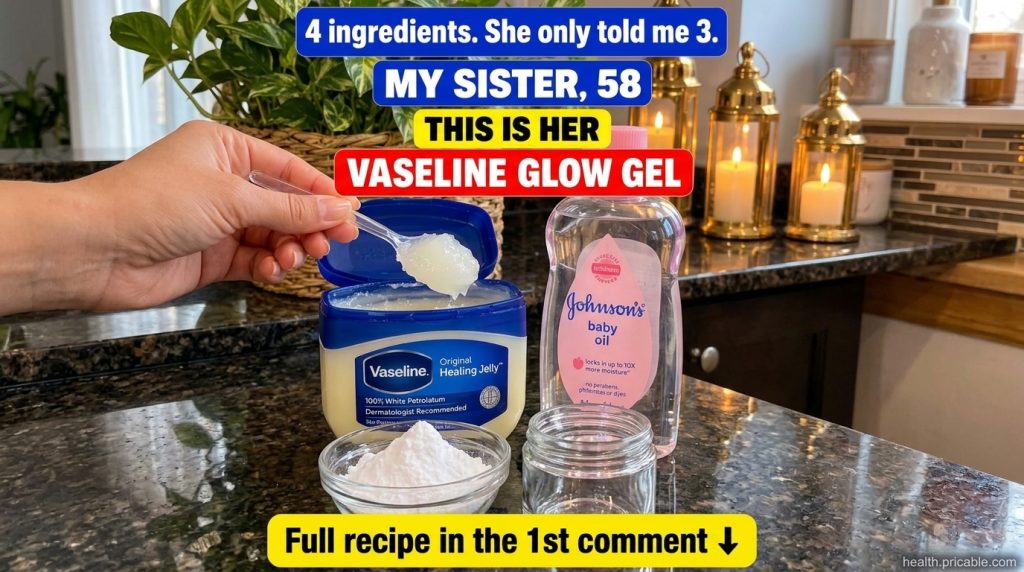
Main ingredients:
- Vaseline Original Healing Jelly
- Baby Oil
- Cornstarch or Arrowroot Powder
- Vitamin E Oil
Ingredients
- 2 tablespoons Vaseline Original Healing Jelly
- 1 tablespoon Baby Oil (such as mineral oil based baby oil)
- 1 teaspoon Cornstarch or Arrowroot Powder (for texture)
- 1 teaspoon Vitamin E Oil (from capsules or liquid bottle)
How to Make It
- In a clean, small glass bowl, combine the 2 tablespoons of Vaseline Original Healing Jelly and 1 tablespoon of Baby Oil.
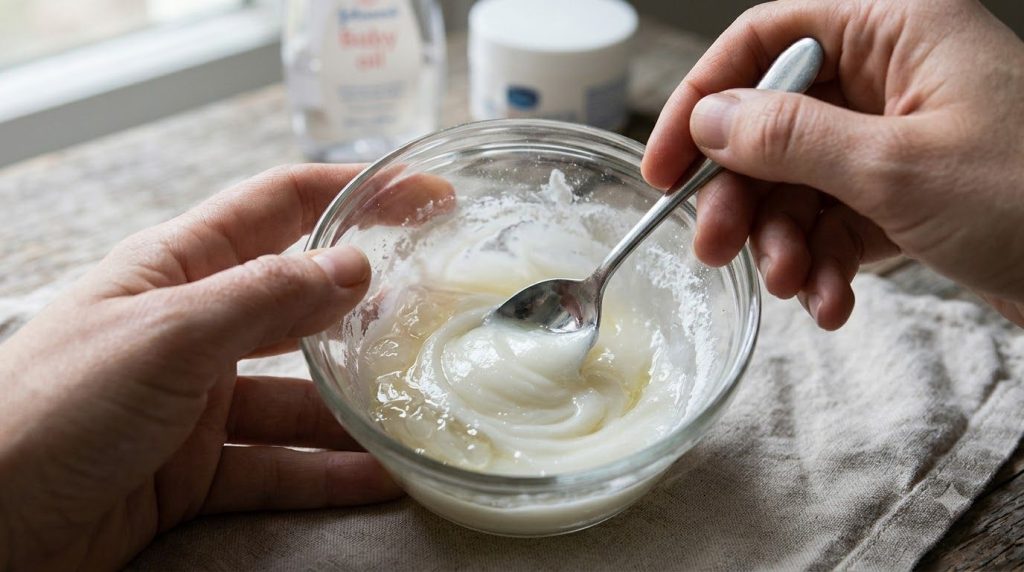
- Use a clean spoon or spatula to thoroughly mix the two oils until they are well blended and form a smooth base. It might take a minute or two to achieve a consistent texture.
- Add 1 teaspoon of Cornstarch or Arrowroot Powder to the mixture. Continue mixing vigorously until the powder is fully incorporated and the gel has a uniform, smooth consistency without any lumps.
- Finally, add 1 teaspoon of Vitamin E Oil. Stir once more until all ingredients are evenly distributed throughout the gel.
- Transfer your freshly made glow gel into a clean, airtight container or a small glass jar for storage.
How to Use It
- Start with clean, dry skin. This gel is best applied after your cleansing and toning routine.
- Take a small pea-sized amount of the glow gel on your fingertips. A little goes a long way.
- Gently massage the gel onto your face and neck using upward, circular motions. Focus on areas that feel dry or look dull.
- Allow the gel to absorb into your skin for a few minutes. It may leave a dewy, slightly glossy finish.
- This gel can be used as a final step in your evening routine or as a hydrating boost before applying makeup.
How Often to Use It
You can use this DIY glow gel once daily, preferably in the evening, or as needed when your skin feels dry or needs an extra boost of hydration. For best results, consistency is key.
Why These Ingredients Are Used
Vaseline Original Healing Jelly
Vaseline is a popular occlusive agent that forms a protective barrier on the skin, helping to lock in moisture and prevent water loss. This can lead to skin feeling softer and appearing more hydrated.
Baby Oil
Baby oil, typically a mineral oil, is known for its moisturizing properties. It helps to smooth and soften the skin, leaving it feeling supple without a heavy greasy residue, especially when used in combination with other ingredients.
Cornstarch or Arrowroot Powder
These natural powders are often used in DIY beauty recipes to give a smoother, less oily feel to topical formulations. They can help reduce shine and provide a silky texture to the gel, making it more pleasant to apply.
Vitamin E Oil
Vitamin E is a well-regarded antioxidant in skincare. It’s known for its potential to nourish the skin, support its natural barrier function, and help improve the appearance of skin texture and tone.
What Results to Expect
With regular use, this DIY glow gel may help your skin feel intensely moisturized and look visibly smoother. It can support a healthier-looking, more radiant complexion, giving your skin a dewy and fresh appearance. Individual results can vary, but many find their skin feels more supple and hydrated.

Safety Notes
- Always perform a patch test on a small, inconspicuous area of your skin (like behind your ear or on your inner arm) at least 24 hours before applying the gel to your face to check for any irritation or allergic reaction.
- Use gently and avoid vigorous rubbing.
- Do not apply this gel to irritated, broken, or sunburned skin.
- Discontinue use immediately if you experience any discomfort, redness, itching, or rash.
- Ensure all tools and containers are thoroughly clean to prevent contamination.
- Store the gel in an airtight container in a cool, dark place. Use within 2-3 weeks for optimal freshness.
FAQ
Is this glow gel suitable for all skin types?
This glow gel is generally well-suited for normal to dry skin types due to its deeply moisturizing ingredients. If you have oily or acne-prone skin, use it sparingly or conduct a patch test, as Vaseline can be occlusive. Some individuals may find it too heavy for very oily skin.
Can I substitute any of the ingredients?
While you can experiment with similar oils, it’s best to stick to the recommended ingredients for this specific glow gel recipe as they work together to achieve the desired texture and benefits. Substituting ingredients might alter the consistency or efficacy of the gel. Always research alternative ingredient properties carefully.
How long can I store this homemade glow gel?
Because this recipe uses natural ingredients without preservatives, it’s best to store it in a clean, airtight container in a cool, dark place and use it within 2-3 weeks. If you notice any changes in smell, color, or texture, it’s safest to discard it and make a fresh batch.
Final Thoughts
Embracing simple, homemade beauty solutions can be a wonderful way to care for your skin. This DIY glow gel offers a practical and accessible method to enhance your skin’s natural radiance using everyday items. Give it a try and see how it can become a cherished part of your beauty routine for a smoother, fresher-looking glow. Don’t forget to share your experience with us!