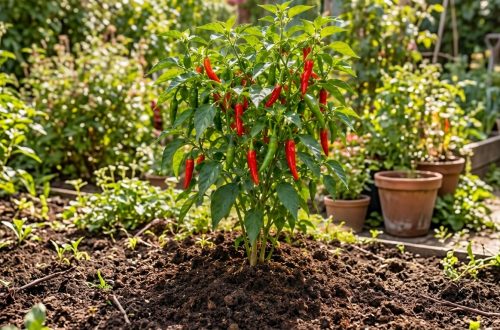
Growing juicy, ripe tomatoes is a gardening dream for many, but these beloved plants often come with their own set of challenges. From needing sturdy support to consistent watering and feeding, getting a bountiful harvest can feel like a daunting task. What if we told you there’s a simple, eco-friendly DIY hack that tackles all these issues at once?
Here at Garden – L. Quyên, we love finding practical and sustainable solutions for your garden. Today, we’re diving into a fantastic project that uses recycled plastic bottles to create an ingenious support and direct feeding system for your thirsty tomato plants. Say goodbye to flimsy stakes and inconsistent watering – your garden, and your wallet, will thank you!
Why Tomatoes Need Extra Love
Before we jump into the DIY, let’s understand why tomatoes benefit so much from this kind of system:
- Heavy Fruiting: Tomato plants can become quite heavy with fruit, requiring strong support to prevent branches from breaking and fruit from touching the ground (which can lead to rot and pests).
- Consistent Moisture: Tomatoes are thirsty! They need consistent watering, especially during fruiting, to prevent blossom end rot and promote even ripening. Erratic watering is a common issue.
- Nutrient Delivery: Like all plants, tomatoes need nutrients. Delivering fertilizer directly to the root zone is more efficient and reduces waste.
This recycled bottle system addresses all these points, making your tomato growing journey smoother and more successful.
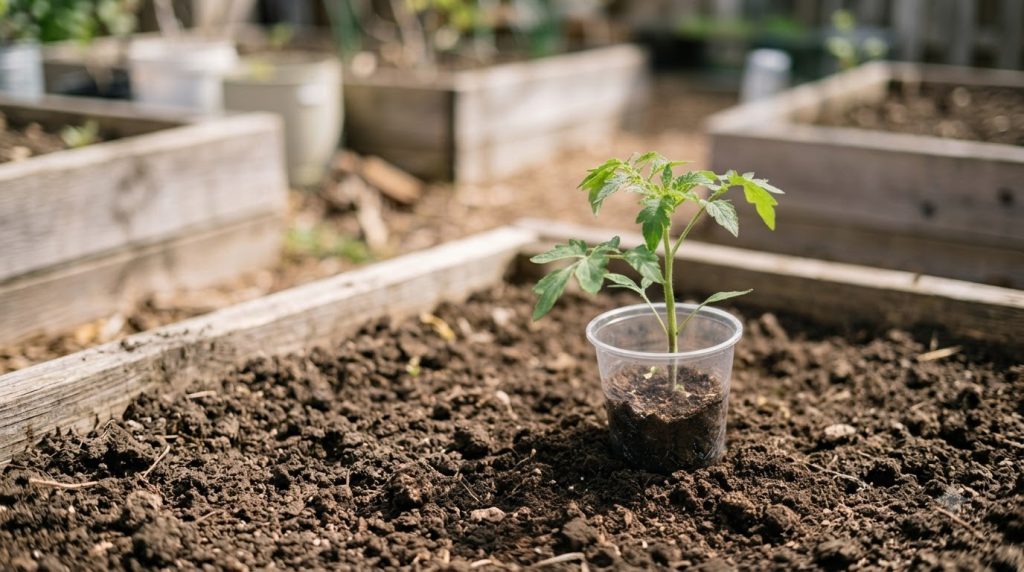
DIY Recycled Bottle System for Tomato Plants
This method is incredibly straightforward and requires minimal supplies. You’ll be amazed at how effective it is!
What You’ll Need:
- Empty plastic bottles (1.5L or 2L soda bottles work great)
- A sharp knife or scissors
- A shovel or trowel
- Your tomato plants (already in the ground or ready to be planted)
- Optional: Organic liquid fertilizer
Step-by-Step Guide:
- Prepare Your Bottles: Start by thoroughly washing your plastic bottles. Using a sharp knife or strong scissors, carefully cut off the bottom of each bottle. This opening will be where you pour water and fertilizer.
- Prepare the Planting Site: If your tomatoes aren’t planted yet, dig a hole large enough for the plant’s root ball. If they are already in the ground, carefully dig a hole about 4-6 inches away from the base of the plant. The hole should be deep enough so that the bottle can be inserted inverted, with the cut-off bottom facing upwards.
- Insert the Bottle: Place the bottle, cap-side down (but with the cap removed or poked with small holes if you want slower drainage), into the prepared hole next to your tomato plant. Ensure the neck of the bottle is fully buried and stable. The cut-off bottom should be flush with or slightly above the soil surface.
- Plant Your Tomato (if not already planted): If you’re planting a new tomato, place it in its spot, ensuring the bottle is close enough to provide water directly to its root zone.
- Fill with Soil: Gently backfill the soil around both the tomato plant and the buried bottle, firming it lightly to secure everything in place.
- Water and Fertilize: Now for the magic! Fill the inverted bottle with water. The water will slowly seep out through the neck, directly hydrating the roots. For fertilization, mix your favorite organic liquid fertilizer according to package instructions and pour it into the bottle. This delivers nutrients precisely where the plant needs them most, minimizing waste and runoff.
Benefits of This Ingenious System
- Targeted Watering: Water goes directly to the roots, reducing evaporation and ensuring your plants get the hydration they need without overwatering the surface.
- Efficient Fertilization: Liquid fertilizers can be delivered right to the root zone, making them more effective and preventing nutrient loss.
- Weed Suppression: Because the surface soil isn’t constantly wet, you’ll likely see fewer weeds sprouting up around your tomato plants.
- Pest Control: Direct watering minimizes splashing on foliage, which can help prevent some common fungal diseases.
- Support System: While not a primary support, burying the bottle adds a little extra stability to the plant, especially when it’s young.
- Eco-Friendly: You’re giving old plastic bottles a new purpose, reducing waste and contributing to sustainable gardening practices.
Tips for Success
- Choose the Right Bottles: Sturdier plastic bottles (like those for soda) tend to hold up better in the garden than thin water bottles.
- Check Soil Moisture: Even with this system, always check your soil moisture regularly. On very hot days, you might need to refill the bottles more frequently or supplement with additional watering.
- Clean Bottles: Ensure your bottles are clean before use to avoid introducing any unwanted substances to your plants.
- Experiment: Feel free to adjust the number of holes in the cap or remove it entirely to control the drainage speed based on your soil type and plant’s needs.
This DIY recycled bottle system is a fantastic way to give your tomato plants the best possible start and support throughout their growing season. It’s easy, effective, and environmentally friendly – everything we love in a garden hack!
Do you have any creative DIY gardening solutions you swear by? Share them with us in the comments below!