Imagine a cake that’s incredibly moist, tender, and bursting with sweet flavor, yet requires minimal effort and only a few basic ingredients. Sounds like a dream, right? Well, with this amazing Blender Condensed Milk Cake recipe, that dream becomes a delicious reality! Forget tedious mixing and endless bowls; your blender does most of the heavy lifting, making this a perfect choice for bakers of all skill levels.
This recipe transforms simple pantry staples into a show-stopping dessert that’s ideal for any occasion, from casual family gatherings to a comforting weeknight treat. You’ll achieve a beautifully golden-brown crust and a crumb so soft it practically melts in your mouth.
Ready to discover the magic? Let’s dive into creating a cake that’s as easy to make as it is delightful to eat.
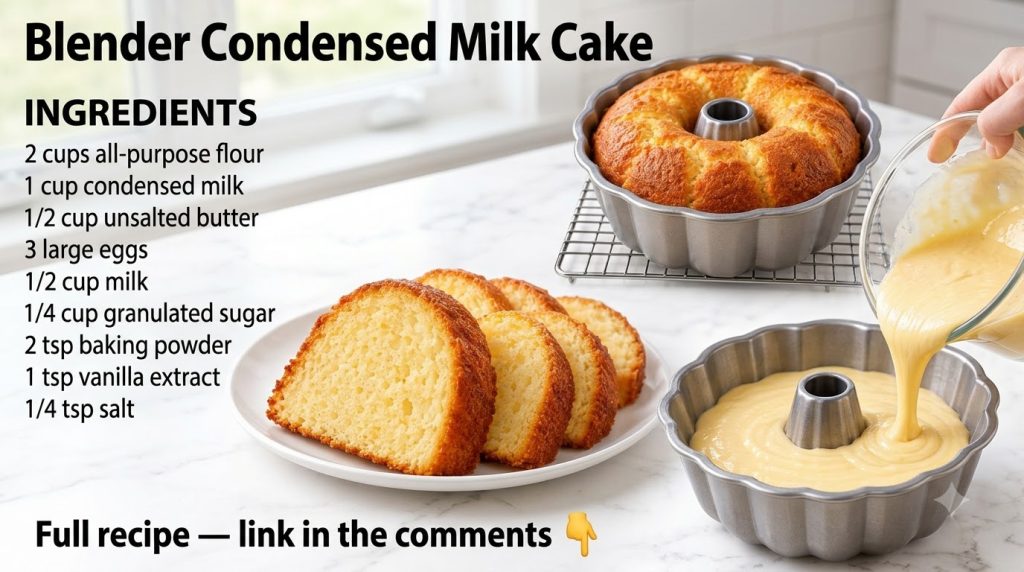
The Magic of Blender Condensed Milk Cake
What makes this cake so special? It all comes down to its incredible simplicity and the star ingredient: condensed milk. This sweet, thick dairy product not only acts as a sweetener but also contributes significantly to the cake’s signature moist and dense texture, ensuring every slice is perfectly tender.
The blender technique is a game-changer, allowing you to quickly combine the wet ingredients into a smooth, uniform mixture. This means less time on prep and more time enjoying the delicious results. It’s a fuss-free approach to baking that yields impressive results, making it a must-try for your recipe collection.
Your Simple Ingredients for a Sweet Treat
Gathering your ingredients is the first step to baking success. You’ll be amazed at how a few pantry staples can create such a luxurious cake.
- 3 large eggs: Essential for structure and richness.
- 1/2 cup (120ml) neutral oil: Such as vegetable, canola, or sunflower oil, contributing to the cake’s moistness.
- 1 can (395g) sweetened condensed milk: The key ingredient for sweetness and a wonderfully tender crumb.
- 1 1/2 cups (180g) all-purpose flour: The foundational dry ingredient for the cake’s structure.
- 1 tablespoon baking powder: To help your cake rise beautifully and achieve a light texture.
Step-by-Step: Crafting Your Blender Condensed Milk Cake
Follow these simple steps to create your own perfectly baked condensed milk cake.
Preparing Your Ingredients & Blender
- Preheat your oven to 350°F (175°C).
- Generously grease and flour a 10-12 cup bundt pan (or an equivalent sized baking pan) to prevent sticking. Tap out any excess flour.
- Gather all your ingredients to ensure a smooth baking process.
The Blender’s Role: Combining Wet Ingredients
- Crack the three eggs into your blender.
- Add the 1/2 cup of oil and the entire can of sweetened condensed milk to the blender.
- Blend on medium speed for about 1-2 minutes, or until the mixture is completely smooth and well combined.
Folding in the Dry Goodness
- In a large mixing bowl, combine the all-purpose flour and baking powder. Whisk them together to ensure the baking powder is evenly distributed.
- Pour the wet mixture from the blender into the bowl with the dry ingredients.
- Gently fold the wet and dry ingredients together using a spatula until just combined. Be careful not to overmix, as this can lead to a tough cake. A few small lumps are perfectly fine.
Baking to Golden Perfection
- Pour the cake batter evenly into your prepared bundt pan.
- Bake in the preheated oven for 40-50 minutes, or until a wooden skewer or toothpick inserted into the center of the cake comes out clean.
- Once baked, remove the cake from the oven and let it cool in the pan on a wire rack for about 10-15 minutes before inverting it onto the rack to cool completely.
Tips for the Perfect Blender Condensed Milk Cake
- Don’t Overmix: After combining the wet and dry ingredients, mix just until no dry streaks remain. Overmixing develops gluten, which can make the cake tough.
- Pan Choice: While a bundt pan makes for a beautiful presentation, you can also use a 9×13 inch (23×33 cm) rectangular pan or two 8 or 9-inch (20 or 23 cm) round cake pans. Adjust baking time as needed for different pan sizes.
- Cool Completely: Allow the cake to cool fully on a wire rack before slicing. This helps it set properly and makes for cleaner slices.
- Storage: Store the cake in an airtight container at room temperature for up to 3 days, or in the refrigerator for up to a week. It also freezes well for longer storage.
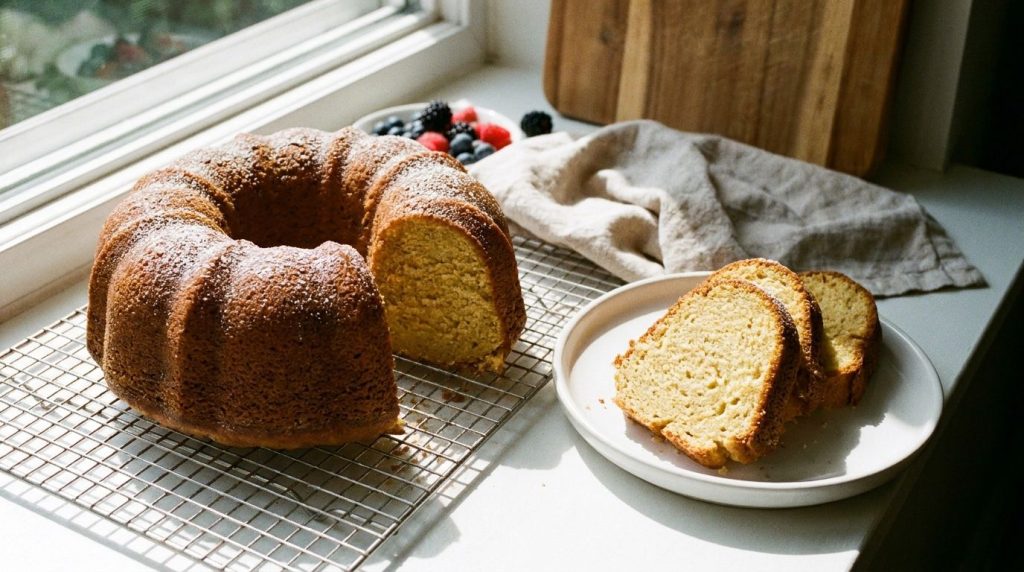
- Serving Suggestions: Enjoy your condensed milk cake plain, with a dusting of powdered sugar, or a light glaze. It also pairs wonderfully with fresh berries or a dollop of whipped cream.
Final Thoughts
This Blender Condensed Milk Cake truly embodies the joy of simple, delicious baking. With its straightforward method and wonderfully moist result, it’s a recipe you’ll find yourself turning to again and again. It proves that you don’t need fancy techniques or a long list of ingredients to create something truly special.
So go ahead, grab your blender, gather your ingredients, and whip up this delightful cake. Your taste buds (and your family!) will thank you for it!