In the world of beauty, new trends and viral hacks are always popping up, promising amazing results with simple, everyday ingredients. One such trend that has caught the attention of many, especially those interested in natural and affordable skincare, is the DIY ‘anti-aging gel’ that often features a common household staple: Vaseline. People are trying out this simple mix, hoping to achieve smoother-looking skin and a more youthful glow.
You might have seen the headlines or social media posts showing incredible before-and-after pictures, with many claiming this homemade concoction can make a noticeable difference in their skin’s appearance. But what exactly is this viral ‘gel,’ and what’s the truth behind its popularity? Let’s dive into what people are mixing and why this routine is sparking so much interest.
What’s In This Popular DIY ‘Anti-Aging Gel’?
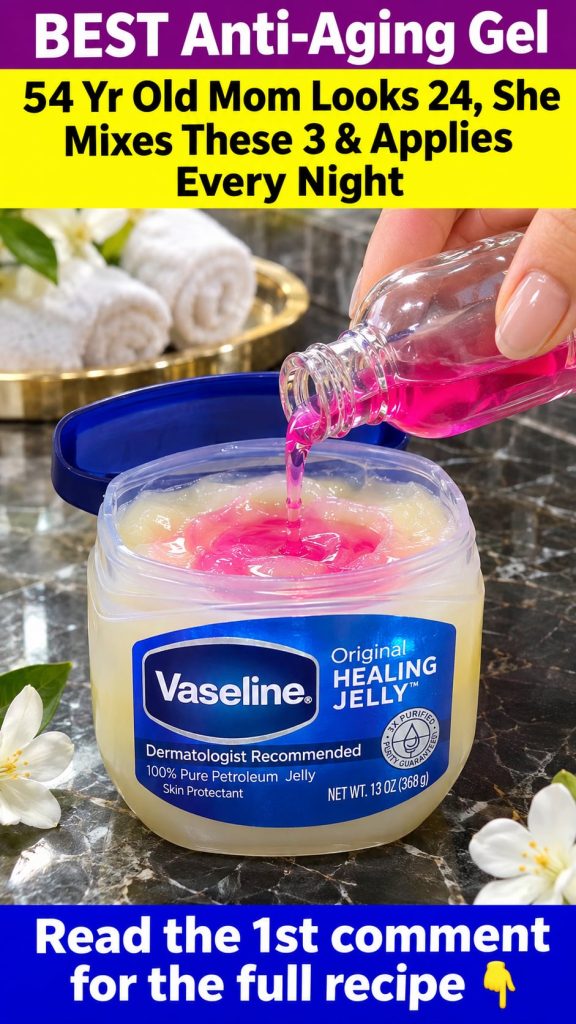
While variations of this viral gel exist, many popular recipes often combine Vaseline with other well-known hydrating and soothing ingredients. The idea is to create a mixture that leverages the occlusive properties of petroleum jelly while delivering additional benefits from other natural components. Here’s a common combination people are using:
- Vaseline (Petroleum Jelly): Known for its ability to create a protective barrier on the skin, sealing in moisture. This can help prevent water loss, leading to more hydrated and plump-looking skin.
- Aloe Vera Gel: A natural soother and hydrator, aloe vera is rich in vitamins and antioxidants. It’s often used to calm irritated skin and provide a refreshing feel.
- Vitamin E Oil: A powerful antioxidant, Vitamin E is widely used in skincare for its moisturizing properties and ability to help protect the skin from environmental stressors. It can contribute to a smoother, softer skin texture.
How People Prepare Their Own DIY Gel
If you’re curious about trying this popular beauty routine, here’s a simple way people are preparing this mix at home. Remember, cleanliness is key when making any DIY beauty product.
Ingredients You’ll Need:
- 1 tablespoon of Vaseline (original petroleum jelly)
- 1 tablespoon of pure aloe vera gel
- 1-2 capsules of Vitamin E oil (you’ll snip the end off to extract the oil)
Step-by-Step Preparation:
- Start Clean: Ensure your hands and all utensils (bowl, spoon) are thoroughly clean.
- Combine Vaseline and Aloe: In a small, clean bowl, place the Vaseline and aloe vera gel.
- Add Vitamin E: Snip the end of a Vitamin E capsule and squeeze the oil into the bowl. If using two capsules, repeat the process.
- Mix Thoroughly: Using a clean spoon or spatula, mix all the ingredients together until they are well combined and form a smooth, gel-like consistency. This might take a few minutes of steady stirring.
- Store Properly: Transfer your homemade gel into a small, airtight, clean container. A small glass jar or a clean plastic pot with a lid works perfectly.
Applying Your DIY Gel for Best Results
Once your gel is prepared, here’s how people are incorporating it into their evening skincare routine:
- Cleanse Your Face: Begin with a freshly cleansed face, removing all makeup and impurities.
- Apply a Small Amount: Take a pea-sized amount of your DIY ‘anti-aging gel’ and gently warm it between your fingertips.
- Massage onto Skin: Apply the gel to your face and neck, gently massaging it into your skin using upward, circular motions. Pay attention to areas where you might want to encourage a smoother appearance, like around the eyes, forehead, or mouth.
- Overnight Treatment: Many users apply this gel before bed, allowing it to work overnight while they sleep.
- Morning Rinse: In the morning, simply wash your face as usual to remove any excess product.
Important Considerations Before You Try This
While this DIY gel is a popular trend, it’s essential to approach any new skincare routine with care. Here are a few things to keep in mind:
- Patch Test: Always perform a patch test on a small, inconspicuous area of your skin (like behind your ear or on your inner arm) at least 24-48 hours before applying it to your face. This helps check for any adverse reactions or sensitivities.
- Individual Results May Vary: What works for one person may not work for another. Skin types and concerns are unique, and results can differ significantly.
- Avoid Medical Claims: Remember, this is a popular DIY beauty hack, not a medically proven treatment for wrinkles or aging. The goal is often to hydrate and nourish the skin, which can contribute to a healthier, plumper, and smoother-looking complexion.
- Cleanliness is Crucial: When making and storing homemade beauty products, ensure everything is clean to prevent bacterial growth.
Exploring DIY beauty solutions can be a fun and affordable way to pamper your skin and discover what works for you. This viral ‘anti-aging gel’ with Vaseline is certainly generating a lot of buzz for its promise of a more youthful glow. By understanding its ingredients and how to use it responsibly, you can decide if this popular routine is something you’d like to try for yourself. Always listen to your skin and consult with a dermatologist if you have any concerns about new products or persistent skin issues.