Discover how to create your own natural okra gel, a beloved home remedy often praised for helping to achieve smoother, brighter-looking skin. This easy-to-make gel can be a wonderful addition to your nighttime routine.
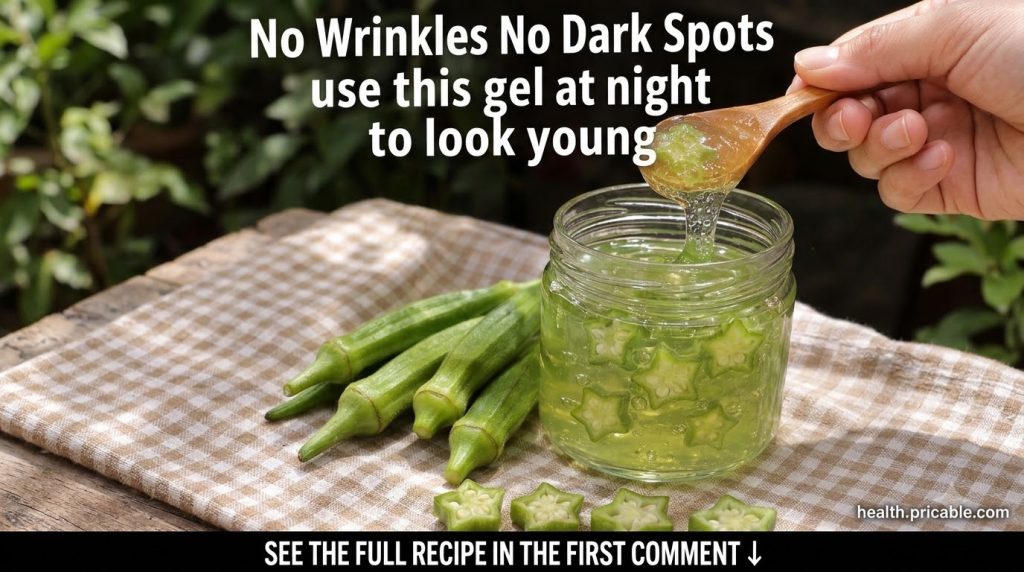
Quick Recipe
Prep time: 15 minutes
Best for: Fine lines, dark spots, skin hydration
Use type: Gel
Main ingredients:
- Fresh okra pods
- Distilled water
Ingredients
- 5-7 fresh okra pods
- 1 cup distilled water
- (Optional) A few drops of your favorite essential oil (e.g., lavender or frankincense) for fragrance and added benefits.
How to Make It
- Wash and Slice: Thoroughly wash the okra pods under cool running water. Trim both ends of each pod and then slice them into small, star-shaped pieces. The smaller the pieces, the more mucilage they will release.
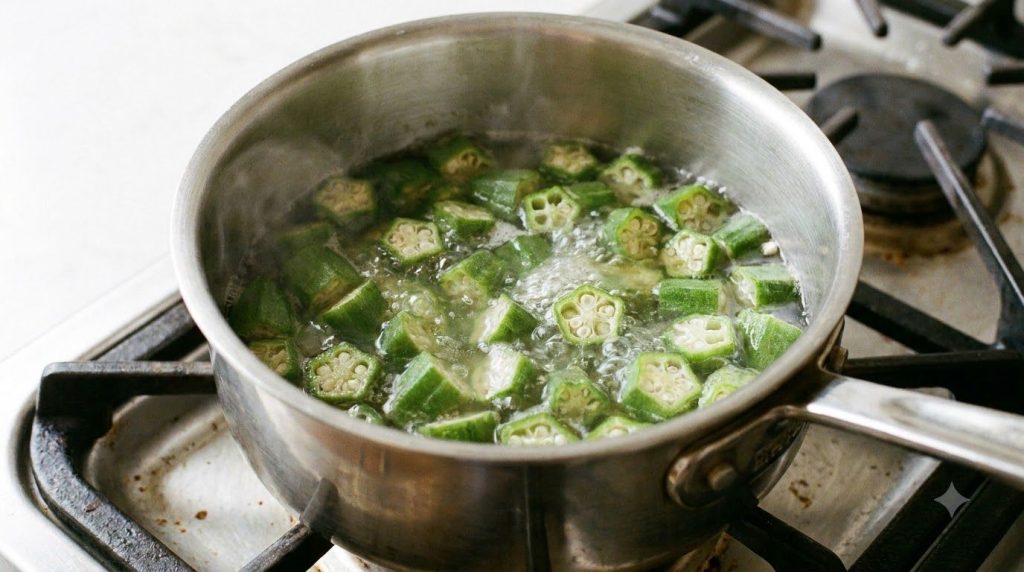
- Simmer: Place the sliced okra in a small saucepan with 1 cup of distilled water. Bring the mixture to a gentle simmer over medium heat. Continue to simmer for 10-15 minutes, stirring occasionally, until the water becomes noticeably thick and slimy. This is the mucilage, the beneficial gel-like substance from the okra.
- Strain the Gel: Remove the saucepan from the heat and let it cool slightly. Using a fine-mesh sieve or a cheesecloth, strain the okra mixture into a clean bowl, pressing down on the okra pieces to extract as much gel as possible. Discard the solid okra pieces.
- Cool and Store: Allow the extracted gel to cool completely to room temperature. If using, stir in a few drops of essential oil. Transfer the gel into a clean, airtight glass jar. Store it in the refrigerator.
How to Use It
- Cleanse Skin: Before bed, thoroughly cleanse your face and neck to remove makeup, dirt, and impurities.
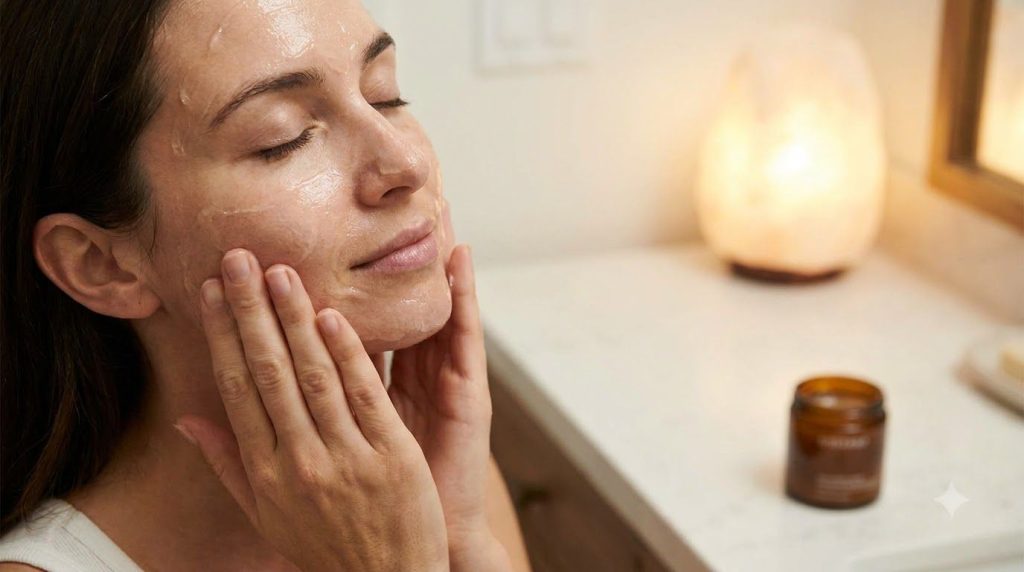
- Apply Gel: Take a small amount of the chilled okra gel (about a pea-sized amount) and gently dot it onto your face and neck.
- Massage: Using clean fingertips, gently massage the gel into your skin in upward, circular motions until it is mostly absorbed. Focus on areas where you have fine lines or dark spots.
- Leave On: Leave the okra gel on overnight as a hydrating and soothing mask.
- Rinse in Morning: In the morning, rinse your face with cool water and continue with your regular morning skincare routine.
How Often to Use It
You can incorporate this DIY okra gel into your nightly skincare routine. Daily use can help your skin feel more hydrated and appear smoother over time. Aim for consistency to see the best potential benefits.
Why These Ingredients Are Used
Okra
Okra is rich in antioxidants, vitamins (like Vitamin C and K), and minerals. Its most notable component for skincare is its mucilage, a slippery, gel-like substance. This mucilage is believed to be incredibly hydrating and soothing, which can help skin feel plumper and contribute to a smoother-looking complexion. Traditionally, it’s been used in various cultures for its purported skin-supporting properties, including helping to reduce the appearance of fine lines and promoting a brighter look.
Distilled Water
Using distilled water ensures that your gel is free from impurities, minerals, and contaminants often found in tap water, which can potentially irritate sensitive skin or affect the stability of your DIY remedy. It provides a clean, neutral base for the okra gel.
What Results to Expect
With consistent nightly use, this okra gel may help your skin feel more hydrated and supple. Many users find it helps to improve the appearance of skin texture, making it look smoother. It can also support a more even and brighter-looking complexion, potentially diminishing the visible signs of fine lines and dark spots for a fresher, more youthful glow.
Safety Notes
- Patch Test First: Always perform a patch test on a small, inconspicuous area of your skin (like behind the ear or on your inner forearm) before applying the gel to your entire face to check for any allergic reactions or irritation.
- Storage: Store the okra gel in an airtight container in the refrigerator for up to 5-7 days. If you notice any changes in color, smell, or consistency, discard it immediately. Since it’s a natural product without preservatives, its shelf life is short.
- Avoid Irritated Skin: Do not apply the gel to broken, irritated, or wounded skin.
- Stop Use if Discomfort: If you experience any redness, itching, burning, or discomfort, discontinue use immediately and rinse your skin thoroughly with cool water.
- Eye Contact: Avoid direct contact with eyes. If contact occurs, rinse thoroughly with water.
FAQ
How long does homemade okra gel last?
Due to the lack of preservatives, homemade okra gel should be stored in the refrigerator and typically lasts for about 5-7 days. Always check for any signs of spoilage before use.
Can I add other ingredients to the okra gel?
Yes, you can customize your gel! A few drops of vitamin E oil or a mild, skin-safe essential oil like lavender or frankincense can be added for additional benefits and fragrance. Always ensure any added ingredients are suitable for your skin type.
Will this gel make my skin feel sticky?
Okra gel has a naturally viscous texture, which might feel slightly sticky initially. However, once it’s absorbed into the skin, this feeling usually diminishes, leaving your skin feeling soft and hydrated rather than sticky.
Final Thoughts
Embracing natural remedies like this DIY okra gel can be a rewarding way to support your skin’s health and appearance. It’s an accessible, gentle option for those looking to enhance their glow and address concerns like fine lines and dark spots with ingredients from their kitchen. Give this simple recipe a try and see how your skin responds to the nourishing touch of nature. Share your experience in the comments below!