Looking for natural ways to support a youthful glow? These three homemade gel recipes are designed to help your skin look smoother, more hydrated, and radiantly fresh. Each gel focuses on different aspects of skin care, offering a lovely way to incorporate natural ingredients into your beauty routine.
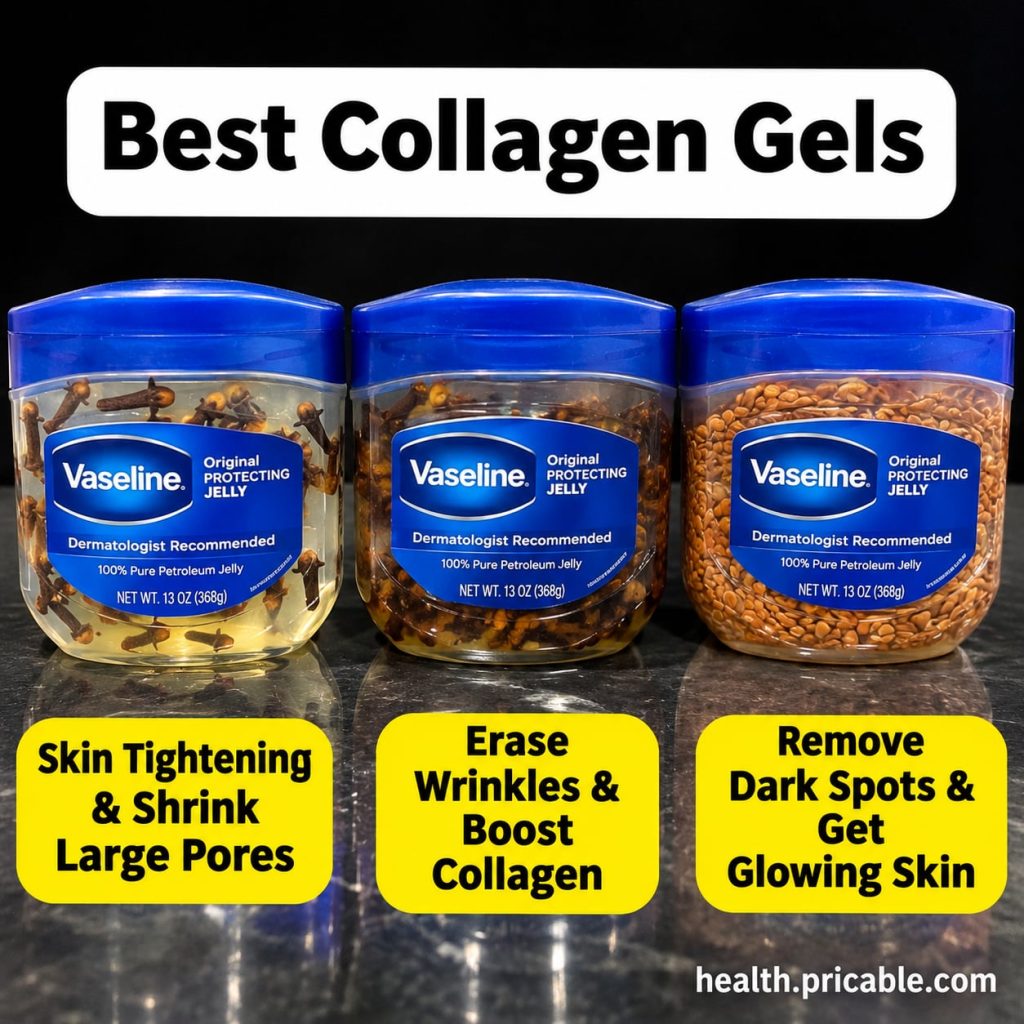
Quick Recipe Overview
1. Aloe Vera & Rose Hydration Gel
Prep time: 5 minutes
Best for: Hydration, soothing, plumping appearance
Use type: Topical gel
Main ingredients:
- Aloe Vera Gel
- Rose Water
- Vegetable Glycerin
2. Flaxseed & Green Tea Radiance Gel
Prep time: 15 minutes (plus cooling)
Best for: Smoothing, antioxidant support, glowing appearance
Use type: Topical gel
Main ingredients:
- Flaxseed
- Water
- Green Tea
3. Chia Seed & Jojoba Youthful Gel
Prep time: 10 minutes (plus soaking)
Best for: Nourishing, skin barrier support, youthful appearance
Use type: Topical gel
Main ingredients:
- Chia Seeds
- Water
- Jojoba Oil
Ingredients
For Aloe Vera & Rose Hydration Gel:
- 1/4 cup pure Aloe Vera Gel (store-bought or fresh inner leaf gel)
- 2 tablespoons pure Rose Water
- 1 teaspoon Vegetable Glycerin
For Flaxseed & Green Tea Radiance Gel:
- 1/4 cup whole Flaxseeds
- 1.5 cups Water
- 1 Green Tea bag or 1 teaspoon loose leaf Green Tea
For Chia Seed & Jojoba Youthful Gel:
- 2 tablespoons Chia Seeds
- 1 cup Water
- 1 teaspoon Jojoba Oil
How to Make It
1. Aloe Vera & Rose Hydration Gel
- In a clean bowl, combine the aloe vera gel, rose water, and vegetable glycerin.
- Stir gently until all ingredients are well mixed and the gel has a consistent texture.
- Transfer the gel to a clean, airtight container.
2. Flaxseed & Green Tea Radiance Gel
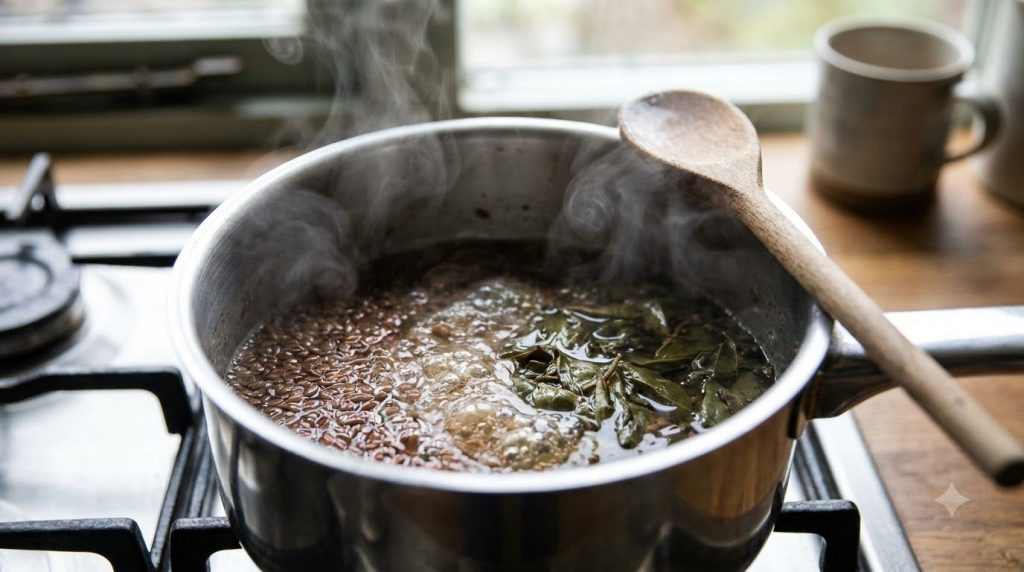
- Bring 1.5 cups of water to a boil. Add the green tea bag (or loose leaf tea in an infuser) and let it steep for 3-5 minutes. Remove the tea.
- Add the flaxseeds to the hot green tea water in a saucepan.
- Bring the mixture to a gentle boil, then reduce heat to low and simmer for 7-10 minutes, stirring occasionally. The mixture will thicken and become gel-like.
- Remove from heat and let it cool slightly.
- Strain the gel through a fine-mesh sieve or cheesecloth into a clean bowl, pressing out as much gel as possible. Discard the seeds.
- Let the gel cool completely before transferring it to an airtight container.
3. Chia Seed & Jojoba Youthful Gel
- In a clean bowl, combine the chia seeds and 1 cup of water.
- Stir well and let the mixture sit for about 30 minutes to an hour, stirring occasionally, until the chia seeds absorb the water and form a gel. You can also leave it overnight in the refrigerator.
- Once a thick gel has formed, stir in the jojoba oil.
- Transfer the gel to a clean, airtight container.
How to Use It
- Cleanse Skin: Start with a clean face.
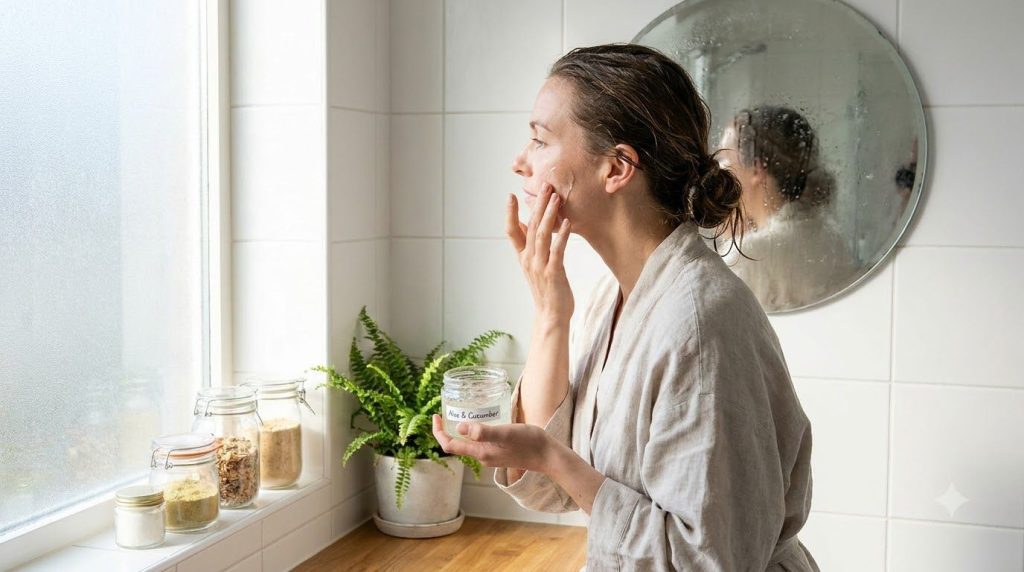
- Apply Gel: Take a small amount of your chosen homemade gel and gently massage it onto your face and neck. Avoid getting it into your eyes.
- Absorb: Allow the gel to absorb into your skin for a few minutes.
- Optional Rinse: For the Flaxseed & Green Tea Gel, you might choose to rinse it off after 15-20 minutes, or you can leave a thin layer on overnight depending on your preference. The Aloe Vera & Rose Gel and Chia Seed & Jojoba Gel are generally suitable for leaving on.
How Often to Use It
You can use these gels daily, either in the morning or evening, as part of your regular skincare routine. Listen to your skin and adjust usage as needed.
Why These Ingredients Are Used
Aloe Vera Gel
Known for its soothing and hydrating properties, aloe vera gel is a popular base in many beauty remedies. It helps to deliver moisture to the skin, making it feel soft and appear plump.
Flaxseeds
When soaked, flaxseeds create a mucilaginous gel rich in omega-3 fatty acids and antioxidants. This gel is traditionally used to help skin feel smoother and support a healthy-looking complexion.
Chia Seeds
Similar to flaxseeds, chia seeds also form a nutrient-rich gel when hydrated. They are packed with antioxidants and healthy fats that can help nourish the skin and support its natural barrier, contributing to a more youthful appearance.
What Results to Expect
Consistent use of these homemade gels may help your skin feel more hydrated, look smoother, and appear more radiant. The natural ingredients can support a fresh, glowing complexion and contribute to the appearance of skin vitality and elasticity over time. Remember that individual results can vary.
Safety Notes
- Patch Test First: Always apply a small amount of any new remedy to a discreet area of your skin (like behind the ear or inner forearm) and wait 24 hours to check for any adverse reactions before applying it to your face.
- Use Gently: Apply these gels with light, gentle motions.
- Avoid Irritated or Broken Skin: Do not apply to skin that is broken, cut, or severely irritated.
- Stop if Discomfort Occurs: If you experience any redness, itching, burning, or irritation, discontinue use immediately.
- Storage: Store homemade gels in an airtight container in the refrigerator to prolong freshness. They typically last for 5-7 days. Discard if you notice any changes in smell, color, or consistency.
- Ingredient Allergies: Be aware of any personal allergies to the ingredients used.
FAQ
Can I use these gels on my body as well?
Yes, these homemade gels can be safely applied to other areas of your body that could benefit from hydration and nourishment.
How long do these homemade gels last?
Due to the lack of strong preservatives, these gels are best used fresh. When stored in an airtight container in the refrigerator, they typically last for about 5 to 7 days. Always check for signs of spoilage before use.
Are these remedies suitable for all skin types?
While generally mild, natural ingredients can affect individuals differently. It’s always best to perform a patch test, especially if you have sensitive skin or specific skin conditions. The Aloe Vera & Rose Hydration Gel is usually well-tolerated by most skin types.
Final Thoughts
Embracing homemade beauty remedies like these three gels is a wonderful way to connect with natural ingredients and create a skincare routine that feels truly personal. Enjoy the process of crafting these simple gels and treating your skin to a burst of natural goodness. Don’t forget to share your favorite gel recipe in the comments below!