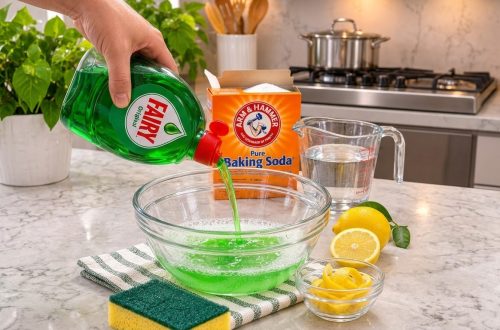
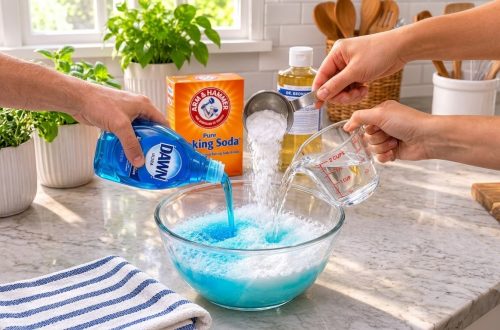
Tired of scrubbing tough grime with little success? Many commercial cleaners contain harsh chemicals and can be expensive. What if you could tackle stubborn messes around your home using just three common household ingredients? This simple DIY cleaning paste, combining baking soda, dish soap, and water, offers an effective and affordable solution for a variety of cleaning tasks, making your cleaning routine a little bit easier and greener.
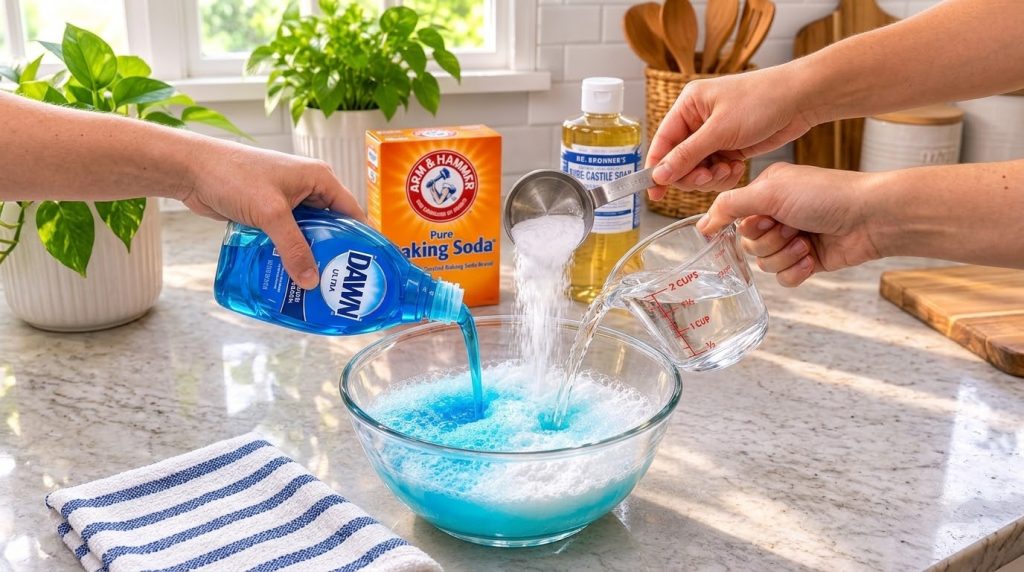
What You’ll Need
- 1/2 cup Baking Soda
- 1/4 cup Liquid Dish Soap (like a blue dish soap)
- 2-3 tablespoons Water (or as needed)
Tools
- Small mixing bowl
- Spoon or spatula for mixing
- Sponge or scrub brush for application
Why This DIY Can Be Useful
This cleaning paste harnesses the power of its individual ingredients for an effective clean:
- Baking Soda: Known as a mild abrasive, baking soda helps to gently scrub away grime, grease, and residue without scratching most surfaces. It’s also an excellent deodorizer, absorbing unpleasant odors.
- Liquid Dish Soap: Dish soap is a powerful degreaser, breaking down oils and food residue. It helps to lift dirt and allows it to be easily wiped away, adding cleansing properties to the mixture.
- Water: Water acts as a solvent and helps to create the paste consistency, activating the baking soda and distributing the dish soap evenly.
How to Make It
- In your small mixing bowl, combine the 1/2 cup of baking soda and 1/4 cup of liquid dish soap.
- Begin stirring the mixture with your spoon or spatula.
- Gradually add water, one tablespoon at a time, mixing thoroughly after each addition. Continue adding water until a thick, spreadable paste forms. You might not need all 3 tablespoons, or you might need a tiny bit more – aim for a consistency similar to toothpaste.
How to Use It
This versatile paste can be used on a variety of surfaces:
- Apply: Scoop a small amount of the paste onto a damp sponge, scrub brush, or directly onto the dirty surface.
- Scrub: Gently scrub the area in circular motions. For tougher stains or grout lines, you can let the paste sit for 5-10 minutes before scrubbing.
- Rinse: Thoroughly rinse the area with clean water, or wipe it down with a damp cloth until all residue is removed.
- Wipe Dry: Finish by wiping the surface dry with a clean, dry cloth to prevent water spots and reveal a sparkling finish.
What to Expect
You can expect this DIY cleaning paste to effectively cut through grease, lift grime, and help remove mild stains on many hard, non-porous surfaces. It should leave surfaces feeling clean and looking refreshed. While it’s powerful, remember it’s a homemade solution, so extremely set-in stains or heavy discoloration may require multiple applications or a stronger cleaning agent. Its natural abrasive action works best on recent buildup.
Helpful Tips
- Adjust Consistency: If your paste is too thick, add a few more drops of water. If it’s too thin, stir in a little more baking soda until you reach your desired consistency.
- For Grout: An old toothbrush works wonderfully for scrubbing this paste into tile grout lines.
- Storage: Store any leftover paste in an airtight container at room temperature. It typically lasts for a few weeks, though it may dry out slightly. If it does, just add a tiny bit of water to rehydrate before use.
- Patch Test: Always test the paste on an inconspicuous area first, especially on delicate or unfamiliar surfaces, to ensure no discoloration or damage occurs.
Important Notes / Safety
- Surface Compatibility: While generally safe, avoid using abrasive pastes like this on very delicate surfaces, polished wood, or certain types of natural stone (like marble or granite) that can be etched by baking soda.
- Rinse Thoroughly: Always rinse the treated area completely to remove all baking soda and soap residue, which can leave a cloudy film if left behind.
- Ventilation: While not using harsh fumes, ensuring good ventilation during cleaning is always a good practice.